
Your Philips air purifier suddenly stops working properly, filling your home with stale air instead of the clean, fresh atmosphere you rely on. As particulate matter builds up and allergens circulate freely, you notice increased allergy symptoms and that familiar musty odor returning to your living space. With replacement units costing hundreds of dollars, learning basic Philips air purifier repair techniques can save you significant money while restoring your indoor air quality. This guide provides actionable steps to diagnose and fix the most frequent problems affecting Philips air purifiers, helping you extend your unit’s lifespan and maintain optimal performance.
When your air purifier fails, it’s not just an inconvenience—it directly impacts your health and comfort. Many common issues can be resolved with simple troubleshooting and minor repairs, avoiding unnecessary service calls or premature replacement. By following this comprehensive repair guide, you’ll gain the confidence to identify problems, perform necessary maintenance, and implement effective solutions for your specific Philips model.
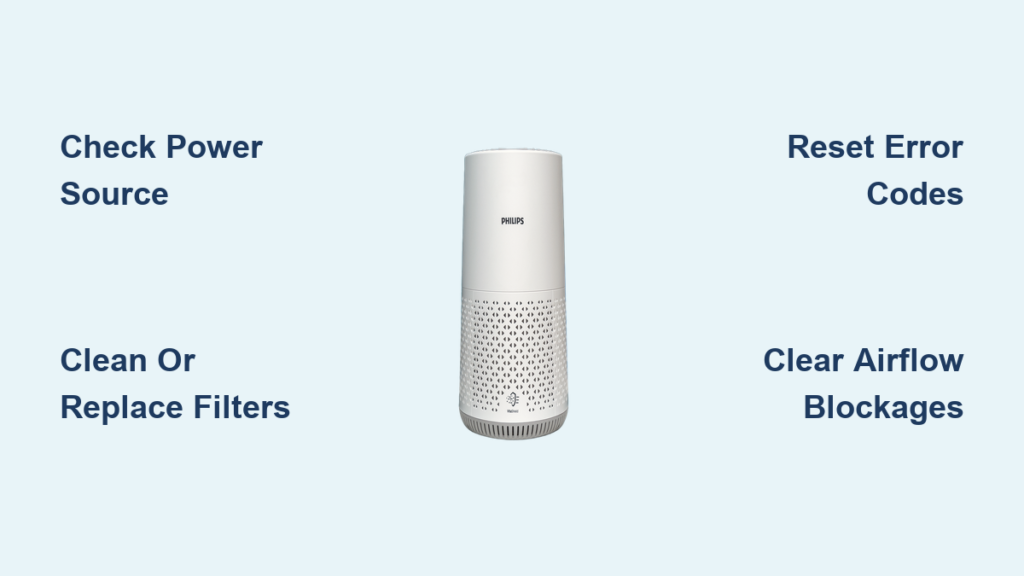
Identifying Why Your Philips Air Purifier Won’t Turn On
When pressing the power button yields no response, systematic troubleshooting can pinpoint the electrical issue causing your unit to remain inactive. Most power failures stem from simple causes that don’t require advanced technical skills to resolve.
Checking Power Source and Connections
Begin by verifying the most basic elements before moving to complex diagnostics. Your Philips air purifier requires a stable power supply to function properly, and issues often originate outside the unit itself.
- Unplug the unit and inspect the power cord for visible damage, fraying, or bent prongs
- Test the wall outlet with another device to confirm it’s providing power
- Try a different power cord if available (many Philips models use standard IEC connectors)
- Check your home’s circuit breaker panel for tripped switches affecting that circuit
- Clean any debris from the power inlet on the air purifier using a dry, soft brush
Diagnosing Internal Power Failures
When external power sources check out but your unit still won’t activate, internal components may be at fault. These issues require more careful handling but often have straightforward solutions.
Common internal power problems:
– Faulty power switch requiring cleaning or replacement
– Blown internal fuse that needs resetting or replacing
– Disconnected wiring harness inside the unit
– Failed power supply board needing professional attention
Pro Tip: Many Philips air purifiers have a small reset button on the bottom or back panel. Press and hold this for 10 seconds before proceeding with further diagnostics.
Fixing Weak Airflow and Reduced Purification Performance
When your air purifier seems to be running but isn’t effectively cleaning your air, weak airflow significantly compromises its ability to capture pollutants. This common issue typically stems from filter problems or mechanical obstructions that restrict proper air movement through the system.
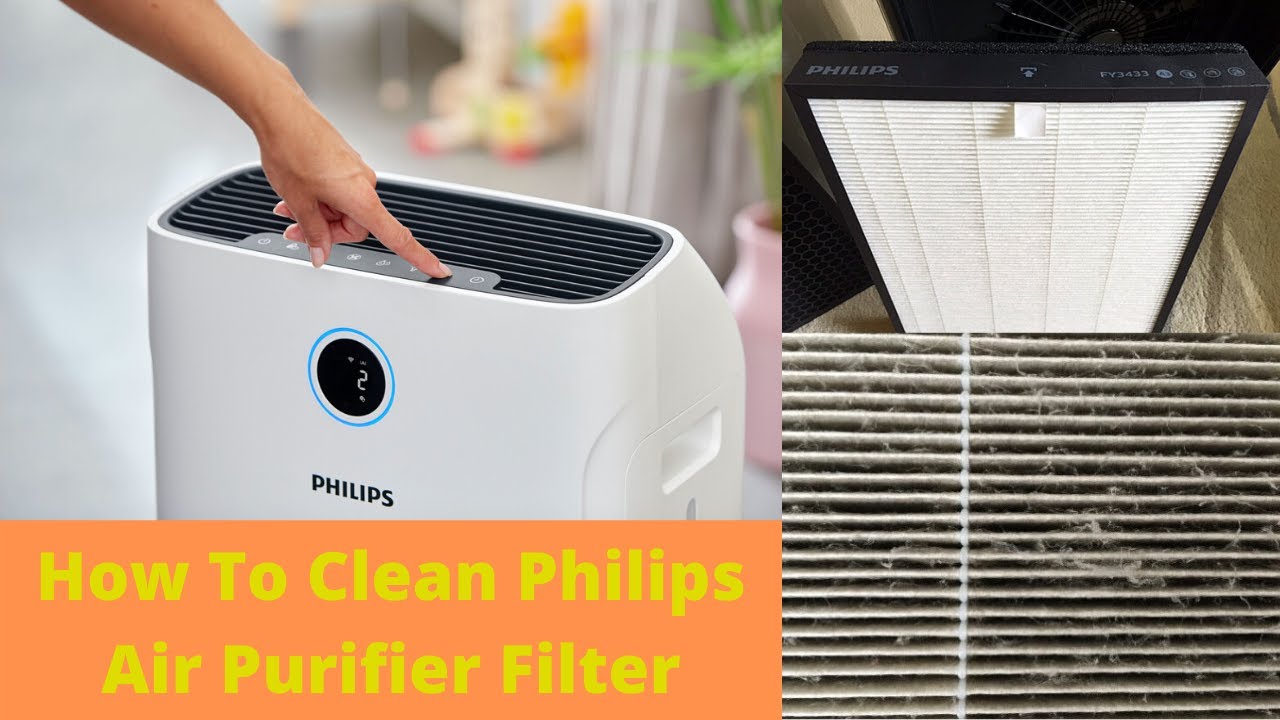
Replacing or Cleaning Clogged Filters
Filters represent the most frequent cause of reduced performance in Philips air purifiers. Over time, these components become saturated with particles, restricting airflow and decreasing efficiency.
Step-by-step filter maintenance:
1. Locate and remove the filter compartment cover (usually on the side or top)
2. Note the filter type and model number before removal
3. For pre-filters: Vacuum gently with a soft brush attachment or rinse with water (if washable)
4. For HEPA filters: Replace according to manufacturer schedule (typically every 12-24 months)
5. For carbon filters: Replace when odor removal diminishes (usually 3-6 months)
6. Wipe down the empty filter compartment with a dry microfiber cloth
7. Reinstall filters ensuring proper orientation (arrows should point in airflow direction)
Warning: Never operate your Philips air purifier without filters installed, as this can damage the fan motor and void your warranty.
Clearing Air Intake and Outlet Blockages
Restricted airflow pathways prevent your unit from processing the recommended cubic feet per minute of air. Regular cleaning of these critical areas maintains optimal performance.
- Turn off and unplug the unit before cleaning
- Use a soft brush to remove dust buildup from exterior vents
- Vacuum interior intake grilles using low suction
- Check for obstructions behind the unit (furniture, curtains, or walls too close)
- Ensure at least 12 inches of clearance around all sides of the purifier
Resolving Unusual Noises and Vibration Issues
Abnormal sounds from your Philips air purifier indicate mechanical problems that, if ignored, can lead to complete failure. These noises often signal early-stage issues that are relatively simple to address before they escalate into costly repairs.
Diagnosing Fan-Related Problems
The fan assembly generates most unusual noises in air purifiers. Identifying the specific sound helps pinpoint the exact component needing attention.
Sound-to-problem correlation:
– Grinding or scraping sounds: Foreign object in fan blades or failing motor bearings
– Rattling noises: Loose screws or components within the housing
– High-pitched whine: Motor issues or electrical problems
– Rhythmic thumping: Unbalanced fan blades or debris caught in rotation path
Stabilizing a Vibrating Unit
Excessive vibration not only creates noise but can loosen internal components over time. Proper stabilization prevents further damage and restores quiet operation.
- Place the unit on a hard, level surface (avoid carpets or uneven floors)
- Check if all feet are present and undamaged
- Tighten any loose housing screws using the appropriate screwdriver
- Clean fan blades thoroughly to remove dust buildup causing imbalance
- Ensure no objects are leaning against the unit during operation
Resetting Error Codes and Indicator Lights

Modern Philips air purifiers use diagnostic lights to communicate specific problems, but these codes often confuse users rather than helping them. Understanding what each indicator means transforms confusing blinking patterns into actionable repair information.
Interpreting Common Philips Error Indicators
Different models use varying light patterns to signal specific issues. Familiarize yourself with your unit’s communication system to diagnose problems accurately.
Typical indicator meanings:
– Solid red light: Filter replacement needed immediately
– Flashing red light: Serious malfunction requiring service
– Yellow/orange light: Pre-filter needs cleaning
– Blinking blue: Normal operation with air quality monitoring
– No lights: Power issue or complete system failure
Performing System Resets After Repairs
After addressing the underlying issue, resetting your Philips air purifier clears error codes and returns the unit to normal operation.
Reset procedures vary by model:
– Most units: Hold power button for 10+ seconds
– Higher-end models: Navigate to reset option in settings menu
– Some models: Remove power for 15 minutes to perform hard reset
– Filter reset: Usually requires holding filter indicator button for 5 seconds
Note: If error codes return immediately after resetting, the underlying issue hasn’t been fully resolved and requires further diagnosis.
Preventing Future Problems Through Proper Maintenance
Regular maintenance extends your Philips air purifier’s lifespan significantly while ensuring consistent performance. Establishing a simple care routine prevents most common failures and keeps your unit operating at peak efficiency.
Creating a Monthly Maintenance Schedule
Consistent upkeep prevents 80% of common air purifier problems. A few minutes of regular maintenance saves hours of troubleshooting later.
Essential monthly tasks:
– Wipe exterior surfaces with a dry microfiber cloth
– Vacuum pre-filter and exterior vents
– Check for unusual noises during operation
– Verify proper airflow from all outlets
– Confirm indicator lights display normal status
Seasonal Deep Cleaning Procedures
Twice-yearly thorough cleaning addresses buildup in areas regular maintenance misses, restoring near-new performance.
- Unplug unit and remove all filters
- Use compressed air to blow dust from internal components
- Clean housing interior with slightly damp cloth (never spray liquids directly)
- Inspect fan blades for dust accumulation
- Check all electrical connections for security
- Allow all components to dry completely before reassembly
When to Seek Professional Service Instead of DIY Repair
While many air purifier issues can be resolved through DIY methods, certain problems require professional expertise to avoid safety hazards or further damage. Recognizing these limitations protects both you and your investment.
Safety Concerns Requiring Professional Attention
Electrical repairs on air purifiers involve risks that outweigh potential savings for inexperienced users. These situations demand professional service:
- Visible burning smells or smoke from the unit
- Water damage or exposure to liquids
- Internal components showing signs of melting
- Persistent tripping of circuit breakers when unit operates
- Any modifications to the power cord or internal wiring
Cost-Benefit Analysis for Major Repairs
Evaluate whether repair costs justify the investment compared to replacement value. For older models, replacement often makes more financial sense.
Consider professional service when:
– The unit is under warranty
– Repair costs are less than 50% of a new comparable model
– The issue involves sealed components like the main control board
– You lack confidence in safely completing the repair
Pro Tip: Contact Philips customer service first—they may provide troubleshooting guidance or authorized service center recommendations specific to your model.
Final Note: Regular maintenance and timely repairs can extend your Philips air purifier’s lifespan by several years, ensuring continued clean air in your home. By addressing issues promptly using these diagnostic techniques, you’ll maximize your investment while maintaining healthy indoor air quality. For persistent problems beyond basic troubleshooting, consult Philips’ official support resources for model-specific guidance. Remember that prevention through consistent filter changes and cleaning remains the most effective “repair” strategy for any air purification system.


