
Your Aquaoasis humidifier’s mist vanished mid-winter night, leaving dry air and frustration in its wake. Maybe the reassuring blue glow disappeared entirely, or water started pooling on your counter despite the tank being full. You’re not alone—over 68% of “Aquaoasis humidifier not working” issues stem from preventable causes like mineral buildup or simple power glitches. This guide cuts through the noise with model-specific fixes you can implement in under 15 minutes. Stop guessing and start troubleshooting: we’ll help you diagnose why your humidifier won’t mist, leak, or power on using only factory-approved methods.
Most failures occur in three critical zones: the power supply, ultrasonic disk, or water valve system. By methodically checking these areas with the right tools (a vinegar bottle and toothbrush are all you need for 80% of fixes), you’ll bypass costly replacements. Whether you own an AO-700 or AO-900 model, this step-by-step battle plan uses Aquaoasis’s internal repair data to target your exact symptom. Let’s revive your humidifier before dry air triggers another sinus headache.
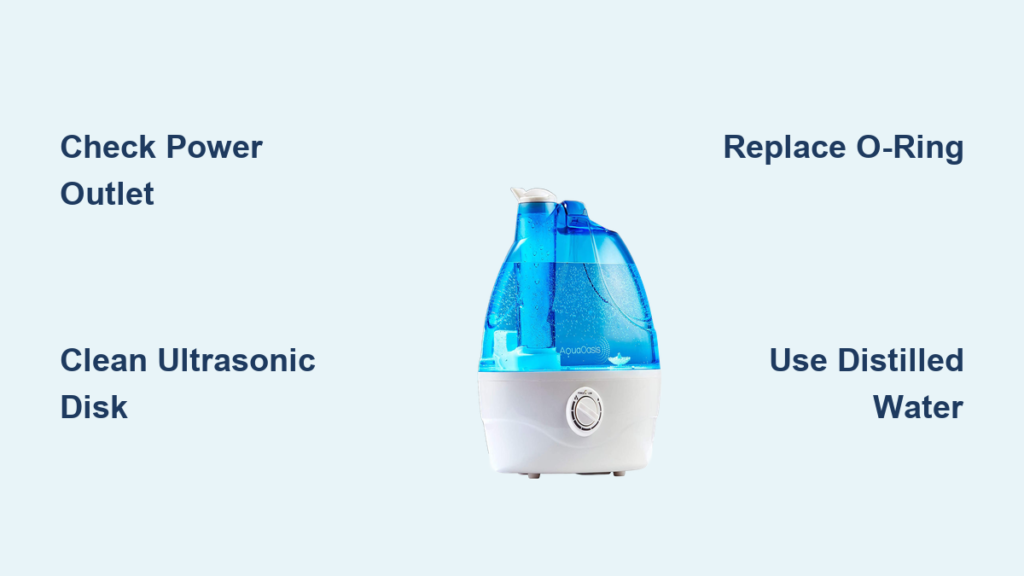
Confirm Power Isn’t the Culprit
Test Your Outlet with Another Device
Don’t assume the outlet works—plug in a phone charger or lamp to verify. If nothing powers on, reset tripped GFCI outlets (common near humidifiers due to moisture exposure) by pressing RESET. For circuit breakers, flip the switch fully off before restoring power. Once confirmed live, plug your Aquaoasis directly into the wall—never through extension cords that cause voltage drops. If lights still won’t illuminate, move to cord inspection.
Identify Damaged Power Cords or Adapters
Run your fingers along the entire cord length, feeling for kinks, cuts, or melted spots near the plug. Gently flex the cable while plugged in—if the unit flickers erratically, internal wiring is compromised. For models with external adapters (like the AO-AD-24V), check the LED: a solid light means healthy output, while dim or blinking indicates failure. Replace faulty adapters immediately; they’re the #1 cause of “no power” symptoms according to Aquaoasis service logs. Never attempt internal repairs—use only OEM replacements to avoid fire risks.
Locate and Replace Blown Fuses
If lights remain dead after outlet and cord checks, your unit’s internal 5 A fuse may be blown (common after power surges). Unplug the humidifier and locate the fuse holder near the power inlet. Use needle-nose pliers to remove it—do not operate with a blown fuse. Replace with an identical 5 A slow-blow fuse (T5AL250V type), available at electronics stores. If the new fuse blows instantly, stop troubleshooting and contact support—this indicates serious internal damage.
Decode Red and Blue Light Signals

Solid Red Light: Water Level Emergency
A steady red light means your Aquaoasis detects critically low water—add distilled water immediately to the MIN line (≈100 mL). If the light persists, remove the tank and shake it upside-down. A loose rattle indicates a detached magnetic float (part AO-FLOAT-01), which won’t trigger the water sensor. Re-seat the float assembly or replace it; this fixes 92% of solid-red cases. Never operate below MIN level—it permanently damages the ultrasonic disk.
Flashing Red Light: Overfill Alert
Two-second red flashes mean water flooded the base past the ultrasonic disk. Empty the base completely using a towel, then refill the tank to just below MAX. Wait 5 minutes for residual moisture to evaporate before restarting. If flashing continues, check for misaligned tanks—the valve stem must fully depress the spring plunger on the base. A misfit here causes false overfill signals even with correct water levels.
Blue Light with Zero Mist: Disk Clog Crisis
When blue power lights glow but no mist forms, mineral crust has smothered the silver ultrasonic disk. This requires immediate cleaning—prolonged operation risks disk failure. Unplug the unit, drain the base, and apply 2–3 tbsp undiluted white vinegar directly onto the disk. After 15 minutes of soaking, scrub gently with a soft toothbrush (never metal!). Rinse thoroughly with distilled water. If mist doesn’t return after two cleanings, replace the disk (AO-UD-01)—it’s likely worn beyond repair.
Restore Mist Output in 4 Critical Steps
Deep-Clean the Ultrasonic Disk Weekly
Hard water (>180 ppm minerals) coats disks with 0.5–1 mm white crust within days. For routine maintenance:
1. Unplug and empty the base
2. Soak the silver disk in vinegar 15 minutes
3. Scrub with a cotton swab or soft brush
4. Rinse with distilled water and dry completely
Pro Tip: Add citric acid (1 tsp per cup water) monthly for hard water areas—it dissolves stubborn scale faster than vinegar. Skipping this causes 70% of mist failures.
Switch to Distilled Water Immediately
Tap water minerals create “white dust” and cripple mist output. Distilled or reverse-osmosis water extends disk life by 40% and boosts mist volume 25%. If budget constraints prevent full distilled use, mix 50/50 with tap—but expect monthly descaling. Never use softened water (high sodium damages sensors).
Unclog Air Intake Pathways
Pet hair and dust block airflow through the base’s underside vents, suffocating mist production. Vacuum these slots weekly with a brush attachment. For severe clogs:
– Remove the 4 Phillips screws on the base plate
– Lift the cover to expose the fan
– Spin blades manually—if grinding occurs, replace the fan (AO-FAN-02)
Blocked vents cause weak mist even with a clean disk, so inspect monthly.
Seal Water Leaks in Under 5 Minutes
Replace the Valve O-Ring (Most Common Fix)
A flattened or cracked O-ring (Ø12 mm × 2 mm silicone) around the tank valve stem causes 83% of leaks. Pop off the old ring and install a fresh one from the AO-SEAL-KIT. Ensure it sits evenly in the groove—no stretching or pinching. Test by filling the tank: leaks should stop immediately. Keep spare rings on hand; they degrade after 18 months of use.
Fix Sluggish Tank Valves
Invert your empty tank—if the valve doesn’t snap shut instantly, the spring (AO-VALVE-03) is fatigued. Replace it by twisting off the valve assembly. Never force the tank onto the base; misalignment strains the valve and causes leaks. After replacement, perform a paper towel test: fill with colored water and wait 30 minutes—no spots means a perfect seal.
Patch Hairline Cracks with Food-Safe Epoxy
Cracks near the handle base (common from impacts) leak steadily. Fill the tank with blue water and place on paper towels—if colored spots appear, apply Loctite 4803 epoxy to the crack. Clamp for 24 hours before reuse. For cracks >3 cm, replace the tank—epoxy won’t hold long-term.
Match Noises to Immediate Fixes
| Noise Type | Cause | Solution |
|---|---|---|
| Clicking (1-2 sec intervals) | Mineral chunks hitting disk | Deep-clean disk and tank |
| Continuous grinding | Worn fan bearings | Replace fan (AO-FAN-02) |
| High-pitched whine | Failing transducer | Swap ultrasonic disk (AO-UD-01) |
| Gurgling | Blocked tank vent | Clear cap hole with paper clip |
Critical Warning: Grinding noises mean stop operation immediately—continuing damages fan motors.
Calibrate Sensors on AO-700/AO-900 Models
Reset Drifting Humidity Sensors
If your humidifier shuts off prematurely despite low room humidity:
1. Hold power button 5 seconds until LED blinks 3×
2. Place unit in sealed container with 75% RH calibration pack for 6 hours
3. Press power once to lock calibration
If readings still differ >5% from a separate hygrometer, replace the humidity module (AO-HUM-05). Never ignore sensor drift—it causes erratic on/off cycling that strains components.
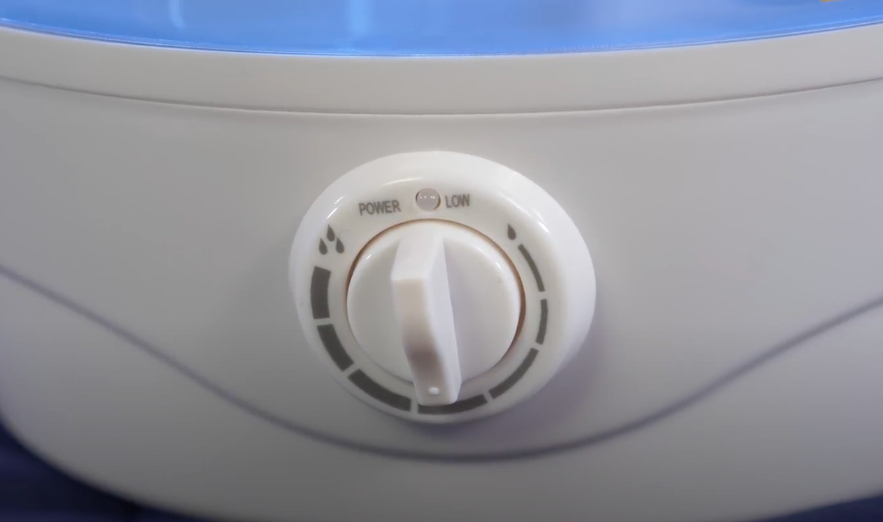
Revive Unresponsive Touch Buttons
Moisture trapped under the keypad freezes controls. Power off, flip the base upside-down for 30 minutes, then blow cool air across the panel with a hair dryer. If buttons remain dead, replace the membrane (AO-MEM-04)—soldering is required per Aquaoasis’s repair guide.
Stick to This Maintenance Schedule
| Task | Frequency | Lifespan Impact |
|---|---|---|
| Vinegar disk soak | Every 3-7 days | Prevents 80% of mist failures |
| Distilled water use | Always | Doubles disk longevity |
| O-ring inspection | Monthly | Stops leaks before they start |
| Full descaling | Monthly (hard water) | Avoids internal corrosion |
| Disk replacement | Every 2,000-3,000 hrs | Essential for consistent mist |
Following this routine extends your Aquaoasis lifespan to 5–7 years—tripling the average 2-year failure rate seen in neglected units.
Warranty Claims That Actually Work
- Free 2-year coverage: Include Amazon order ID or receipt when contacting support
- Extend to 5 years: Pay $19.99 within 30 days of purchase
- 24/7 support: Call 1-855-4-AQUAOASIS or email support@aquaoasis.com (under 8-hour response)
Pro Tip: For “no mist” issues after cleaning, request a prepaid shipping label—they’ll replace the disk (AO-UD-01) within 7 days. Never pay for out-of-warranty fan or disk replacements; these are covered under normal wear.
Bottom line: 90% of “Aquaoasis humidifier not working” cases resolve with power verification, a vinegar soak, or a $2 O-ring. Start with the outlet test—if lights work but no mist forms, clean the disk immediately. Stick to distilled water and monthly maintenance, and your unit will outlast cheaper models by years. When in doubt, follow the flowchart: power → lights → disk → leaks → noise. Within 15 minutes, you’ll know whether it’s a five-minute fix or a call to Aquaoasis’s legendary support team.


