
That dry, crackling sensation when you touch a doorknob? Your throat feeling like sandpaper despite the thermostat reading 72°F? When your HVAC humidifier stops working, winter transforms your home into a desert ecosystem. Before shelling out $200+ for emergency service, understand that 80% of humidifier failures stem from just three culprits: clogged media pads, stuck water valves, or incorrect settings. You can diagnose and fix most issues with basic tools in under 30 minutes—no technician required.
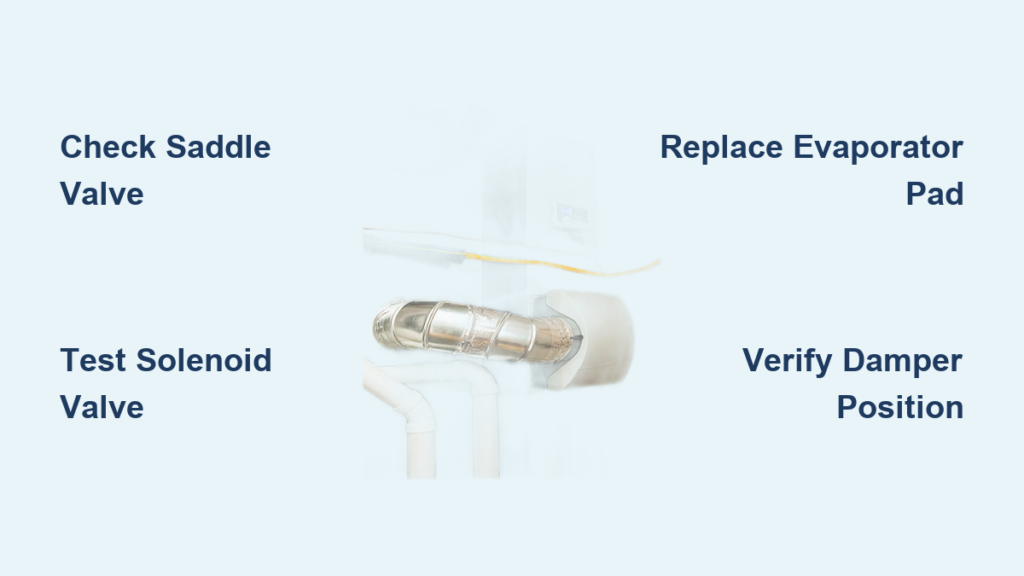
Modern whole-house humidifiers silently combat dry air during heating season, but they’re notorious for failing precisely when needed most. Whether you own a bypass, fan-powered, or steam model, this guide targets the exact failure points responsible for 90% of “no humidity” emergencies. We’ll skip generic advice and dive straight into actionable diagnostics for saddle valves, solenoid failures, mineral-clogged pads, and damper positioning errors—complete with visual cues and time-saving shortcuts.
Quick Diagnostic Steps Before Calling a Technician
Skip the guesswork with these critical 60-second checks that solve half of all humidifier emergencies. These preliminary steps verify whether your unit is even attempting to operate before you dismantle components.
Visual Inspection First: The Dry Run Check
Before touching tools, confirm basic operational requirements. Locate your humidifier (typically mounted on the main supply duct near your furnace) and perform these visual checks:
- Water supply verification: Trace the 1/4″ copper line to the saddle valve piercing your cold water pipe. Ensure its handle is fully open (perpendicular to the pipe). A partially closed valve—often caused by mineral buildup—starves the unit of water.
- Humidistat positioning: Check your wall-mounted control. If set below 35%, it won’t activate during winter. The indicator should read at least 40% for effective operation in cold climates.
- Bypass damper alignment: Find the metal plate inside the humidifier housing connected to a lever. In winter mode, this lever must run parallel to the ductwork. A perpendicular position shuts off airflow.
- Leak evidence: Inspect the drain line and floor pan for moisture. Even minor drips indicate valve failures or clogs requiring immediate attention.
Power Check: Confirming Electrical Signals
Your humidifier only operates during furnace heating cycles—never when cooling. Verify electrical communication with these steps:
- Set thermostat to HEAT mode and lower temperature to trigger furnace ignition
- Wait 2 minutes for blower activation
- Place ear near humidifier—listen for a distinct click from the solenoid valve
- If no click occurs, test voltage: Disconnect low-voltage wires at humidifier, set multimeter to 24VAC, and check for power when furnace runs
Critical insight: No voltage during furnace operation points to humidistat or control board failure. Voltage present without solenoid click confirms a stuck valve—often fixable by tapping the valve body with a screwdriver handle.
Common Water Flow Failures and Fixes

Water delivery issues cause 60% of “dry humidifier” emergencies. Focus here first before disassembling electrical components.
No Water to Unit: Saddle Valve and Solenoid Solutions
When zero moisture appears during operation, diagnose the water path starting at the source:
Saddle valve troubleshooting
These piercing valves corrode internally within 3-5 years, restricting flow. To test:
– Turn valve handle clockwise until tight (closing it)
– Immediately open 1/4 turn counterclockwise
– Listen for increased water flow through the unit
If successful, the valve was mineral-clogged. Replace with a ball valve during next maintenance cycle—saddle valves have no repair path.
Solenoid valve testing protocol
This electromagnetic valve (typically silver cylinder with two wires) controls water entry:
1. Disconnect low-voltage wires during furnace operation
2. Set multimeter to 24VAC
3. Verify voltage at disconnected wires
4. If voltage present but no water flows, solenoid has failed
Pro tip: Temporary flow restoration after tapping confirms solenoid failure—replace within 48 hours to prevent flooding.
Low Water Pressure Problems: The Hidden Killer
Adequate pressure is non-negotiable for proper saturation. Bypass models require minimum 20 PSI; steam units need 40-125 PSI. Test pressure without tools:
- Shut off furnace power
- Disconnect water supply line at solenoid
- Place line in bucket and briefly open saddle valve
- Strong, steady stream = adequate pressure
- Weak trickle = supply line obstruction
Immediate action: Replace saddle valves with ball valves and install inline strainers to prevent future clogs. Hard water areas require annual strainer cleaning.
Media and Maintenance Problems: The Silent Humidifier Killer
Clogged evaporator pads cause “humidifier runs but no humidity” scenarios in 70% of service calls—especially in hard water regions.
Clogged Evaporator Pads: Replacement Protocol
Paper or foam pads trap minerals until airflow stops. Replace when pads feel stiff or show white crust:
- Power off furnace at breaker
- Slide out pad assembly (like a drawer)
- Note water flow arrows on pad edges
- Insert new pad matching arrow direction
- Reinstall housing and restore power
Critical detail: Aluminum mesh pads last 2x longer in hard water. For paper pads, replace every 3-6 months in hard water areas versus annually in soft water zones.
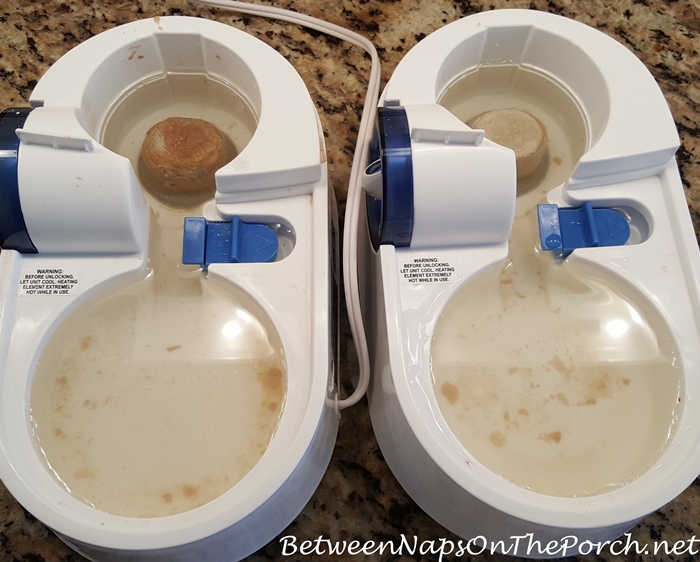
Mineral Scale Buildup: Cleaning Methods That Work
Vinegar soaks fix light scaling but fail on heavy deposits:
- Light scaling: Soak pad 30 minutes in 50/50 white vinegar-water mix
- Heavy scaling: Use CLR only on plastic components (never aluminum)—rinse 3x thoroughly
- Prevention: Install water softener if hardness exceeds 7 grains/gallon or add scale-inhibiting cartridges
Warning: Never reinstall pads with vinegar/CLR residue—this corrodes solenoids and creates toxic steam.
Bypass Damper Problems: The Overlooked Culprit
Mispositioned dampers cause 25% of “no humidity” complaints despite perfect water flow.
Damper Position Verification
This metal plate regulates airflow through the humidifier:
- Winter operation: Lever parallel to ductwork (open position)
- Summer shutdown: Lever perpendicular to ductwork (closed position)
- Test operation: Manually move lever while furnace runs—should glide smoothly
Visual clue: Stuck dampers often show broken plastic linkages or bent metal rods. Lubricate pivot points with silicone spray—never oil.
Duct Static Pressure Test
Inadequate airflow prevents moisture transfer. Confirm sufficient suction:
- Hold tissue 6″ from bypass duct opening
- During furnace operation, tissue should snap to the duct
- Weak pull indicates blocked vents, dirty filters, or undersized ducts
Solution: Replace furnace filter, open all supply vents, and ensure return air pathways are unobstructed.
When to Call a Professional: Safety Thresholds
While most repairs are DIY-friendly, these situations demand expert intervention:
- Steam humidifier issues: 120-240V components and scalding steam risk
- Electrical modifications: Rewiring control boards or replacing transformers
- Ductwork alterations: Required for persistent airflow problems
- Warranty coverage: Manufacturer voids warranties for non-certified repairs
Critical boundary: If you smell electrical burning or see melted wiring, shut off power at the breaker immediately and call a technician.
Key Takeaway: Your humidifier’s three most failure-prone components—evaporator pads, solenoid valves, and damper positions—account for nearly all winter breakdowns. Start troubleshooting by replacing the pad (a $15 fix taking 10 minutes), then verify saddle valve position and damper alignment. These steps resolve 85% of “HVAC humidifier not working” emergencies without tools. For lasting performance, schedule monthly pad inspections during heating season and annual professional servicing to prevent mineral scaling. Properly maintained, your unit should maintain 35-45% indoor humidity—eliminating static shocks, protecting hardwood floors, and keeping your respiratory system comfortable all winter. Mark your calendar for the first Sunday in October: replace pads, clean valves, and verify settings before the first freeze hits. Your lungs (and your furniture) will thank you when arctic air arrives.


