
That frustrating moment when your Dyson air purifier stops automatically adjusting to changing air conditions usually means your air quality sensor has failed. When your Dyson air purifier sensor not working properly, your unit can’t detect pollutants, temperature changes, or humidity levels—rendering its intelligent automatic features useless. You’re left guessing whether your air is actually clean or if your expensive purifier is just running blindly. This guide walks you through every proven solution to restore your sensor’s functionality, from simple cleaning techniques to advanced troubleshooting steps that address the specific causes behind sensor malfunctions in Dyson air purifiers.
Without a functioning sensor, your purifier loses its ability to measure critical environmental factors including temperature fluctuations, humidity levels, and volatile organic compounds (VOCs) that indicate pollutant presence. The sensor’s accurate readings drive your unit’s automatic adjustments, ensuring optimal cleaning performance based on real-time conditions. When sensor problems strike, you’re essentially operating in the dark about your indoor air quality. By following these targeted troubleshooting steps, you’ll regain confidence that your Dyson is actively protecting your home’s air quality rather than just circulating air without purpose.
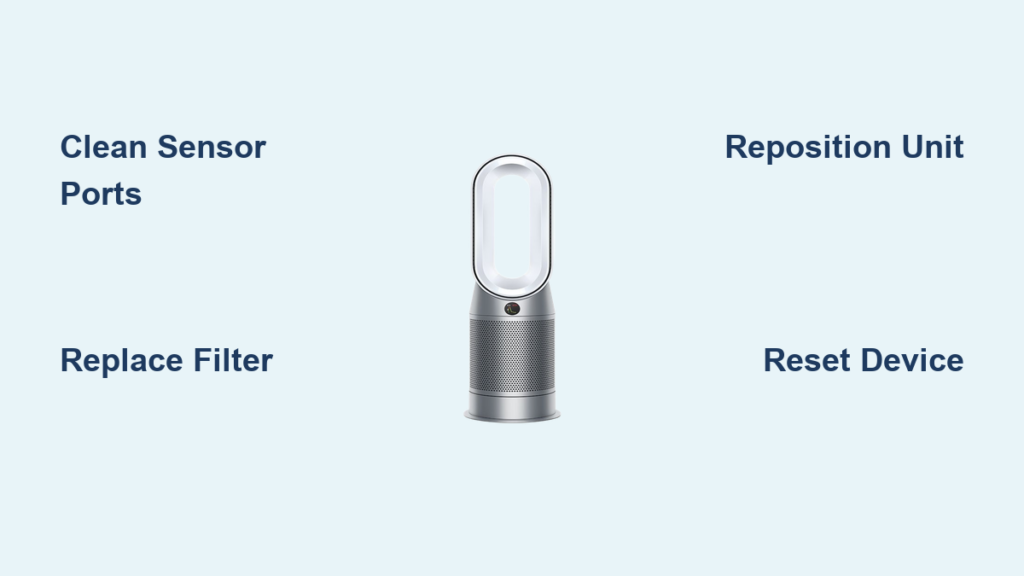
Clean the Air Quality Sensor Thoroughly
Dust accumulation on sensor components causes over 70% of all Dyson air purifier sensor not working issues. Those tiny sensor openings on the left side of your LCD display become clogged with microscopic particles over time, creating a physical barrier that prevents accurate air sampling. The good news? Proper cleaning usually resolves the problem within minutes.
Start by locating your sensor—look for two small holes on the left side of the display panel. Turn off and unplug your unit completely before beginning. Use a soft-bristled dry dusting brush (like a clean makeup brush) to gently remove visible debris from around the openings, working in circular motions without pressing inward. For deeper cleaning, attach a HEPA vacuum with a narrow nozzle to safely extract particles without blowing them deeper into the housing. If stubborn debris remains, use a blow dryer on the cool setting from 6-8 inches away—never apply heat as this can damage sensitive components. After cleaning, power up your purifier and allow 10-15 minutes for recalibration; you should see accurate air quality readings restored on your display.
Pro Tip: Clean your sensor monthly during regular maintenance to prevent buildup. Never insert cotton swabs, pins, or other objects directly into the sensor holes—this common mistake causes more damage than it fixes.
Replace Clogged Filters That Trigger False Sensor Readings

A dirty filter creates sensor problems that mimic actual sensor failure, making filter replacement essential when your Dyson air purifier sensor not working properly. As filters become saturated with pollutants over 6-12 months of use, restricted airflow interferes with the sensor’s ability to draw accurate air samples, leading to false readings or complete monitoring failure.
Follow these precise steps for proper filter replacement:
– Switch off and unplug your unit completely
– Press both side catches to lift the main body from the base
– Locate arrow indicators on the filter casing to release the old filter
– Dispose of the used filter in a sealed garbage bag to prevent particle release
– Remove new filter from packaging and position correctly in the casing
– Reattach the casing to the main body until you hear a secure click
– Clean the sensor hatch area with a dry microfiber cloth
– Power up the unit and reset by holding the remote’s On/Off button for six seconds
Critical Warning: Never operate your Dyson without a filter installed—this damages both the motor and sensor system. Replace filters every 12 months or sooner if visibly dirty, as Dyson’s warranty requires regular filter changes to maintain coverage.
Optimize Room Placement for Accurate Sensor Readings
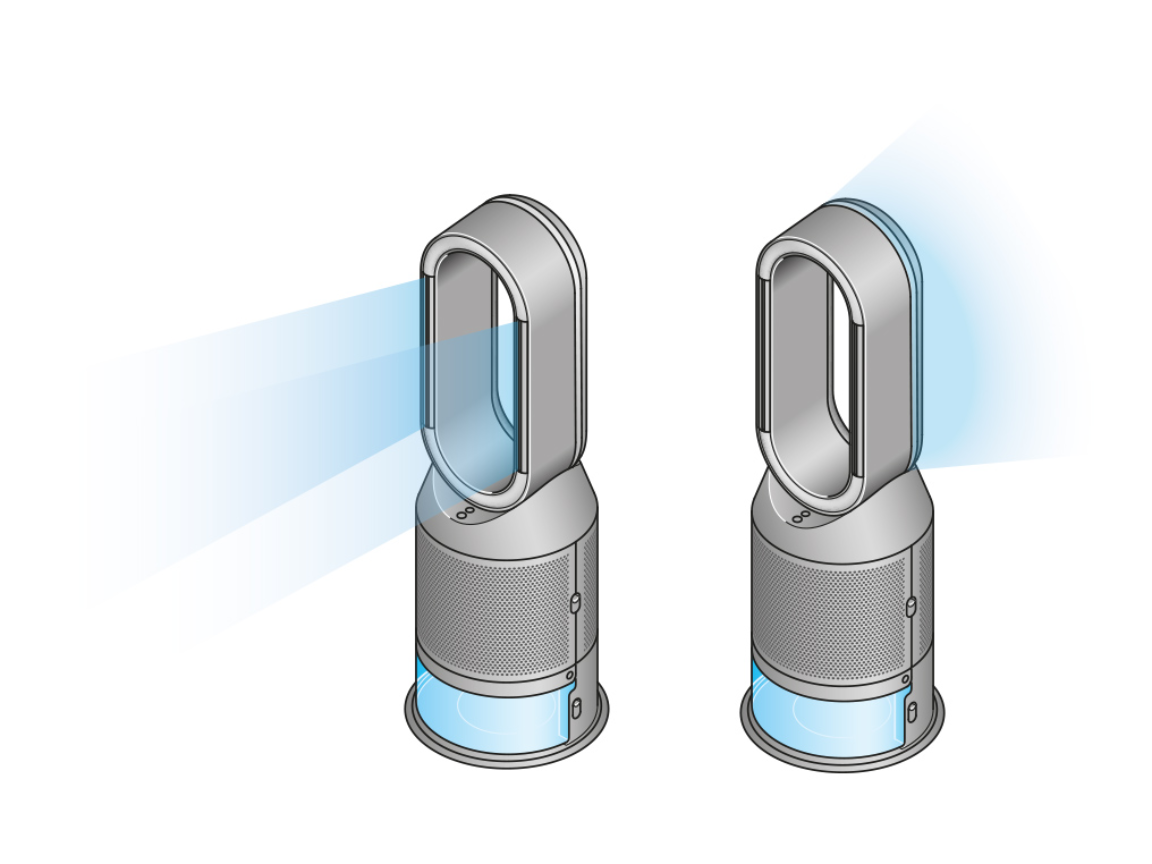
Poor placement creates sensor problems that look like hardware failure but are easily fixed with strategic repositioning. When your Dyson air purifier sensor not working because of inadequate airflow, your unit can’t sample representative air from your entire space.
Move your purifier away from corners and walls—maintain at least 2 feet of clearance on all sides, especially in front of the sensor ports. Open windows or doors temporarily to create cross-ventilation while the unit recalibrates. If you’ve placed your purifier in a room larger than its specified capacity (check your model’s manual), understand that sensor accuracy will be compromised—either move the unit to a properly sized room or consider adding a second purifier. For optimal sensor performance, position your unit in the room’s central airflow path, away from direct sunlight which can skew temperature readings.
Eliminate Physical Obstructions Blocking Sensor Ports
Furniture, curtains, or decorative items positioned too close to your purifier create “dead air zones” that prevent accurate environmental sampling. When your Dyson air purifier sensor not working because it’s physically blocked, the unit can’t detect changing air conditions throughout your room.
Conduct a thorough obstruction check:
– Inspect the immediate area in front of the sensor ports (left side of display)
– Ensure no furniture pieces sit within 18 inches of the unit
– Move curtains, plants, or artwork that might restrict airflow
– Verify no wall hangings create air barriers near the purifier
– Check that the unit isn’t placed inside cabinetry or bookshelves
Reposition your purifier to an open area where it can freely sample air from all directions. After clearing obstructions, allow 30 minutes for the sensor to recalibrate and display accurate readings—this gives the system time to establish new environmental baselines.
Verify Correct Operational Settings for Your Environment
Incorrect settings cause your sensor to misinterpret air quality data, making it appear non-functional when it’s actually working with mismatched parameters. Each Dyson model offers specialized settings for different pollutants—using the wrong mode creates false sensor failure symptoms.
Check these critical settings:
– Confirm you’re using VOC detection mode when concerned about chemical pollutants
– Select humidity-specific settings if monitoring moisture levels is your priority
– Ensure particulate matter mode is active for dust and allergen monitoring
– Verify auto-mode is engaged for intelligent automatic adjustments
Consult your specific model’s manual to understand which settings interact with sensor functionality. If uncertain, cycle through available modes while monitoring the display—proper sensor function typically shows immediate changes in reported air quality when different pollutants are detected.
Reset Your Unit to Resolve Software Glitches
Software issues frequently mimic hardware failures when your Dyson air purifier sensor not working. A proper reset clears temporary glitches that interfere with sensor communication and data processing.
Perform a full factory reset:
1. Locate the standby On/Off button on your unit
2. Press and hold for 20 seconds until the Wi-Fi indicator flashes white and green
3. Release the button and allow the unit to fully restart (2-3 minutes)
4. Reconnect to Wi-Fi if needed through the Dyson Link app
5. Observe sensor functionality for 15-20 minutes as it reestablishes baselines
Note: This reset clears network settings but preserves filter life tracking. If continuous monitoring fails after resetting, repeat the sensor cleaning process before concluding hardware damage.
Interpret Warning Indicators for Targeted Troubleshooting

Your display provides specific clues about sensor problems—understanding these warnings directs you to the right solution faster. When your Dyson air purifier sensor not working triggers a warning triangle, it typically indicates one of three issues.
Troubleshoot these common warning signs:
– Yellow triangle with filter icon: Filter needs replacement or proper seating
– Red triangle with sensor symbol: Sensor requires cleaning or has failed
– Flashing air quality indicator: Temporary sensor calibration in progress
First verify filter installation—if warnings persist after confirming proper filter placement, clean the sensor ports and reset the unit. Persistent warnings after these steps indicate potential hardware failure requiring professional assessment.
Schedule Preventative Sensor Maintenance
Regular sensor care prevents 90% of “Dyson air purifier sensor not working” issues. Integrate these simple habits into your monthly maintenance routine:
- Wipe around sensor ports with a dry microfiber cloth during filter changes
- Vacuum the sensor area using a soft brush attachment every two weeks
- Check for obstructions weekly when dusting your home
- Run automatic calibration cycles monthly through the Dyson Link app
Pro Tip: Set calendar reminders for sensor cleaning on the same day you change filters—this pairing ensures comprehensive maintenance that keeps your sensor functioning optimally for years.
Contact Dyson Support for Hardware Failures
When all troubleshooting fails, professional assistance becomes necessary. Dyson’s technical support team handles sensor-specific issues for all models including Pure Cool Link TP02, Humidify + Cool Autoreact PH3A, Cool Formaldehyde TP09, and other variants.
Reach support through:
– Phone: 844-705-4777 (8am-8pm CST Mon-Fri, 9am-6pm CST Sat)
– Live chat: Available via bottom-right chat button on Dyson’s website
– Online resources: Download model-specific manuals with sensor diagnostics
Before contacting support, have your model number ready (found on the base) and document all troubleshooting steps you’ve attempted—this speeds up diagnosis and potential warranty service.
Final Sensor Troubleshooting Checklist
When your Dyson air purifier sensor not working, work through these solutions in this exact order:
1. Clean sensor ports with dry brush or cool air
2. Replace filter if over 12 months old or visibly dirty
3. Reposition unit for optimal airflow and no obstructions
4. Verify correct operational settings for your environment
5. Perform full factory reset to clear software glitches
Most sensor issues resolve at step one or two—only proceed to professional support if all steps fail. Establish a monthly maintenance routine that includes sensor cleaning to prevent future problems. Remember that consistent care keeps your Dyson’s intelligent air monitoring system functioning properly, ensuring you always know your home’s true air quality rather than guessing whether your purifier is actually protecting your health.


