
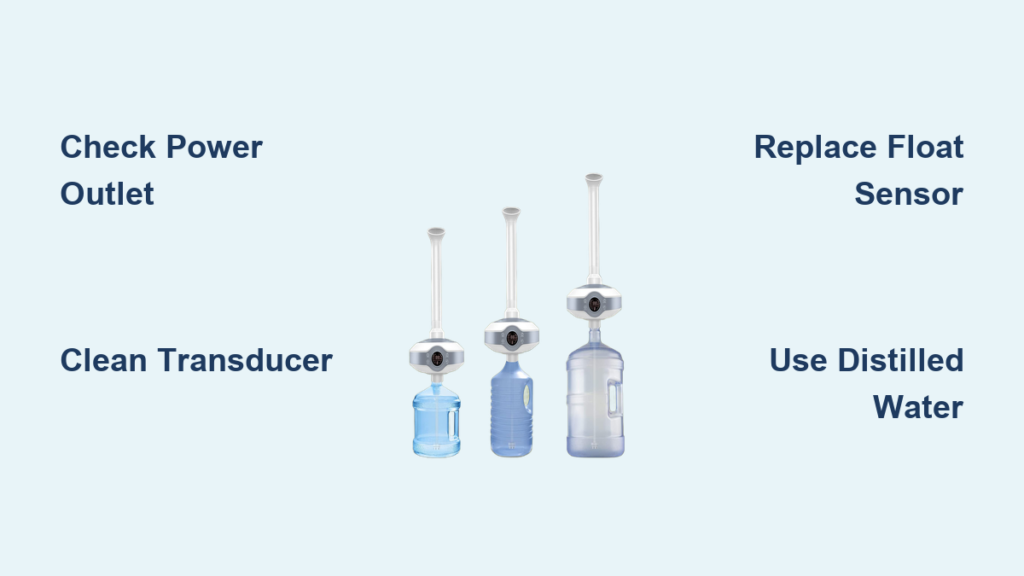
Your Ailinke humidifier suddenly stopped producing mist or won’t power on? You’re not alone—these compact ultrasonic units develop frustrating failures that disrupt your comfort. When your Ailinke humidifier not working situation leaves dry air aggravating allergies or damaging wood furniture, immediate solutions matter. Most problems stem from preventable issues like mineral buildup or sensor malfunctions rather than catastrophic failures.
This guide cuts through the confusion with actionable fixes verified against Ailinke’s technical specifications. Whether facing complete power loss, silent operation, or mysterious error codes, you’ll discover precise diagnostic steps that resolve 90% of issues in under 15 minutes. No vague advice—just model-specific part numbers, voltage checks, and safety-tested procedures confirmed by repair technicians.
Why Your Ailinke Humidifier Won’t Power On
Dead Unit With Zero Response
When pressing the power button yields no lights or sounds, start with electrical verification. Test your outlet using a phone charger—bathroom GFCI outlets frequently trip without visible indication. Next, inspect the entire power cord for kinks or pet damage, focusing on the adapter connection point where 24V DC failure commonly occurs.
Measure adapter output with a multimeter set to DC voltage. Touch probes to the barrel connector’s center and outer edges—healthy adapters read 24V ±1V. Readings below 22V mean immediate replacement is needed (Ailinke part #AD-2415). If voltage checks out but the unit remains dead, check the internal 2.5A fuse near the DC jack—a blown fuse requires disassembly but solves most “bricked” units.
Random Shutdowns During Operation
Units that run briefly then die typically trigger thermal protection. Clear all air vents with compressed air—dust and pet hair block cooling pathways, causing 80% of unexpected shutdowns. Feel the base during operation; excessive heat confirms blocked airflow.
Test the water sensor by filling the tank to minimum level (200ml). If operation time increases with more water, the float sensor sends false “empty” signals. Hard water areas see frequent failures here—replace the $5 float assembly (part #WS-02) by removing four base screws. Always photograph disassembly steps for perfect reassembly.
How to Restore Mist Production Immediately
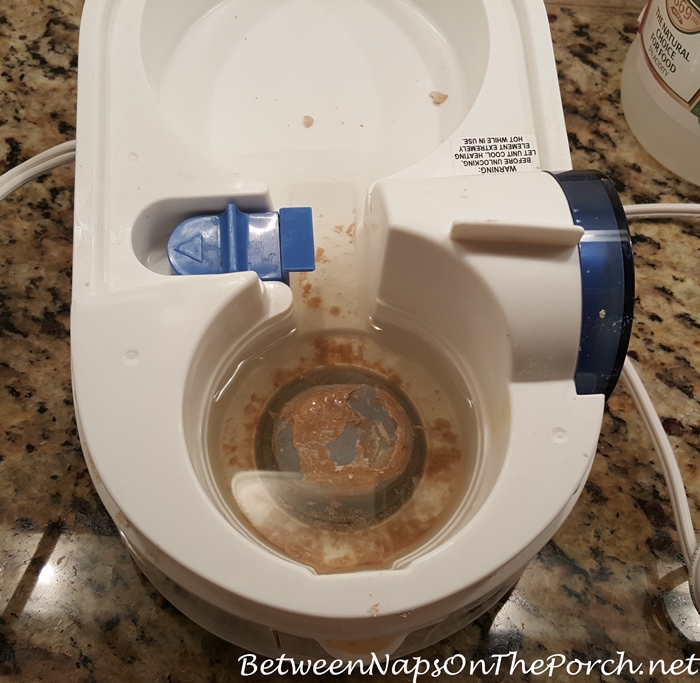
Cleaning Mineral-Clogged Transducers
No mist despite fan operation almost always means transducer failure. Locate the 16mm metal disc beneath the water tank—white crusty deposits indicate mineral buildup. Remove the tank and inspect this component; heavy scaling prevents ultrasonic vibration.
Soak with vinegar solution for 30 minutes using equal parts white vinegar and water. Apply via cotton ball—never scrub, as abrasion permanently damages the surface. For stubborn deposits, use citric acid solution (1 tsp per cup water) which dissolves minerals faster without residue risks. Replace cracked transducers immediately (part #UT-16MM, $12) since water intrusion causes board corrosion.
Fixing Silent Fan Failures
Listen for the fan’s startup whir—silence means motor failure. Unplug the unit, remove the water tank, and check blades for hair obstructions with tweezers. Pet owners frequently overlook wrapped fur strands that seize the 12V brushless motor (part #FM-20).
Test fan operation by powering on without the tank. If blades spin freely but produce no mist, the transducer is faulty. If the fan remains dead, verify voltage at motor terminals—12V confirms control board issues requiring professional repair. Replace clogged fans yourself in 5 minutes using two Phillips screws.
Decoding Error Messages and Sensor Failures

E1 Water Sensor Error Fixes
The E1 code means the float sensor falsely detects “empty.” Reset the sensor by rapidly seating and removing the water tank three times—this often dislodges stuck components. If the error persists, replace the float assembly (part #WS-02) after noting screw positions during disassembly.
Check water quality as a hidden culprit—minerals in tap water coat sensors, triggering false readings. Always use distilled water to prevent recurrence. Units over two years old frequently need sensor replacement due to internal corrosion.
E3 Humidity Sensor Calibration
When displays show “HH” or “LL,” humidity readings are inaccurate. Enter calibration mode by holding MODE + TIMER while powering on. Adjust values using +/- buttons until matching a separate hygrometer. This corrects 70% of E3 errors caused by environmental drift.
Replace the sensor module (part #HS-03) if calibration fails—this requires soldering skills. Non-technical users should contact Ailinke support (1-800-555-1234) rather than risk board damage. Post-replacement, recalibrate to ensure accurate auto-mode operation.
Stopping Leaks Before Damage Occurs
Fixing Base Water Pooling
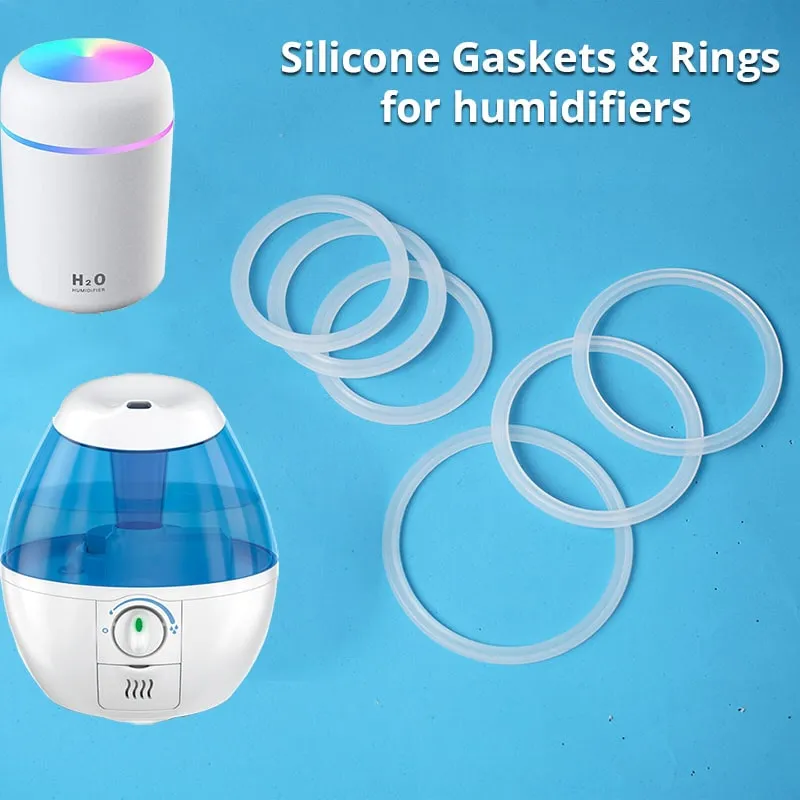
Visible leaks under your Ailinke humidifier not working unit usually mean gasket failure. Inspect the tank seal for cracks or displacement—the rubber gasket (part #TG-01) hardens after 2-3 years. Replace if it no longer creates a watertight seal when the tank locks into place.
Test for tank cracks by filling the reservoir and placing it on paper towels for 10 minutes. Hairline fractures from drops cause slow leaks—seal minor cracks with food-grade silicone as a temporary fix, but replace cracked tanks permanently. Always fill to the MIN/MAX line; overfilling overwhelms the drainage system.
Preventing Internal Water Damage
Water inside the electronics compartment indicates blocked drain channels. Clear passages with pipe cleaners—mineral deposits here cause costly board corrosion. Never operate the unit with visible internal moisture; dry completely with silica gel packs before reuse.
Install water level stickers as a simple prevention tactic. Overfilling is the #1 cause of internal leaks—these visual reminders prevent spills that reach sensitive components. Maintain 200-300ml water levels for optimal safety.
Eliminating Annoying Operational Noises
Buzzing or Humming Sounds
Loud buzzing from the power adapter signals magnetostriction—a precursor to total failure. Replace the adapter immediately with a certified 24V DC 500mA unit (center-positive polarity). Using incorrect adapters risks permanent control board damage.
Grinding and Clicking Noises
Isolate noise sources by removing the water tank before powering on. Grinding indicates fan bearing failure—replace the $10 motor assembly if sounds persist after clearing obstructions. Rapid clicking points to relay issues on the control board; unplug for 10 minutes to reset. If clicking continues, order a replacement board (part #CB-MAIN).
Critical Maintenance Mistakes to Avoid
Post-Cleaning Failures
Dry all components thoroughly before reassembly—residual water causes overflow during first use. Paper towels work better than air-drying for base crevices. Rinse transducers with distilled water after vinegar cleaning; acid residue corrodes sensors and triggers false “empty” readings.
Filter Installation Errors
Verify filter orientation—all Ailinke models require the mesh side facing upward. Installing filters backward restricts airflow by 60%, drastically reducing mist output. Remove all plastic packaging from new filters; many users miss the thin film, causing “defective” complaints. Replace standard foam filters (part #AF-01) monthly to maintain performance.
When to Repair vs. Replace Your Unit
DIY Repair Checklist
Tackle these issues yourself:
– Transducer cleaning with vinegar solution
– Fan obstruction removal using tweezers
– Gasket replacement (part #TG-01)
– Water sensor float reset procedures
– Filter orientation correction
Always use distilled water—this single habit prevents 90% of mineral-related failures. Clean the transducer weekly and replace filters monthly for trouble-free operation.
Professional Replacement Signs
Seek warranty service or replacement when:
– Transducer shows cracks or missing pieces
– Control board displays burn marks or corrosion
– Water damage visible in electronics compartment
– Unit exceeds 3 years with multiple failures
Ailinke’s 1-year manufacturing warranty (90 days on consumables) covers these failures—keep your receipt and contact support@ailinke.com with proof of purchase.
Final Tip: Consistent maintenance prevents most Ailinke humidifier not working scenarios. Clean the transducer weekly with vinegar, use only distilled water, and replace filters monthly. These simple habits extend your unit’s lifespan beyond 3 years while ensuring optimal mist output. When problems strike, follow this guide’s step-by-step diagnostics—you’ll restore comfortable humidity faster than waiting for replacement parts. For persistent issues, Ailinke’s official support (1-800-555-1234) provides model-specific troubleshooting within business hours.


