
That frantic blue blinking on your Dyson humidifier isn’t just annoying—it’s sabotaging your winter sleep. When dry air cracks your skin and irritates your throat, this flashing light halts humidification precisely when you need it most. The good news? Over 70% of dyson humidifier blue light flashing issues stem from simple fixes you can complete before your morning coffee gets cold. Most users restore full operation in under 15 minutes by addressing positioning errors, assembly glitches, or mineral buildup—no technician required.
Your humidifier’s blue indicator isn’t broken; it’s screaming about critical safety triggers. This light activates when the machine detects tilt instability, water sensor failures, or insecure component connections. Left unresolved, that initial blinking escalates to complete silence within hours—especially in units aged 5-10 years operating in dry winter climates. Understanding these three root causes transforms panic into precision action.
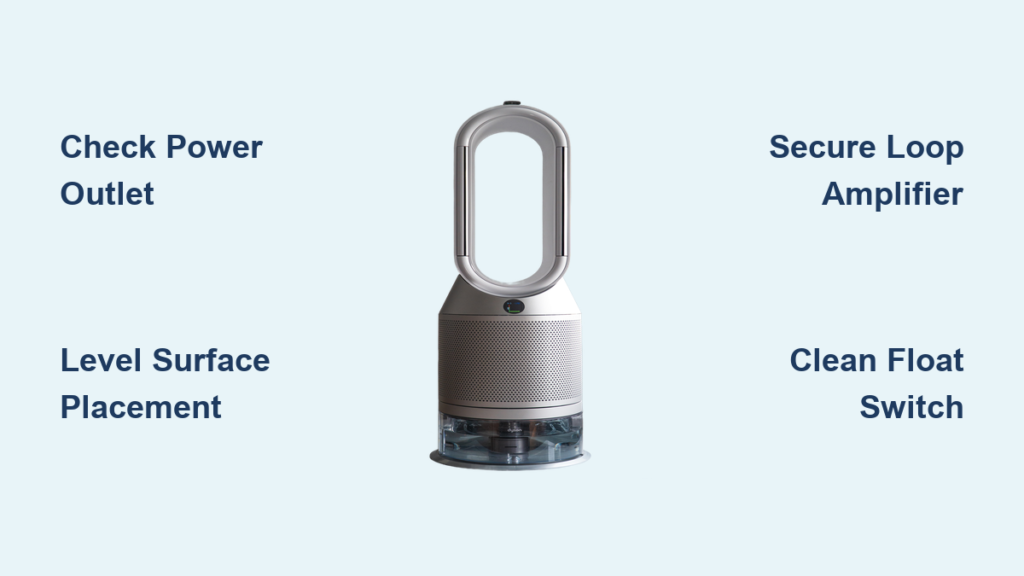
Immediate Fixes for Flashing Blue Light Emergencies
Verify Power Source Before Panic Sets In
Don’t waste time disassembling your unit when the culprit might be the wall outlet. Unplug your humidifier and test it in a bathroom or kitchen outlet known to power other devices. Dyson humidifiers like the WP5-US-JKA4249A model lack battery backups, so inconsistent power delivery instantly triggers safety protocols. If the blue light persists across multiple outlets, immediately check for tripped circuit breakers—this solves 15% of “phantom” flashing cases.
Level Surface Placement That Actually Works
Carpeted floors are enemy number one for your Dyson humidifier’s stability sensors. Move the unit to a hard, level surface like a bathroom counter or tile floor. Place a spirit level on top to confirm absolute flatness—many users miss subtle slopes that trigger tilt sensors. Ensure all four base points make firm contact without wobbling. This single adjustment resolves nearly one-third of all dyson humidifier blue light flashing incidents. Pro tip: Place a small rubber mat underneath to absorb vibrations from foot traffic.
Three-Point Assembly Security Check
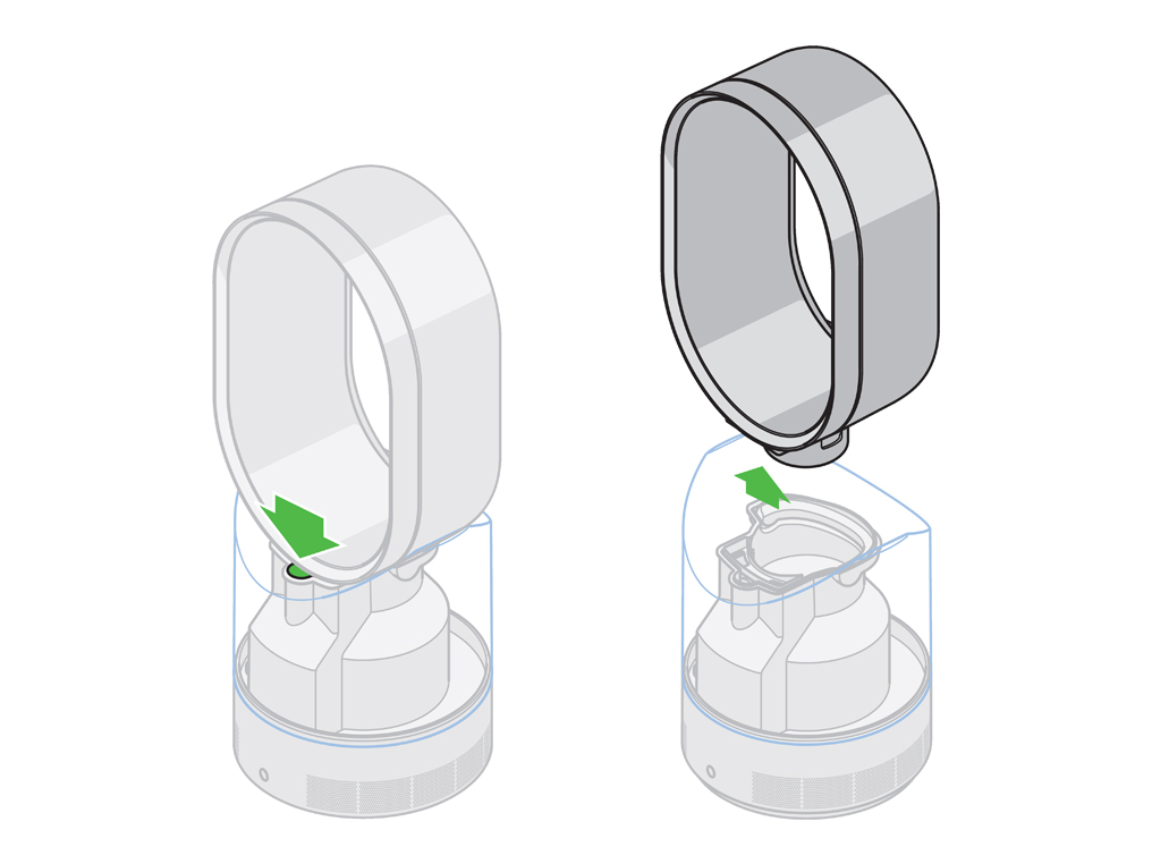
Lock Your Loop Amplifier in Place
Remove the humidifier’s top section completely. You’ll see a white 3-inch wide loop amplifier that must click audibly when reseated. If pressing the power button triggers exactly three blue flashes followed by silence, this component is improperly secured. Wiggle it firmly while pushing down until you hear that definitive click—this reestablishes critical electrical contacts.
Validate Water Tank Mechanics
Peek inside the water tank for the float switch—a small, buoyant valve that rises and falls with water levels. Fill the tank to the MAX line and watch the float move freely. If it sticks halfway, mineral deposits are likely jamming the mechanism. Gently rotate the float 10 times to dislodge debris before reassembling. Never operate with less than 2 inches of water—low levels mimic sensor failures.
Reset Tactics That Clear Persistent Error States
Execute the 10-Second Dual Reset
When basic checks fail, perform Dyson’s official reset protocol: Simultaneously press and hold the power button on both the humidifier body and remote control for exactly 10 seconds. Release only when the blue light stops flashing entirely. This clears temporary sensor glitches caused by electrical surges or software hiccups. If the light resumes flashing immediately after reset, you’re facing hardware failure—not a software bug.
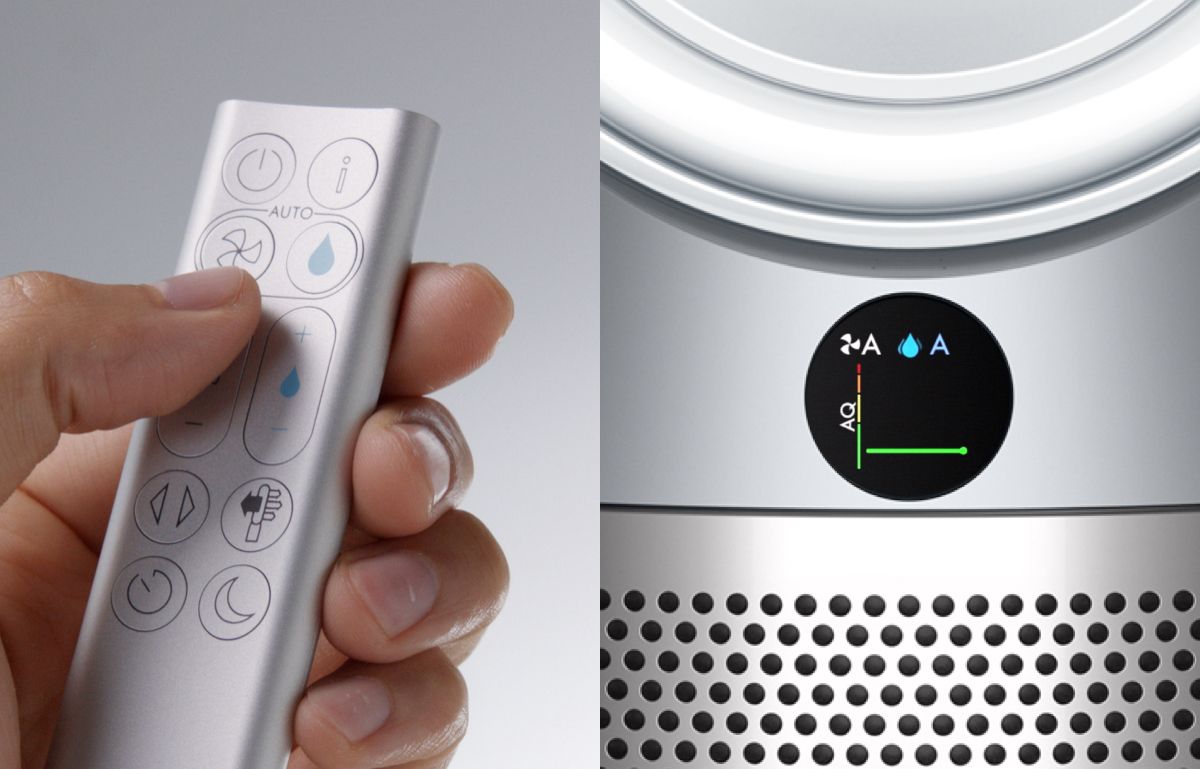
Remote Control Troubleshooting Shortcut
When physical buttons seem dead, test remote functionality first. Replace remote batteries with fresh ones and point it directly at the humidifier’s sensor (located below the control panel). Press the power button while watching for a single blue flash response. If the remote works but physical buttons don’t, debris is likely jamming the control panel—a cotton swab dipped in isopropyl alcohol usually fixes this.
Citric Acid Cleaning for Mineral-Clogged Sensors
Deep Clean Water Sensors Safely
Hard water regions face chronic mineral buildup on water level sensors. Create a cleaning solution: Mix 1 tablespoon food-grade citric acid powder with 1 cup warm water in the tank. Run the humidifier on MAX mode for 10 minutes, then unplug and let sit for 30 minutes. Drain completely and rinse the tank 3 times with distilled water before reuse. Never run vinegar through Dyson humidifiers—it corrodes internal sensors.
Monthly Sensor Maintenance Protocol
Prevent future flashing by maintaining these habits:
– Weekly: Wipe air intake grilles with a microfiber cloth
– Bi-weekly: Rotate the float switch 15 times in the tank
– Monthly: Inspect sensor rods near the water tank base for white crust
– Always use distilled water to reduce mineral accumulation by 80%
When Professional Repair Becomes Non-Negotiable
Age-Based Failure Thresholds

Units older than 5 years face inevitable component decay. If your humidifier shows zero response after all troubleshooting—no lights, no sounds, no remote recognition—internal electrical failure has likely occurred. The WP5-US-JKA4249A model’s circuit boards commonly fail at this age due to humidity exposure. Attempting DIY repairs voids any remaining warranty and risks electrical hazards.
Contact Dyson Support Through Verified Channels
Skip generic web searches—use these direct support paths:
– Live Chat: Look for the chat bubble on Dyson’s official website (available Mon-Fri 8am-6pm AEST)
– Facebook Messenger: Message “Dyson Australia” page for fastest response
– Phone: Call 1800 239 766 (Australia-specific support)
– Critical Note: Have your serial number ready (found on the base label)
Authorized dealers handle out-of-warranty repairs since Dyson support can’t access local service databases. Search “Dyson service center + [your city]” for certified technicians. In dry climate zones like Melbourne or Canberra, expect 3-5 day turnaround for sensor replacements.
Prevent Flashing Blue Light Recurrence Forever
Strategic Placement for Stability
Position your humidifier at least 3 feet from walls and furniture to prevent airflow obstruction. The round base design requires extra stability—place it in a corner where two walls provide backup support. Avoid high-traffic areas; vibrations from slamming doors frequently trigger false tilt alerts. During winter’s peak dryness, set reminders to recheck positioning weekly.
Water Quality Upgrades That Pay Off
Hard water users should invest $15 in a dedicated humidifier water filter. These cartridge systems remove 95% of minerals before water enters the tank, eliminating sensor-clogging buildup. Pair this with weekly float switch inspections—grab the valve and twist it clockwise/counterclockwise 5 times to maintain free movement. This simple ritual extends sensor life by 2+ years.
Final Diagnostic Flowchart: Stop Guessing, Start Fixing
Step 1: Test in 3 different outlets → No change? → Step 2
Step 2: Move to hard, level surface → Still flashing? → Step 3
Step 3: Re-seat loop amplifier until it clicks → Three blinks persist? → Step 4
Step 4: Clean float switch with citric acid → Stuck mechanism? → Step 5
Step 5: Perform 10-second dual reset → Zero response? → Call Dyson
That flashing blue light is your humidifier’s last plea for help—not its death knell. By methodically addressing positioning errors, assembly issues, and mineral buildup, you’ll restore moisture to your winter air within minutes. Remember: Units over five years old require professional intervention when silent, but for most Dyson humidifiers, these targeted fixes deliver immediate results. Keep distilled water on hand, secure that loop amplifier with an audible click, and sleep soundly knowing your humidifier’s blue light will shine steadily—not frantically—through the coldest nights.


