
Your evaporative humidifier sits silent, the air remains dry, and winter static cling has returned with a vengeance. Unlike ultrasonic models that visibly spray mist, evaporative units work quietly through natural evaporation—making it harder to spot when they’ve failed. This guide walks you through every possible failure point, from clogged wicks to dead fan motors, with step-by-step fixes you can tackle today.
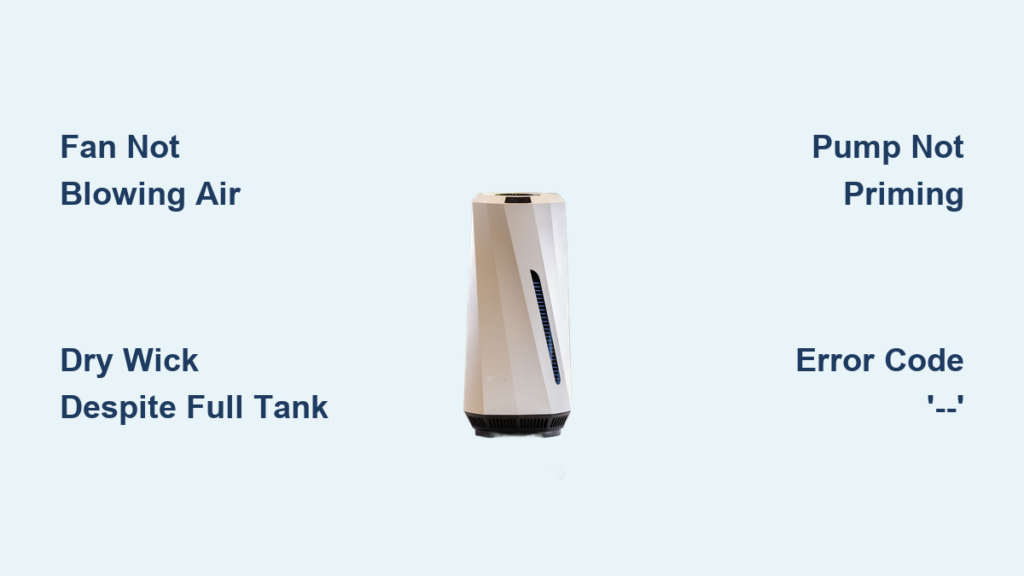
Fan Not Blowing Air
When your unit powers on but delivers no airflow, the fan system is the primary suspect. These failures often develop gradually, starting with reduced air movement before complete shutdown.
No Air Movement Diagnosis
Place your hand directly over the outlet vent to check for airflow. A properly functioning evaporative humidifier should push steady air between 80-150 CFM depending on model size. Complete absence of movement points to motor failure, electrical issues, or severe blockage.
Listen carefully for warning sounds before complete failure—grinding indicates bearing wear, rattling suggests loose components, and squealing points to belt or bearing problems. These noises typically start intermittently before becoming constant, giving you time to address the issue before total failure.
Dust Buildup Cleaning Process
Turn off and unplug the unit before removing the water reservoir and wick assembly to access the fan housing. Using compressed air, carefully blow out dust from fan blades and motor housing—hold the fan blade steady to prevent overspinning which can damage bearings.
For stubborn buildup, use a soft brush or vacuum with brush attachment. Pay special attention to intake vents where dust first accumulates. Clean these areas monthly to prevent efficiency loss and motor strain. Pro tip: Never use water near the motor assembly—moisture causes electrical shorts and corrosion.
Wick System Failures
Your wick acts like a sponge, pulling water upward while air passes through to pick up moisture. When this system fails, humidity levels plummet even with a full reservoir.
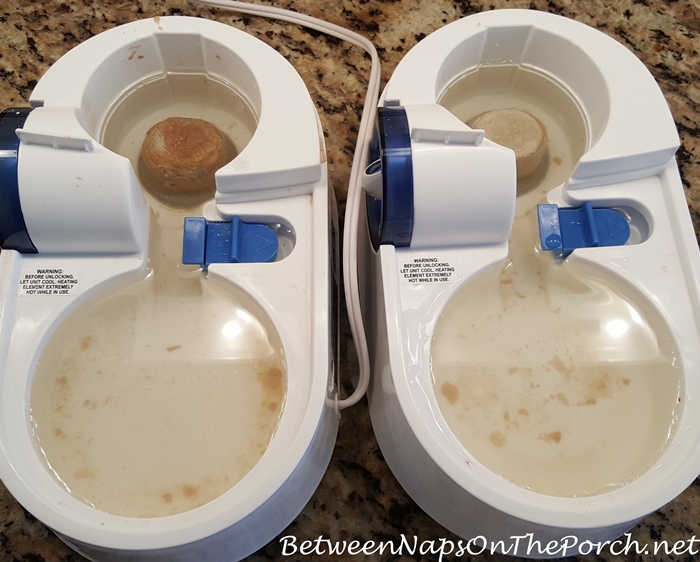
Dry Wick Despite Full Tank
Remove the wick and perform the water absorption test. A healthy wick should absorb water within 30 seconds when placed in a bowl. Failure indicates mineral blockage or physical deterioration. Hold the wick up to bright light—significant light penetration through gaps means the material has degraded.
Air bypassing these holes prevents proper humidification. Replace immediately when deterioration appears. Warning: Continuing to operate with a damaged wick significantly reduces humidification effectiveness and strains the fan motor.
Mineral Deposit Removal
Soak clogged wicks in a 1:1 white vinegar solution for 45-60 minutes. Gently agitate every 15 minutes to loosen deposits. Rinse thoroughly until water runs clear—lingering vinegar damages wick fibers.
Severe mineralization may require 2-3 treatment cycles. However, if the wick remains rigid or develops a chalky texture after cleaning, replacement is necessary. Hard water areas typically need new wicks every 2-4 weeks versus 4-8 weeks for soft water. Pro tip: Always handle wicks gently—bending or crushing damages the delicate fiber structure.
Pump System Malfunctions
Pump-assisted models use small pumps to circulate water over the wick. These systems fail differently than gravity-fed units.
Identifying Pump Problems
Listen for a quiet humming sound when the unit powers on—this indicates pump operation. Absence of sound suggests electrical failure or blockage. Even with proper sound, the pump may not deliver adequate water flow.
Check the pump intake for debris—tiny particles can obstruct the impeller. Gently remove visible debris with tweezers. Never insert objects into the pump housing as this damages delicate components. Critical step: Unplug the unit before inspecting pump components to avoid electrical hazards.
Priming After Storage
Units stored dry may require pump priming. Fill the reservoir completely and let it sit for 30 minutes before powering on. This allows water to naturally prime the pump system.
For stubborn cases, gently tip the unit 45 degrees while powered on to help water reach the pump intake. Avoid aggressive shaking which can damage internal components. If priming fails after 3 attempts, the pump likely needs replacement.
Digital Display Error Codes
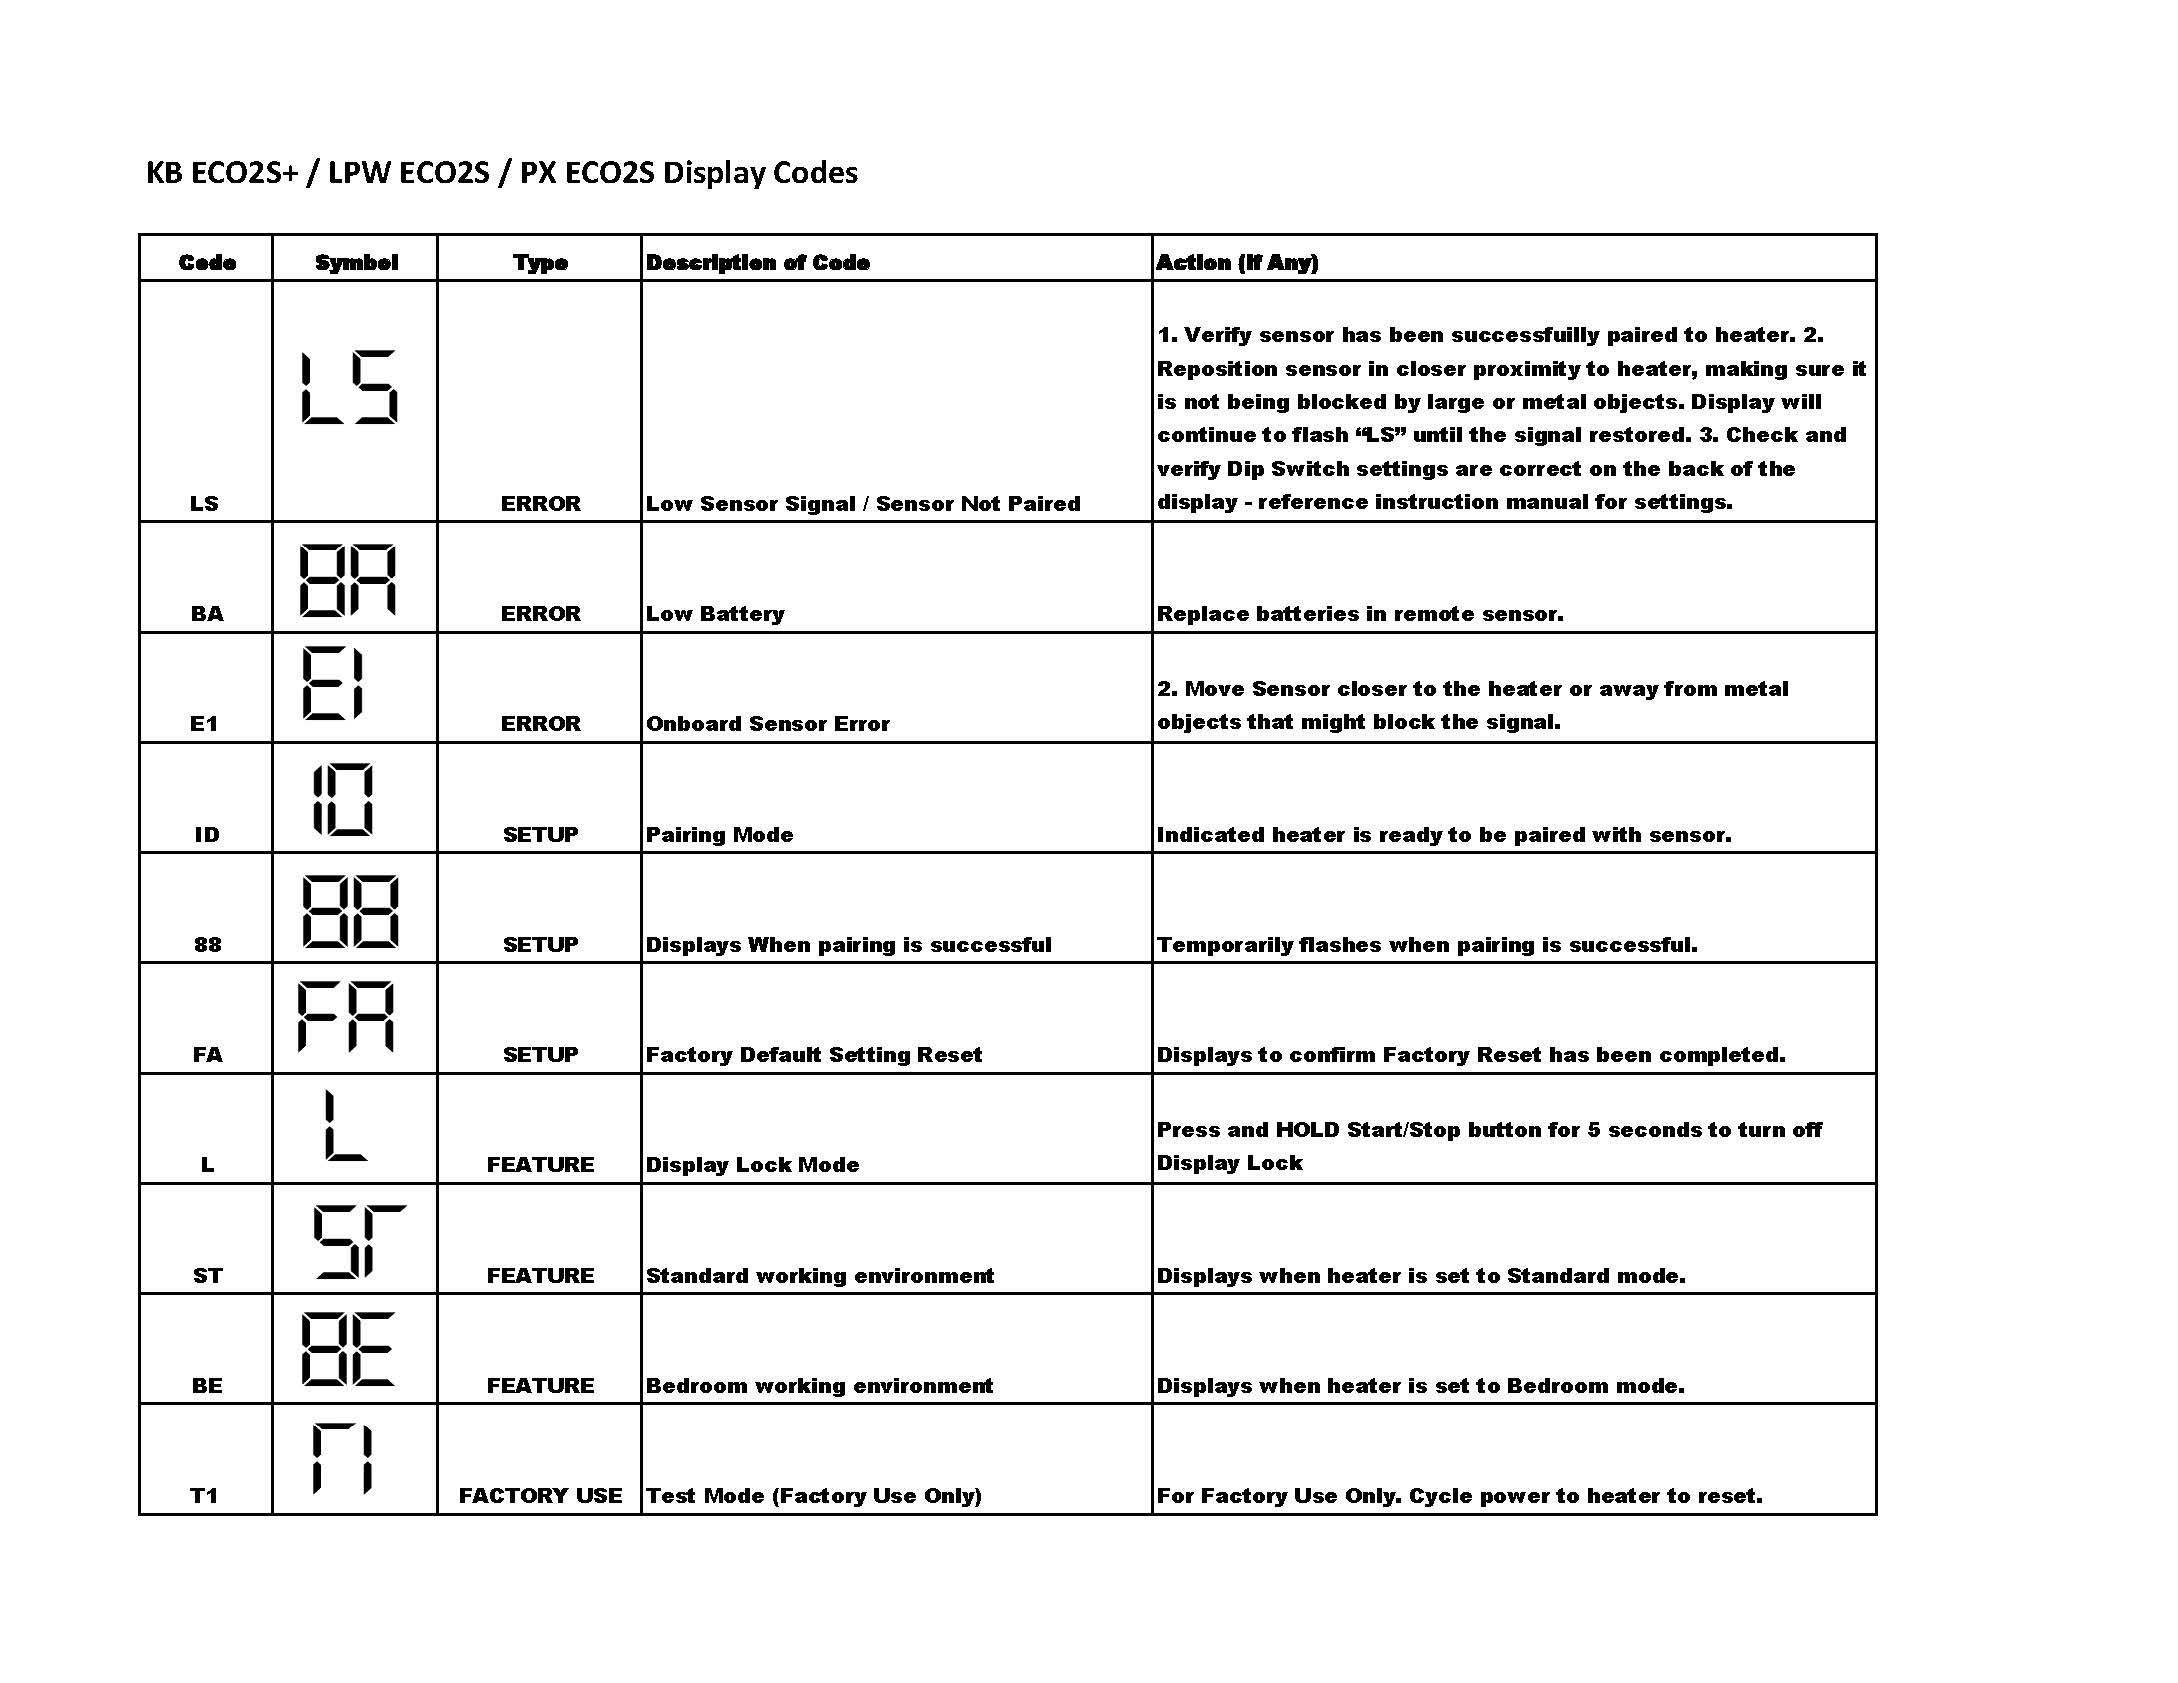
Modern evaporative humidifiers show specific error patterns that point directly to the problem.
“–” Display Troubleshooting
This common error on digital models indicates water level sensor issues. First, power cycle the unit—unplug for 5-10 minutes to reset the system.
Remove and reseat the water tank ensuring proper alignment. Check that the tank sits flush without gaps. Clean the water level sensor (usually a small probe in the base) with a damp cloth to remove mineral deposits. Verify water level exceeds minimum fill line by at least 1 inch for proper sensor contact.
Humidity Sensor Calibration
Erratic cycling or continuous operation despite target humidity indicates sensor problems. Clean the sensor with a dry cotton swab—never use liquids which can damage calibration. Most models reset through specific button combinations (check your manual).
If calibration fails, sensor replacement costs 30-50% of unit price—consider the unit’s age before proceeding. Warning: Moisture damage from improper cleaning often creates more serious sensor issues than the original problem.
Environmental Performance Issues

Sometimes the unit works perfectly but fails to humidify effectively due to environmental mismatches.
Room Size Capacity Problems
Units running continuously without reaching target humidity are likely undersized. Calculate your room’s needs: multiply square footage by ceiling height, then divide by 2 for required daily water output in pints.
For example, a 200 sq ft room with 8-foot ceilings needs approximately 800 pints daily output. If your reservoir empties in 2-3 hours on medium, the unit cannot keep up with demand. Solution: Consider adding a second unit or upgrading to a higher-capacity model.
Seasonal Adjustment Strategies
Winter operation requires longer run times since cold air holds less moisture. Use room-temperature water to improve evaporation efficiency—cold water reduces effectiveness by up to 30%.
During summer, higher ambient humidity naturally reduces evaporation rates. Consider relocating to smaller enclosed spaces or switching to high-efficiency mode if available. Pro tip: Monitor room humidity with a separate hygrometer—built-in sensors often become inaccurate over time.
Performance Optimization Tips
Maximize your unit’s effectiveness with strategic placement and operation.
Optimal Positioning
Place units 3-6 feet from walls for adequate air circulation. Elevate 2-3 feet off the floor using stable, waterproof surfaces. Avoid heat sources like radiators or vents which reduce relative humidity by warming the air without adding moisture.
Position the unit where airflow isn’t obstructed by furniture or curtains. Critical mistake to avoid: Never place directly against walls—that reduces effective airflow by 40-60% and creates uneven humidity distribution.
Water Quality Management
Distilled water dramatically extends wick life and reduces maintenance. In hard water areas, demineralization cartridges help moderate mineral buildup. Calculate costs—distilled water often pays for itself through reduced wick replacements.
Refill when reservoir reaches 20% remaining capacity. Avoid complete emptying which can stress pump systems. Pro tip: Use room-temperature water to optimize evaporation rates—cold water can reduce effectiveness by up to 30% in winter conditions.
Evaporative humidifier failures typically stem from three core issues: fan problems, wick saturation, or water delivery failures. By systematically working through these diagnostic steps, you’ll restore proper humidity levels and prevent future breakdowns. Remember—consistent maintenance prevents 80% of common failures, making weekly cleaning your best investment in reliable operation. When facing repair decisions, consider that wick replacement is always cost-effective, but control board repairs often exceed 50% of a new unit’s price. For units older than five years with multiple component failures, replacement typically offers better long-term value and performance.


