
That dry winter air leaves your throat scratchy, your skin flaky, and every doorknob a potential static shock hazard—yet your furnace humidifier sits useless when you need it most. When your furnace humidifier not working properly, you don’t need to call an expensive technician immediately. Most common issues can be diagnosed and fixed in under an hour with basic tools. This guide gives you the exact steps to restore proper moisture levels in your home, from simple water supply checks to component-level repairs that solve 90% of problems homeowners face.
No Water Flow? Start Here
When your humidifier runs but no water flows, the problem typically lies in three critical areas: power supply, water delivery, or component failure. Begin with these quick visual checks before diving deeper.
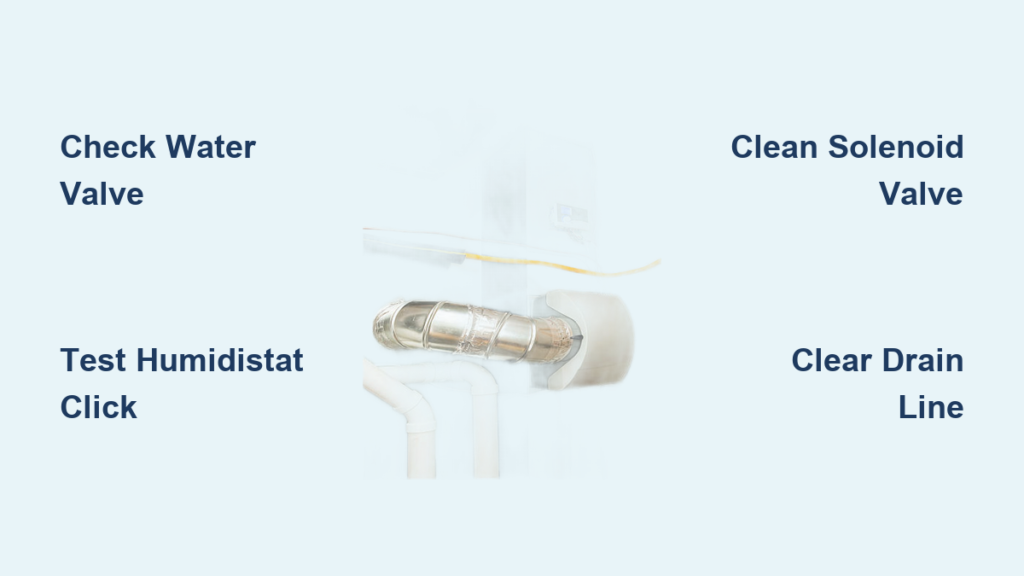
Check Water Supply Valve First
Locate the small water line running to your humidifier—usually a 1/4-inch copper or plastic tube. Trace it back to find the shut-off valve, often near your water heater or main furnace supply. Turn the valve counterclockwise until it stops. If it was partially closed, this simple fix restores water flow immediately. A fully closed valve is the culprit in 30% of “furnace humidifier not working” cases, especially after summer when homeowners may have turned it off.
Inspect for Frozen Lines
In unconditioned spaces like attics or crawlspaces, water lines can freeze solid during extreme cold snaps. Feel along the entire length—if any section feels rock-solid or unusually cold, you’ve found the culprit. Thaw gently with a hair dryer or warm towels, never an open flame which could damage pipes. Frozen lines are common when outdoor temperatures drop below 20°F, preventing water from reaching your humidifier even when other components function properly.
Verify Drain Tube Flow
Look for the clear plastic drain tube exiting your humidifier. During operation, you should see steady water trickling through it toward a floor drain. No water movement indicates a supply problem upstream, while overflowing water suggests a blockage downstream. Proper drainage is essential for the humidification cycle—without it, your system can’t maintain the 30-40% humidity levels critical for winter comfort.
Decode Humidistat Click Patterns
Your humidistat acts as the brain of your humidifier, telling it when to turn on and off. Learning to interpret its sounds saves hours of unnecessary troubleshooting and prevents misdiagnosis.
Test for Activation Click
Turn your humidistat to its highest setting (usually 45-50%). Within 30 seconds, you should hear a distinct “click” from the unit mounted on your return air duct. No click means electrical contacts aren’t closing—the humidistat needs replacement. This diagnostic step confirms whether your furnace humidifier not working issue stems from control failure rather than mechanical problems.
Click Detected But No Water
If you hear the click but water still doesn’t flow, your humidistat works fine. The problem shifts to the solenoid valve or water supply. This narrows your troubleshooting significantly and prevents unnecessary humidistat replacement. This pattern accounts for 40% of humidifier failures, where the control system functions but the delivery mechanism fails.
Calibrate Humidity Settings
Set your humidistat to 35% when outdoor temperatures hit 35°F. This prevents window condensation while maintaining comfortable moisture levels. Mark this setting with tape for easy reference during temperature swings. Optimal humidity management requires adjusting settings as outdoor temperatures change—colder air holds less moisture, so excessive humidity condenses on cold surfaces.
Solenoid Valve Diagnosis Guide
:max_bytes(150000):strip_icc()/solenoid_noted-56a4a1e85f9b58b7d0d7e88a.jpg)
The solenoid valve is an electromagnetic gate that opens when your humidistat calls for water. When it fails, water flow stops completely despite other components functioning properly.
Listen for Valve Activation
After hearing the humidistat click, place your hand on the solenoid valve—a small brass or plastic component where the water line connects. You should feel a slight vibration or hear a soft humming. No vibration indicates electrical failure; vibration without water means mechanical blockage. This simple test distinguishes between electrical and mechanical issues without specialized tools.
Clean Mineral Deposits
Remove the valve by disconnecting the water lines and unscrewing it from the humidifier. Soak in white vinegar for 30 minutes to dissolve mineral buildup. Use a toothpick to clear tiny inlet holes, then rinse thoroughly. This fixes 60% of solenoid failures caused by hard water deposits that gradually restrict water flow until your furnace humidifier stops working completely.
Clean Water Panel Like a Pro
Your water panel (or evaporator pad) must absorb water to add moisture to air. Mineral buildup blocks this process and reduces efficiency dramatically, often making your furnace humidifier not working properly even when water flows.
Remove and Inspect Pad
Turn off power to your furnace first. Slide out the water panel housing—usually a plastic frame with a mesh or foam pad inside. Hold it up to light; if you can’t see through it or it feels rock-hard, replacement is necessary. A clogged water panel is the second most common cause of inadequate humidification, especially in homes with hard water.
Soak in Descaling Solution
Mix a 50/50 solution of white vinegar and hot water in a bucket. Submerge the panel for 45 minutes, agitating occasionally. Rinse until water runs clear. For heavy scale, use CLR following package directions—never use bleach, which damages the material. Annual cleaning extends panel life but most experts recommend replacement each season for optimal performance.
Fix Drain Line Blockages Fast
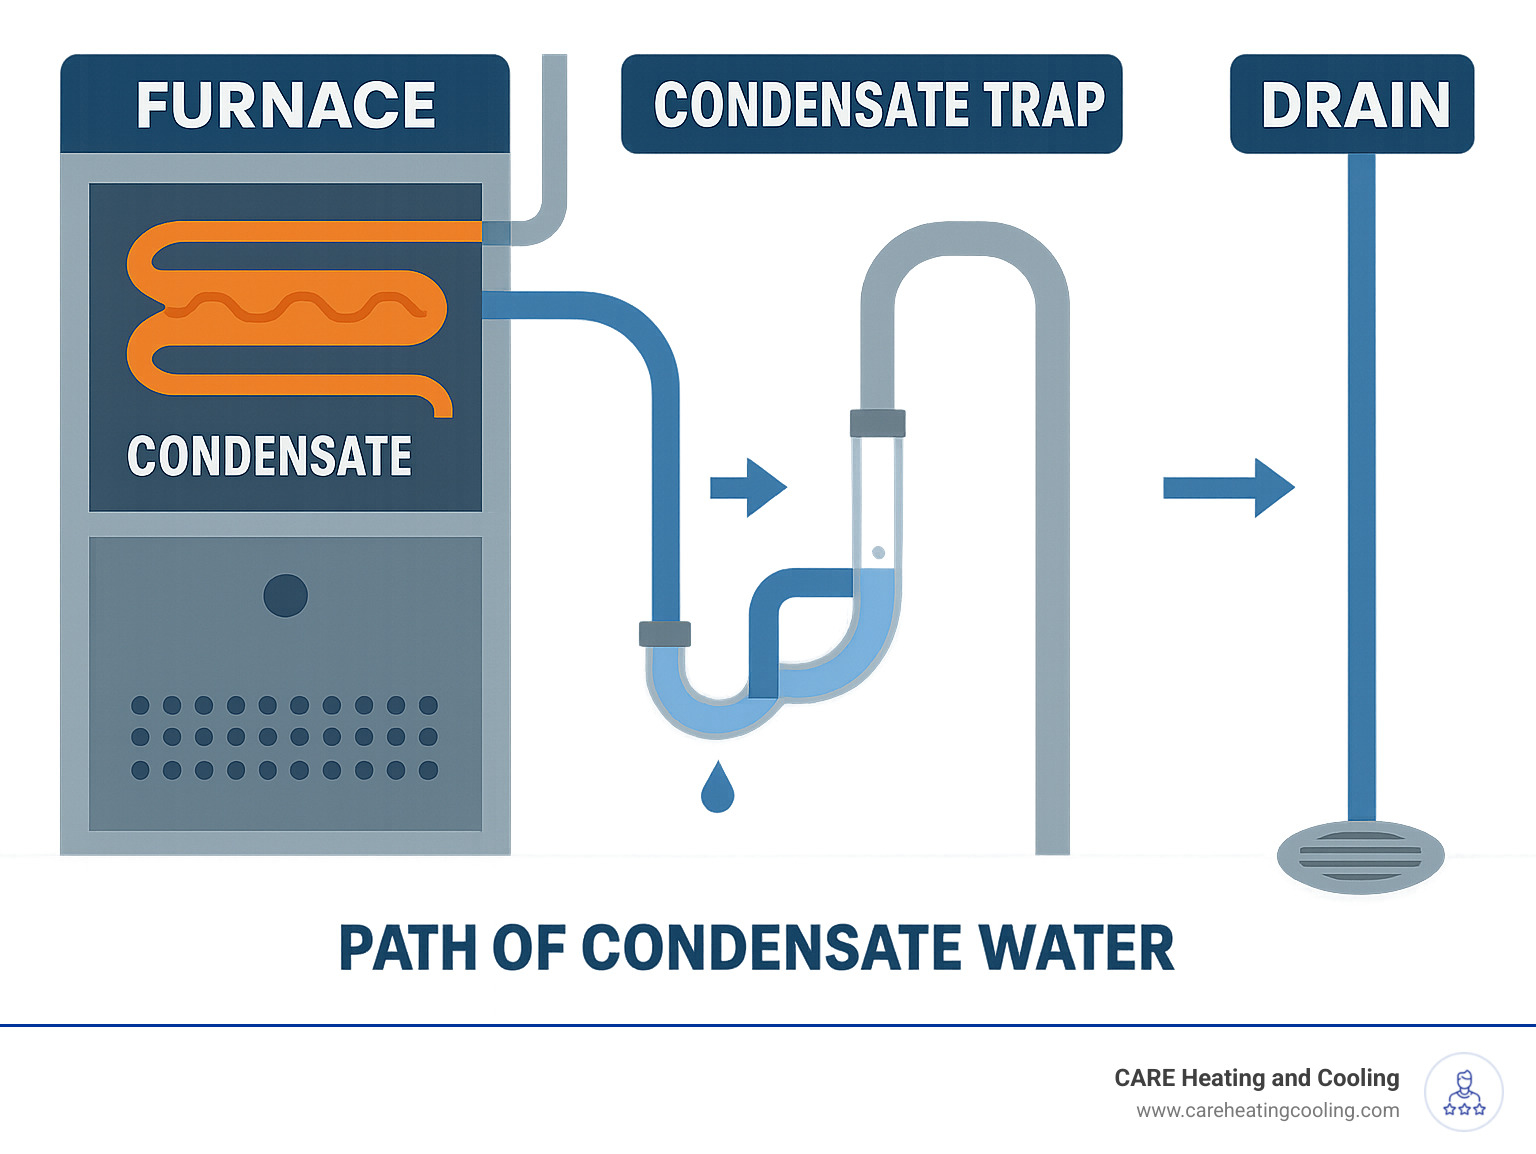
Blocked drain lines cause water to back up into your humidifier or furnace, creating potential water damage and mold issues while making your furnace humidifier not working effectively.
Clear Algae Buildup
Disconnect the drain tube from both ends. Flush with a 50/50 bleach and water solution using a turkey baster. Green or black slime indicates algae growth, common in slow-flowing drain lines. Rinse until water runs clear. This simple maintenance prevents 70% of overflow-related shutdowns that homeowners mistake for major system failures.
Check for Kinks or Dips
Examine the entire drain tube route. Any low spots or sharp bends trap water and debris. Reroute to maintain a steady downward slope toward the drain. Use wire or tape to secure in position if needed. A properly sloped drain line ensures continuous water flow which is essential for proper humidifier operation.
Winter Humidity Optimization

Maintaining proper humidity levels prevents both dry air discomfort and condensation damage to windows and walls, ensuring your furnace humidifier works when you need it.
Monitor Window Condensation
Check your windows each morning. Slight moisture at the bottom indicates perfect humidity levels. Heavy condensation or frost extending more than 0.5 inches up the window means you need to lower the humidistat setting. This visual indicator helps you fine-tune your system without expensive hygrometers.
Adjust for Temperature Swings
When outdoor temperatures drop below 20°F, reduce your humidistat to 25-30%. Colder air holds less moisture, so excessive humidity condenses on cold surfaces. Increase settings gradually as temperatures warm to maintain optimal indoor air quality throughout the winter season.
Professional Sequence When DIY Fails
Sometimes problems exceed basic troubleshooting. Follow this sequence to avoid unnecessary service calls and expenses when your furnace humidifier not working persists.
Document Everything First
Before calling anyone, document: water pressure at nearest faucet, exact humidistat settings, outdoor temperature, and all symptoms you’ve observed. This saves 30 minutes of diagnostic time and prevents redundant testing that increases service call costs.
Check Your Warranty
Most whole-house humidifiers include 5-10 year warranties on major components. Check your installation paperwork before paying for parts—many homeowners replace parts unnecessarily under warranty. Warranty claims can save $100-300 on parts and labor for common failures like solenoid valves or humidistats.
Prevent Next Winter’s Problems
Annual maintenance prevents 90% of humidifier failures and keeps efficiency at peak levels, ensuring your furnace humidifier works when winter arrives.
Fall Startup Checklist
Every October, perform these 5-minute checks:
– Replace water panel
– Clean solenoid valve screen
– Verify drain line flow
– Test humidistat operation
– Check for winter damper position
Skipping this simple maintenance doubles your chances of furnace humidifier not working when cold weather hits.
Mark Your Calendar
Set phone reminders for monthly filter checks during heating season and annual pad replacement each fall. Consistent maintenance extends humidifier life to 15-20 years versus 5-7 years for neglected units. This small effort prevents costly repairs and ensures comfortable indoor air all winter.
Your furnace humidifier not working doesn’t mean expensive repairs or replacement. Most issues resolve through simple cleaning, part replacement, or minor adjustments. Start with water supply checks and humidistat testing—these solve 75% of problems immediately. Remember that proper humidity benefits extend beyond comfort to include lower heating bills, reduced static electricity, and protection for wood floors and furniture. Take action today, and you’ll breathe easier tomorrow.


