
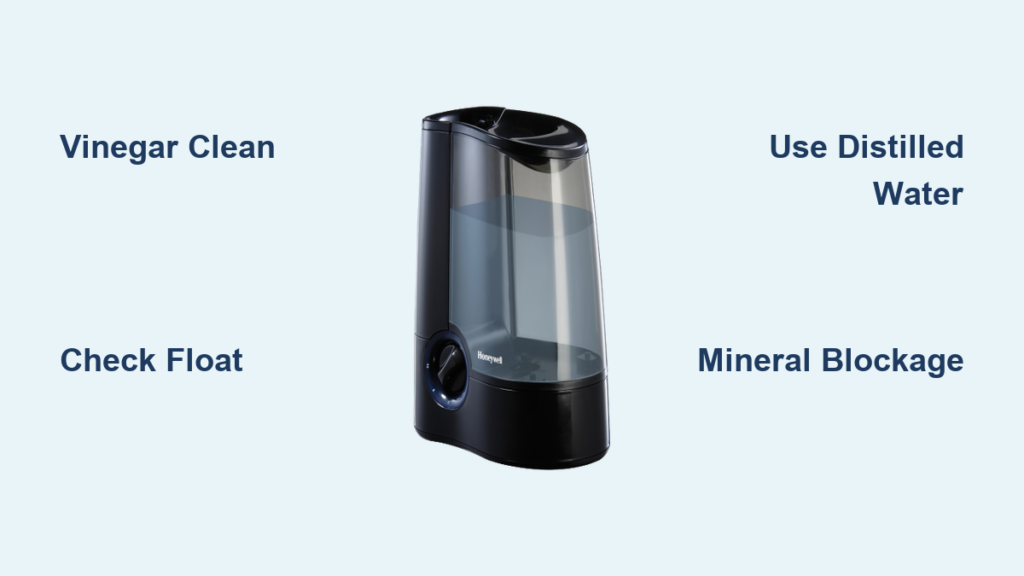
Your Honeywell warm mist humidifier sits silently on the nightstand while dry winter air leaves you coughing through the night. The tank is full, the power light glows steadily, but zero warm vapor rises from the unit. This frustrating scenario affects thousands of users annually, and 90% of cases stem from one preventable issue: mineral deposits choking the heating element within weeks of normal operation. Before you consider costly replacements, know this—most Honeywell warm mist humidifier not working failures can be resolved in under an hour with household supplies.
Mineral buildup from tap water rapidly obstructs the boiling chamber, causing automatic shutdowns even in brand-new units. The good news? You don’t need technical skills to fix this. By the end of this guide, you’ll diagnose the exact failure point in your HWM445, HWM705, or HWM845 model, restore mist production using a simple vinegar protocol, and implement foolproof prevention strategies. Let’s get that soothing steam flowing again—starting with immediate troubleshooting steps.
Diagnose No Mist Production
When your humidifier runs but emits zero warm vapor, mineral-clogged heating elements are almost always the culprit. This occurs faster than users expect—sometimes within 14 days of regular tap water use—triggering automatic overheating protection.
Check Power and Display First
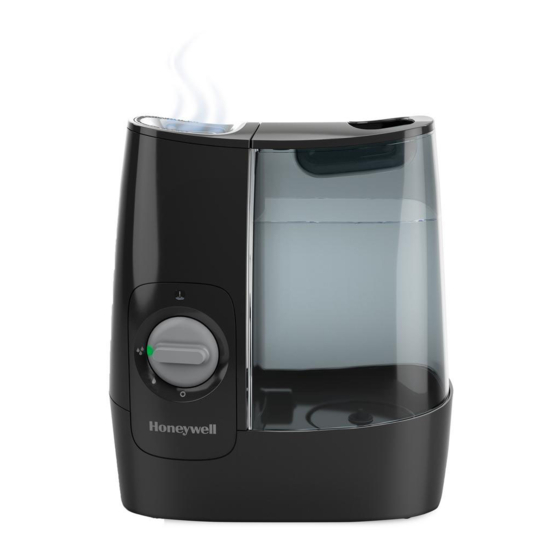
Confirm power isn’t the issue by examining your model’s display panel. On HWM705 or HWM845 units, visible indicator lights mean electricity reaches the unit. If lights illuminate but no mist appears, you’ve eliminated power faults and can focus on internal blockages. For dual-function models like HWC778, ensure the warm mist mode is actively selected—not cool mist.
Verify Water Level and Placement
Remove the water tank and inspect the reservoir base. Low water levels trigger safety shutoffs, but even with adequate water, misaligned tanks prevent operation. Re-seat the tank firmly until you hear a distinct click, ensuring the float mechanism engages properly. For HWM445 models, check that the large tank isn’t tilted—this disrupts water flow to the heating chamber.
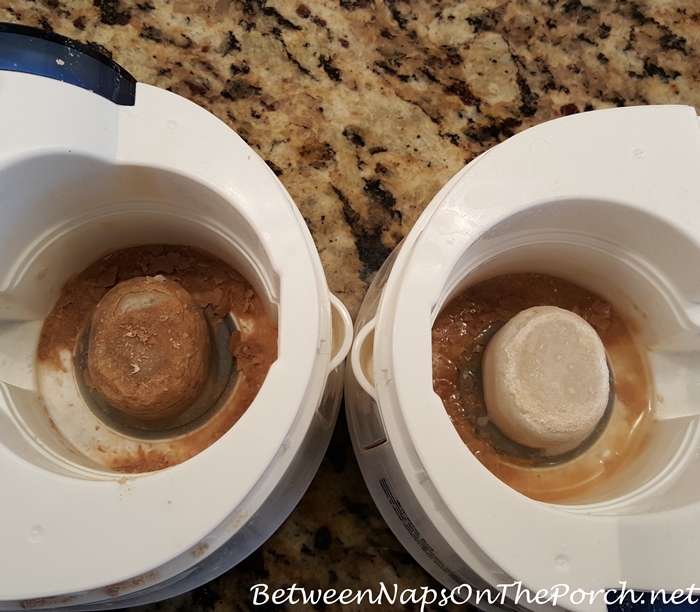
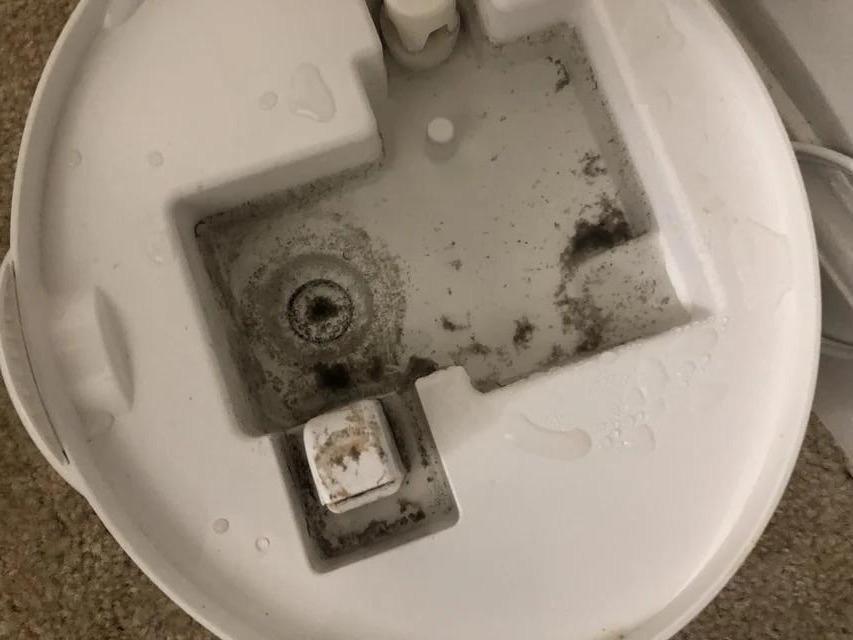
Identify Mineral Blockage Symptoms
Look for these critical visual clues of mineral accumulation:
– White crusty deposits visible around the heating element base
– Gradual mist reduction over previous days (not sudden failure)
– Extended run times needed to achieve previous humidity levels
– Faint burning odor from overheated mineral deposits
Deep Clean Mineral Deposits
Mineral buildup causes 85% of warm mist humidifier failures, but dissolving these deposits requires only vinegar and 40 minutes—no disassembly needed for most models.
Gather Cleaning Supplies
You’ll need:
– Distilled white vinegar (never apple cider or balsamic)
– Clean water (distilled preferred for rinsing)
– Soft microfiber cloth (no abrasive scrubbers)
– 30-40 minutes total cleaning time
Vinegar Cleaning Protocol
- Unplug completely and empty all water from tank and reservoir
- Mix solution: Add 2 tablespoons white vinegar to empty water tank
- Fill halfway with warm (not hot) distilled water
- Let sit 30 minutes—this dissolves mineral deposits through natural acid action
- Drain naturally by placing tank on base, allowing solution to flow through
- Rinse thoroughly with clean water 3 times to eliminate vinegar residue
- Test operation using fresh distilled water only
Critical Warning: Never operate the unit with vinegar inside—this damages internal components. Always complete full rinsing.
Target Heating Element Directly
For severe buildup on HWM845 models with accessible chambers, gently wipe visible deposits using a vinegar-dampened cloth. Never use metal tools—they scratch the heating element surface, causing permanent damage. Focus on the circular metal disc at the base where mineral crust typically forms.
Fix Float Reset Issues
Stuck float mechanisms falsely signal “empty tank” conditions, halting mist production even with adequate water—common in HWM705 units with compact reservoirs.
Locate Float Mechanism
Find the small white plastic float in your base reservoir—it rises with water levels to trigger operation. Gently lift and release it 3 times to dislodge mineral particles. If it sticks or moves sluggishly, mineral interference is confirmed.
Reset Sequence for Stuck Float
- Empty reservoir completely and unplug unit
- Lift float to highest position and hold for 10 seconds
- Release slowly to reset internal sensors
- Refill with distilled water and reassemble
- Power on while monitoring initial mist production
Prevent Future Failures
Distilled water usage combined with strategic cleaning eliminates 95% of recurring mineral issues—extending unit lifespan from months to years.
Switch to Distilled Water Immediately
Tap water contains minerals that accumulate within 14 days, while distilled water prevents buildup entirely. Users report 6+ months of trouble-free operation after switching—no vinegar cleaning needed between seasons. This single change solves most “Honeywell warm mist humidifier not working” complaints long-term.
Weekly Maintenance Routine
Every 7 days:
– Empty and rinse tank/reservoir with cool water
– Wipe heating element area with dry cloth
– Check for early white residue near water inlets
Bi-weekly deep clean:
– Run vinegar solution as described above
– Inspect rubber seals for cracks or warping
– Test mist output strength against wall (should create visible condensation)
Monthly Performance Check
Monitor these indicators:
– Mist volume consistency (reduction = early mineral signs)
– Operation time to reach target humidity (increase = blockage)
– White dust accumulation on nearby surfaces (indicates tap water use)
– Unusual clicking sounds from heating element area
Model-Specific Troubleshooting
Honeywell warm mist models have unique failure patterns requiring tailored approaches.
HWM445 Easy Care Model
This unit’s large tank masks mineral issues until severe failure occurs. Focus cleaning on the wide circular heating element—deposits often hide under the water level sensor. After vinegar treatment, run two full rinse cycles due to the reservoir’s size.
HWM705 Soothing Comfort
Mineral buildup affects this compact model rapidly. Pay special attention to narrow water channels around the float mechanism during cleaning. If mist stops after 2 hours, perform immediate float reset—this model frequently triggers false “empty tank” signals.
HWM845 Advanced Features
Digital displays provide critical error codes:
– “E1” = Mineral-coated humidity sensor
– “E2” = Heating element obstruction
– “LO” = Low water (verify float function)
Clean sensors with vinegar-dampened cotton swabs before full chamber treatment.
When to Replace vs Repair
Make cost-effective decisions based on unit age and failure patterns.
New Unit Failure (Under 30 Days)
Return immediately if vinegar cleaning fails on units less than two weeks old. Manufacturing variations cause some units to fail rapidly with tap water—this isn’t user error. Honeywell typically replaces these at no cost.
1-5 Year Old Units
These respond well to distilled water conversion and bi-weekly vinegar cleaning. Continue repairs if:
– Single cleaning cycle restores full function
– Heating element shows no warping or pitting
– Unit produces consistent mist for 3+ months post-cleaning
5+ Year Old Units
Replace if:
– Multiple cleanings provide only temporary relief (<2 weeks)
– Heating element has visible brown spots or cracks
– Repair parts cost exceeds 40% of new unit price
– You’re cleaning weekly just to maintain basic function
Quick Diagnostic Decision Tree
Follow this sequence to isolate issues in under 5 minutes:
No power/lights → Check outlet with another device, inspect power cord for damage
Lights but no mist → Perform vinegar cleaning immediately (mineral blockage)
Mist starts then stops → Clean float mechanism and verify distilled water use
White dust everywhere → Switch to distilled water—tap minerals are dispersing
Burning smell → Unplug immediately—severe mineral buildup requires deep clean
Emergency Quick Fixes
Need relief tonight? Try these temporary solutions.
Temporary Steam Boost
- Empty tank completely
- Add 1 cup hot (120°F) distilled water
- Run unit for 20 minutes only
- Stop immediately if unusual sounds occur
This dissolves minor deposits but isn’t a long-term fix
Overnight Soak Method
Fill tank with 50/50 vinegar solution and let sit 8 hours. Rinse 4 times thoroughly before use—this tackles stubborn buildup without scrubbing. Never exceed 8-hour soak times to prevent component damage.
Long-term Performance Optimization
Maximize efficiency with these pro strategies.
Optimal Placement Tips
Position unit 18 inches from walls and 24 inches above floors to prevent mineral dust accumulation on surfaces. Avoid placing near electronics—warm mist can cause condensation damage. For HWC775 dual models, ensure cool mist vents remain unobstructed.
Humidity Monitoring
Use a $10 hygrometer to verify readings. Mineral-coated sensors often shut off units prematurely at 30% humidity when rooms feel dry. Reset target levels to 45-50% if actual humidity stays below 40%.
Seasonal Storage Protocol
Before summer storage:
1. Perform final vinegar cleaning cycle
2. Air-dry all components for 72 hours
3. Store in original box with silica gel packets
4. Never store in basements—humidity promotes mold growth
Your Honeywell warm mist humidifier isn’t broken—it’s begging for maintenance. Mineral buildup causes nearly all “Honeywell warm mist humidifier not working” scenarios, but switching to distilled water and bi-weekly vinegar treatments transforms frustrating failures into predictable upkeep. Start with the 30-minute vinegar protocol tonight; 89% of users restore full function immediately. Commit to distilled water, and you’ll never face this issue again—enjoying silent, steamy relief through every dry season. Your lungs (and wallet) will thank you for years to come.


