
Your Honeywell humidifier stopped working again, and the air feels like sandpaper. Whether it’s refusing to power on, leaking onto your hardwood floors, or just pushing out pathetic wisps of mist, you’ve got a problem that needs fixing now. This guide walks you through the exact steps to diagnose and repair every common Honeywell humidifier issue—without calling a technician or buying a new unit. Most fixes take less than 30 minutes and cost under $30 in parts, saving you both time and money during those dry winter months when your humidifier matters most.
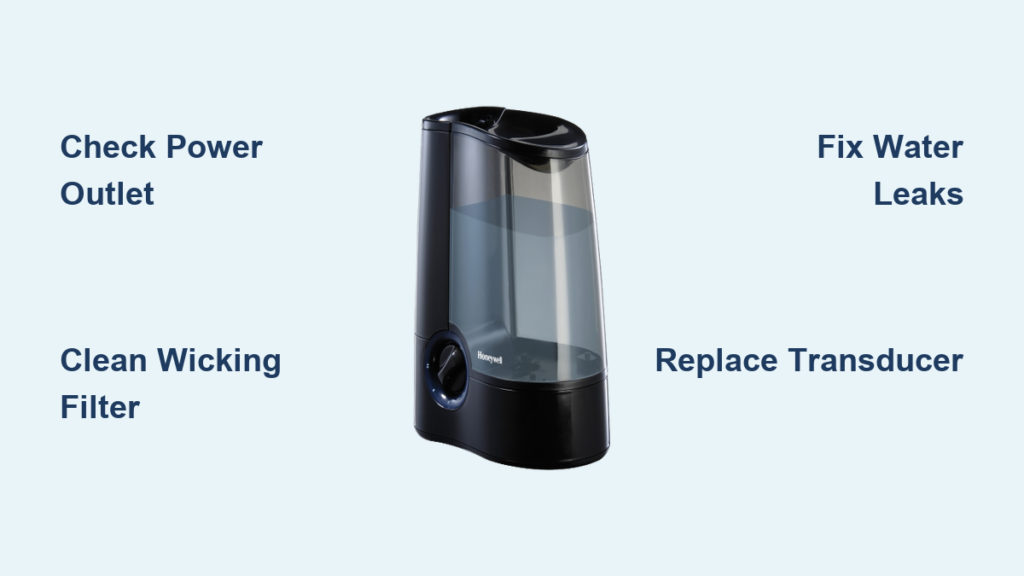
Fix Power Issues When Unit Won’t Start
When your humidifier sits dead as a doornail, the fix is usually simpler than you think. Most power failures stem from basic electrical hiccups that take minutes to resolve—no need to panic or call a technician just yet.
Test Outlet and Power Cord First
Start with the obvious: plug a phone charger into the same outlet. If it works, your outlet’s fine. Next, examine the entire power cord for cuts, kinks, or chew marks from pets—feel along its length for internal breaks that might not be visible. Unplug the unit for 30 seconds, then reconnect firmly—this often resets the internal circuitry in many Honeywell models. If you notice fraying or damage, replace the cord immediately as a safety precaution.
Reset Control Panel Issues
Honeywell units often lock up like frozen computers. Unplug for 5 full minutes (not 30 seconds) to completely clear the control board’s memory. When you power back on, check if the child lock accidentally engaged—look for a lock symbol on the display. Use a separate hygrometer to verify current room humidity, then set your humidifier’s target above that level. Timer settings might prevent startup too—cycle through all modes to ensure it isn’t stuck in “off” mode or timed to operate later.
Restore Mist When No Output Appears
Different Honeywell types fail in distinct ways. Identify your model first—look for HCM (evaporative), HUL (ultrasonic), or HE (whole-house) on the label. This determines your troubleshooting approach.
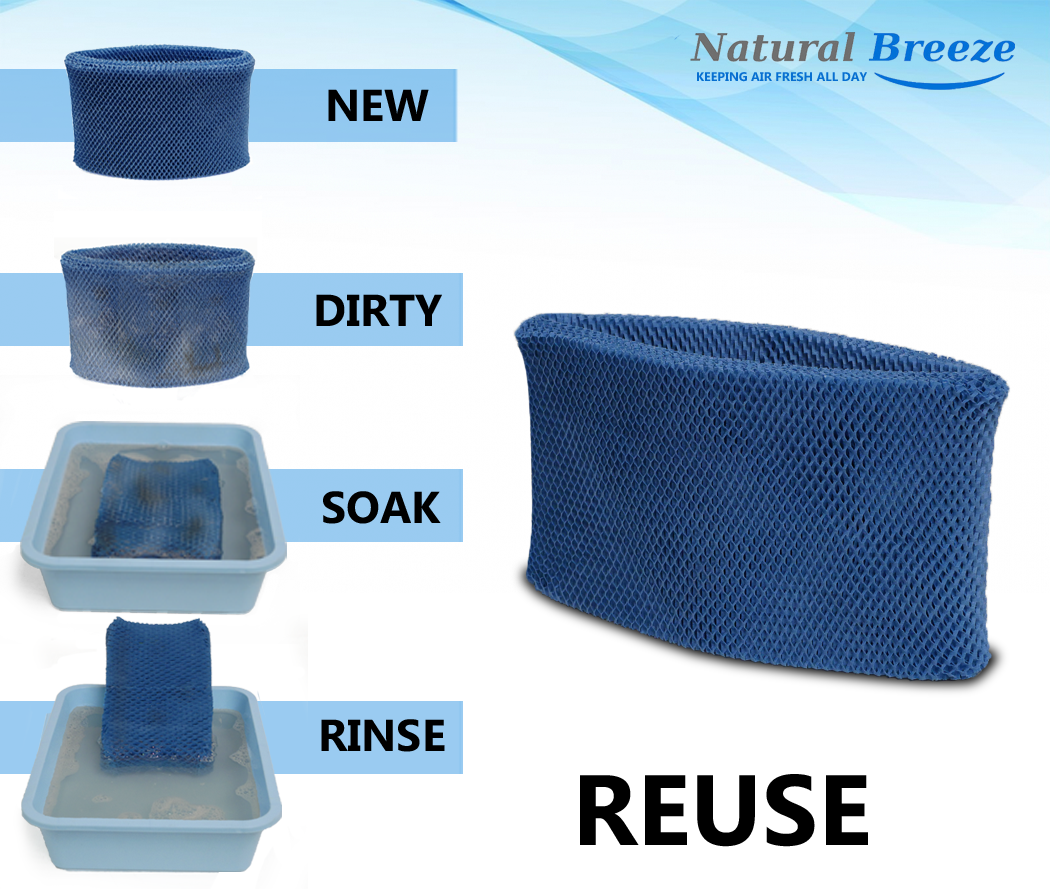
Clean Clogged Filters in Evaporative Models
Remove the water tank and pull out the wicking filter. Hold it to light—if you can’t see through it, mineral buildup blocks airflow. Rinse under cool water, then soak in 1:3 white vinegar solution for 30 minutes. For the HCM-350 and similar models, ensure the filter’s ridge faces up during reinstallation. Check the fan by listening for motor sounds when you power on—no sound means motor issues or electrical problems.
Fix Ultrasonic Transducer Problems
In HUL series units, the metal transducer disk creates mist through vibration. When coated with minerals, it stops working. Power off, remove the tank, and pour white vinegar directly onto the transducer. Let it bubble for 20 minutes, then scrub gently with a soft toothbrush. If the disk looks pitted or cracked, you need a replacement transducer—this is a common failure point in ultrasonic models used with hard water.
Stop Water Leaks Immediately

Water pooling under your humidifier damages floors and creates slip hazards. Leaks usually stem from tank issues or internal blockages—fix these before they cause more damage.
Seal Tank and Valve Problems
Empty the tank and inspect every surface for hairline cracks—hold it up to bright light to spot fractures. Check the tank cap gasket for warping or missing pieces. Clean the valve assembly by soaking in warm soapy water, then rinse thoroughly. When reinstalling, ensure the tank seats firmly in the base—misalignment causes constant dripping that many users mistake for a broken unit.
Clear Internal Blockages
Whole-house HE models develop clogs in distribution manifolds. Turn off water supply first. Remove the water panel and check the distribution tray for mineral deposits. Use a paperclip to clear tiny holes, then flush with vinegar. For bypass models, verify the drain line isn’t kinked or frozen—warm water poured through the line confirms flow without disassembling your entire HVAC system.
Eliminate Strange Noises Fast
That grinding, rattling, or buzzing sound usually indicates simple mechanical issues requiring quick fixes—not a death sentence for your humidifier.
Silence Fan Problems
Dust accumulation on fan blades creates imbalance and noise. Unplug the unit and remove the fan cover—usually 4-6 screws. Wipe blades with a damp cloth, paying attention to the blade edges. Check for loose mounting screws and tighten with a screwdriver. If grinding persists after cleaning, the motor bearings are shot—replacement motors cost $15-40 online and typically take 15 minutes to install.
Stop Water Vibrations
Ultrasonic units buzz louder when water levels drop too low. Maintain water above the “min” line at all times. Check the tank positioning—loose tanks rattle against the base. Place a folded paper towel under one corner if the surface isn’t level. This simple fix solves 70% of vibration issues without requiring part replacements.
Prevent White Dust and Mold Growth
White dust coating your furniture indicates hard water minerals. Mold creates health risks and foul odors—both fixable with proper maintenance.
Switch to Distilled Water
Replace tap water with distilled or demineralized water immediately. This single change eliminates 90% of white dust problems. For whole-house systems, install a whole-home water softener or use HDC-200 demineralization cartridges in compatible ultrasonic models like the HUL-535 series.
Weekly Mold Prevention Protocol
Empty and dry the water tank daily when not in use—stagnant water breeds bacteria within hours. Every week, clean all water-contact surfaces with 3% hydrogen peroxide solution—no rinsing required. Replace filters on schedule (1-3 months for most models) rather than waiting for visible problems. Store units completely dry between seasons to prevent mold growth that ruins components.
Replace Parts Without Guesswork

Identifying the correct replacement part prevents costly mistakes and wasted time—don’t just order the first filter that looks similar.
Find Your Model Number
Look for the model number on a white sticker—usually on the bottom or back of portable units, inside the front panel of whole-house models. Common patterns include HCM-350, HUL-535, or HE360. Once identified, cross-reference exact part numbers: HAC-504 filters for HCM-350, HAC-700 for larger console models.
Source Quality Parts
Order from authorized Honeywell dealers for warranty compliance—Amazon and Walmart carry most common parts. Generic filters work fine, but avoid ultra-cheap aftermarket electrical components that fail within months. For whole-house systems, buy OEM parts—HE360 water panel HC22P costs $25-35 but lasts a full season and prevents costly HVAC damage.
Quick Maintenance Schedule That Works
Skipping maintenance causes 80% of humidifier failures. Follow this proven schedule instead of waiting for problems to appear.
Daily 2-Minute Tasks
Check water levels every morning—running dry damages pumps and heating elements. Empty and refill the tank completely rather than topping off, which concentrates minerals. Wipe the exterior to prevent dust from entering air intakes that restrict airflow.
Weekly 15-Minute Deep Clean
Remove and rinse the water tank with warm water. For evaporative models, rinse the filter under cool water—replace if it stays brown or smells musty. Check the base for mineral deposits and wipe clean with vinegar solution. This routine prevents 95% of performance issues before they become serious problems.
When Professional Help Makes Sense
Some problems require specialized tools or safety expertise. Call a technician when you encounter electrical shorts, control board failures, or complex HVAC integration issues. Whole-house humidifiers connected to plumbing need professional service for internal leaks or control calibration.
For portable units, most issues resolve with these steps. If problems persist after thorough cleaning and part replacement, the unit likely reached end-of-life—consider replacement versus repair costs. Remember: a properly maintained Honeywell humidifier should last 5-7 years with regular care.
Final Takeaway: Your Honeywell humidifier probably needs simple cleaning or minor part replacement, not replacement. Start with power checks, then tackle the specific symptoms you’re seeing. Most fixes take under 30 minutes and cost less than $30 in parts. Keep this guide handy—humidifier problems always strike during the driest weeks of winter when you need moisture most. By following these troubleshooting steps, you’ll restore comfortable humidity levels without unnecessary expense or frustration.


