
That persistent clicking sound from your humidifier isn’t just annoying—it’s a clear warning sign that something’s wrong inside your unit. Whether you’re hearing rapid-fire ticks every few seconds or intermittent metallic taps, these sounds indicate specific mechanical failures that will worsen if ignored. Most homeowners don’t realize that 90% of humidifier clicking issues can be resolved quickly with basic tools and minimal technical knowledge. Left unaddressed, these clicking problems often escalate to complete unit failure within weeks, forcing costly replacements when simple repairs would have sufficed.
Humidifier clicking typically originates from three critical components: the solenoid valve controlling water flow, the fan assembly moving air, or internal mechanisms affected by mineral buildup. The good news is that identifying and fixing these issues usually takes less than 20 minutes and requires nothing more than household vinegar, basic hand tools, and a few minutes of your time. This guide provides the exact diagnostic steps and repair methods needed to silence that irritating clicking noise and restore quiet operation to your humidifier.
Match Your Clicking Pattern to the Exact Problem
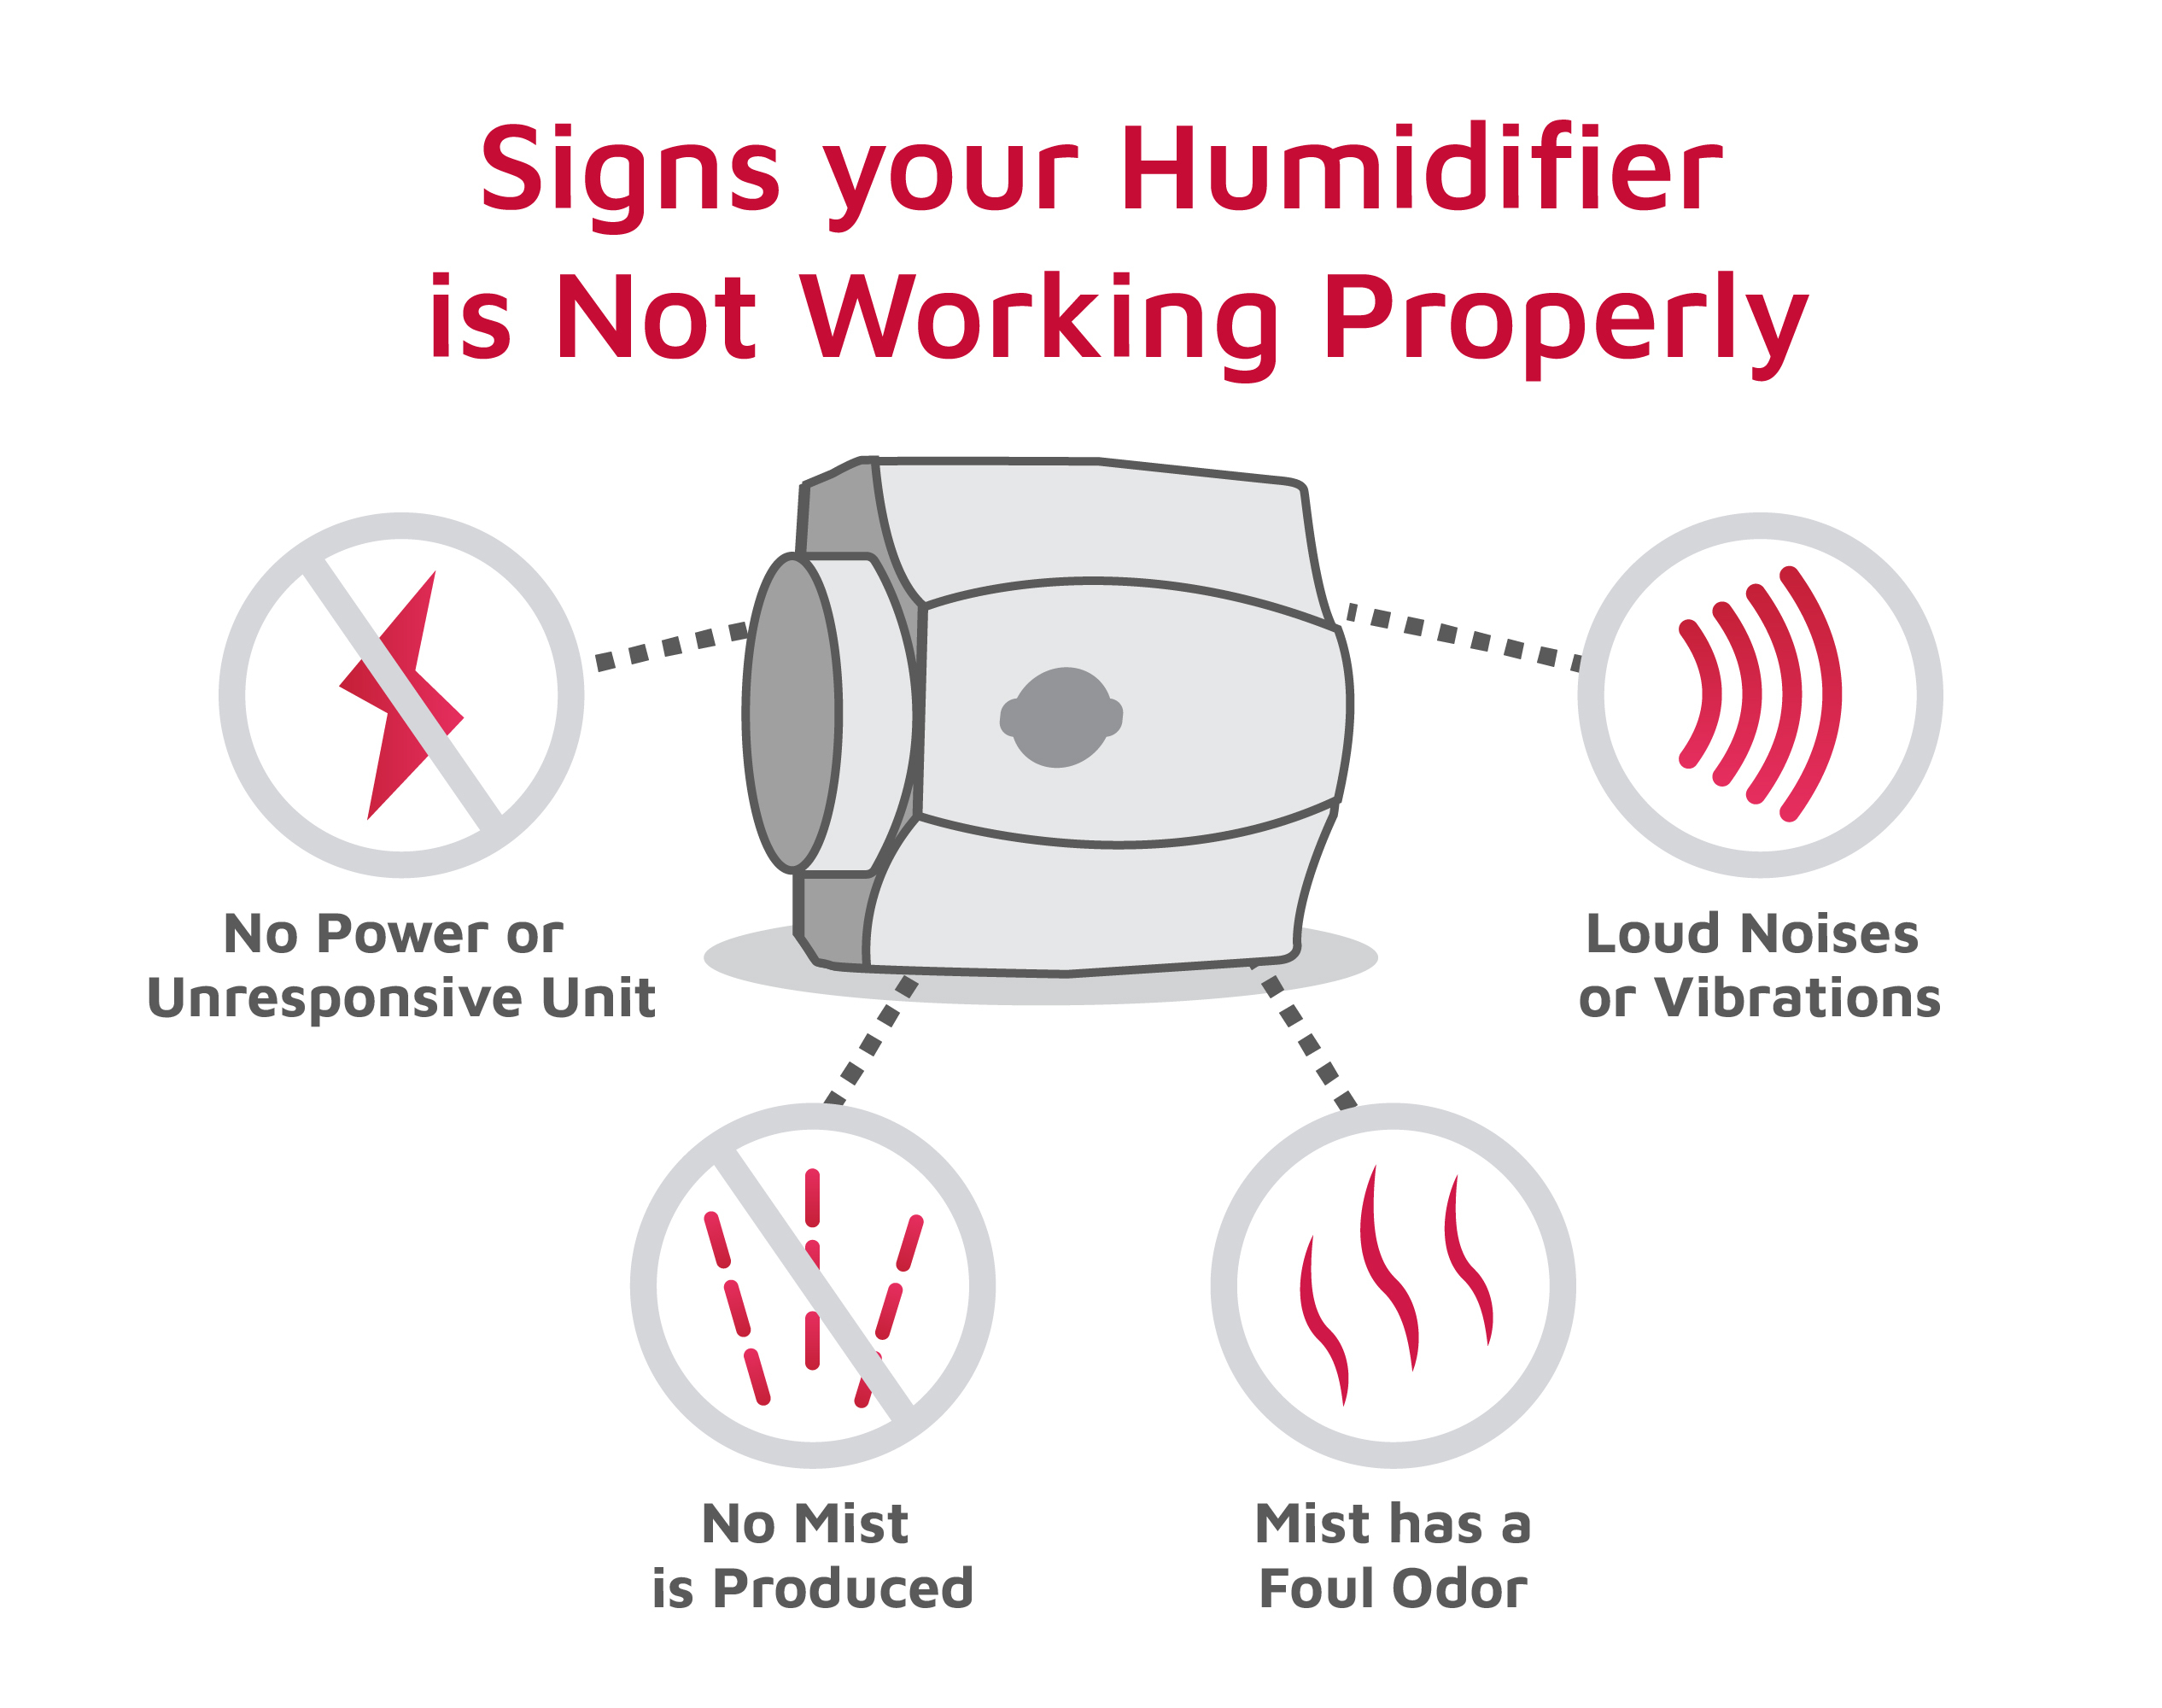
Your humidifier’s clicking pattern reveals precisely which component has failed. Learning to identify these distinct sound signatures eliminates guesswork and directs your repair efforts to the right area.
Rapid Clicking Occurring Every 1-3 Seconds
This continuous, machine-gun style clicking points directly to solenoid valve failure. The solenoid—a small cylindrical component with electrical wires—controls water flow into your humidifier. When mineral deposits accumulate or internal parts wear out, the valve struggles to open and close properly, creating that distinctive rapid “tick-tick-tick” sound. You’ll typically hear this noise coming from the rear or side panel near where water enters the unit. Ignoring this symptom allows mineral buildup to worsen, eventually causing the solenoid to seize completely and stop water flow altogether.
Single Loud Clicks Happening Every 30-60 Seconds
These deeper, more pronounced “clunk” sounds often coincide precisely with your humidifier’s heating cycle or fan activation. Unlike rapid clicking, these intermittent noises indicate either thermal expansion issues in heating elements or problems with the fan motor attempting to start. The critical diagnostic clue here is timing—does the click happen exactly when the unit begins heating or when the fan kicks on? If so, your fan assembly requires immediate attention before motor failure occurs.
Random Metallic Tapping Sounds
Irregular “tink-tink” noises that vary in frequency suggest physical contact between moving parts. Most commonly, this indicates fan blades striking internal housing due to debris accumulation, warped blades, or loose mounting hardware. This problem often intensifies when you adjust fan speeds or physically move the unit, as the shifting weight changes how components interact. Left unaddressed, this tapping can quickly lead to broken fan blades or motor damage requiring expensive replacements.
Perform This 5-Step Visual Inspection Before Repairing
Before disassembling your humidifier, complete this quick inspection to verify your diagnosis and prevent unnecessary work.
Power down and wait—Unplug your humidifier and allow two minutes for internal capacitors to discharge completely. Working on a powered unit risks electrical shock and component damage.
Remove water reservoir and filtration components—Empty the tank thoroughly and extract all filters or wicking cartridges. This provides unobstructed access to internal mechanisms and prevents water spills during inspection.
Examine the water inlet valve—Look for white or crusty mineral deposits around the brass or plastic valve where water enters your unit. Even thin layers of buildup interfere with proper valve operation and cause clicking.
Check fan blade movement—Gently rotate the fan by hand. Properly functioning blades should spin freely without wobbling or contacting surrounding housing. Pay special attention to blade edges for hair, dust bunnies, or other debris.
Verify mounting hardware tightness—Inspect all visible screws securing the fan motor and water valve assembly. Loose hardware amplifies normal operational sounds into noticeable clicking noises.
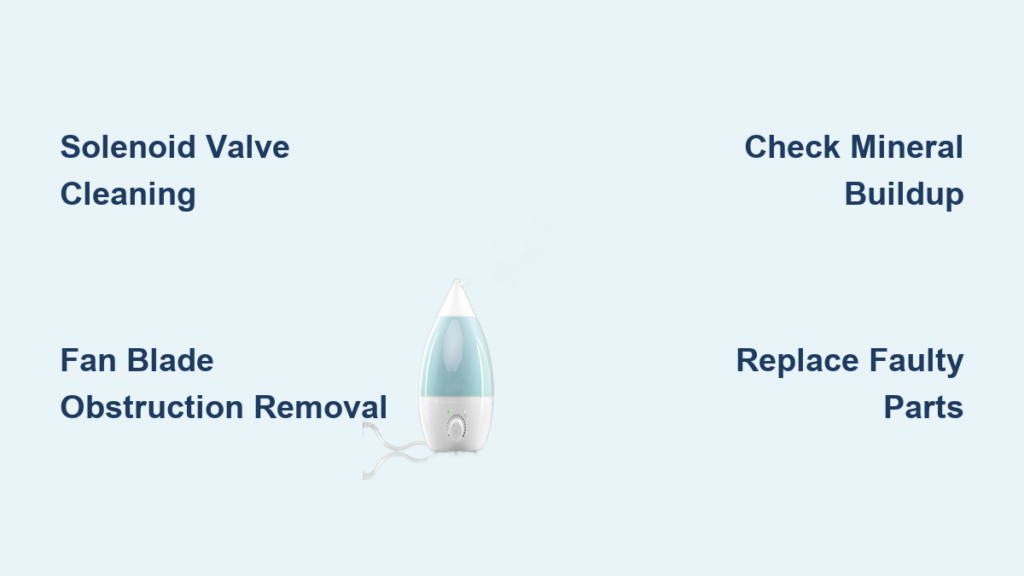
Repair Solenoid Valve Clicking in Six Simple Steps
Since solenoid valve issues cause more than half of all humidifier clicking problems, this repair should be your first troubleshooting priority when hearing rapid ticking sounds.
Remove Mineral Buildup from the Solenoid Valve
Hard water deposits are the primary cause of solenoid valve clicking in most households. Follow these steps to restore proper valve function:
- Locate the solenoid valve—Identify the cylindrical component (usually brass or plastic) with two electrical wires attached, typically positioned near the water inlet
- Disconnect electrical connections—Gently pull wire connectors straight off while noting their original positions
- Remove the valve—Using tape-wrapped pliers to prevent scratching, unscrew the valve counterclockwise
- Soak in white vinegar—Submerge the valve in vinegar for 30 minutes, then use a soft toothbrush to scrub away deposits
- Test plunger movement—Ensure the internal mechanism moves freely when pressed with a toothpick
- Reinstall the cleaned valve—Reverse removal steps, confirming wire connections snap securely into place
Replace a Failed Solenoid Valve When Cleaning Fails
If cleaning doesn’t resolve the clicking, replacement becomes necessary—fortunately a straightforward process.
First, verify compatibility by matching your original valve’s voltage rating (usually 24V) and connection type. Most universal replacement solenoids include adapters for common humidifier models. After turning off water supply and unplugging the unit, remove the old valve using the same steps as cleaning. Wrap the new valve’s threads with three to four turns of plumber’s tape before hand-tightening clockwise. Finish with a quarter-turn using pliers, then reconnect wires exactly as originally positioned. Always test for leaks before reassembling your humidifier’s outer casing.
Eliminate Fan Assembly Clicking with Targeted Fixes

Fan-related clicking requires different solutions depending on whether obstructions or physical damage cause the noise.
Clear Fan Blade Obstructions Thoroughly
Debris accumulation remains the most common—and most easily fixed—cause of fan clicking. Pet hair forms dense mats that catch on blade edges, while dust bunnies create rotational imbalance leading to rhythmic tapping sounds.
Follow these steps for complete debris removal:
1. Power down your humidifier and remove the back panel (typically secured by four to six screws)
2. Use needle-nose pliers to carefully extract visible debris
3. Apply compressed air to dislodge particles stuck in hard-to-reach areas
4. Manually rotate the fan to verify free movement before reassembly
Correct Warped Fan Blades Properly
Heat exposure and age frequently cause plastic fan blades to warp, creating clicking as they flex during rotation. To straighten blades:
- Run hot tap water over the warped blade for 30 seconds to soften the plastic
- Gently bend the blade back to its original shape while wearing protective gloves
- Hold the corrected position for 60 seconds as the plastic cools and sets
- Test rotation and repeat if clicking persists
Critical warning: Never attempt to repair cracked or severely damaged blades. Replacement fan assemblies cost $20-$40 and install in minutes, preventing further damage to your humidifier’s motor.
Prevent Humidifier Clicking with Simple Maintenance Habits
Implement these three maintenance practices to keep your humidifier operating silently for years.
Monthly vinegar cleaning cycles—Run a 50/50 mixture of white vinegar and water through your humidifier for 30 minutes each month. This dissolves mineral deposits before they can cause solenoid valve clicking. Always follow with a thorough flush using clean water before normal operation.
Strict filter replacement schedule—Change filters every 30-60 days based on usage frequency and local water hardness. Clogged filters force fans to work harder, creating vibration and clicking noises. Set phone reminders to ensure timely replacements.
Upgrade your water source—If your tap water leaves white residue on dishes or fixtures, install an inline water filter or switch to distilled water. These simple changes reduce mineral deposits by up to 80%, dramatically extending the life of internal components.
That clicking noise won’t disappear on its own—it will intensify and likely lead to complete humidifier failure if ignored. By following these targeted repair methods based on your specific clicking pattern, you can restore quiet operation to your humidifier in under 20 minutes. Start with the visual inspection to pinpoint your exact issue, then implement the precise fix for your clicking type. With regular monthly maintenance using vinegar solutions and timely filter replacements, you’ll enjoy years of silent, efficient humidity control without costly replacements. Your peaceful home environment depends on addressing that clicking sound today—before it becomes a much larger problem tomorrow.


