
Your Vicks humidifier was running perfectly yesterday, but today it’s completely silent—no lights, no mist, just a useless box on your nightstand. Before you panic about dry air and restless nights, know that most humidifier failures are surprisingly simple to diagnose and fix. Whether you’re dealing with a completely dead unit or just weak mist output, this guide walks you through the exact steps to get your humidifier breathing life back into your air. You’ll discover why your Vicks humidifier not working situation happens, how to pinpoint the exact failure point, and solutions that take less time than your morning coffee break.
Power Failure: When Your Humidifier Won’t Turn On
No Response at All? Start Here
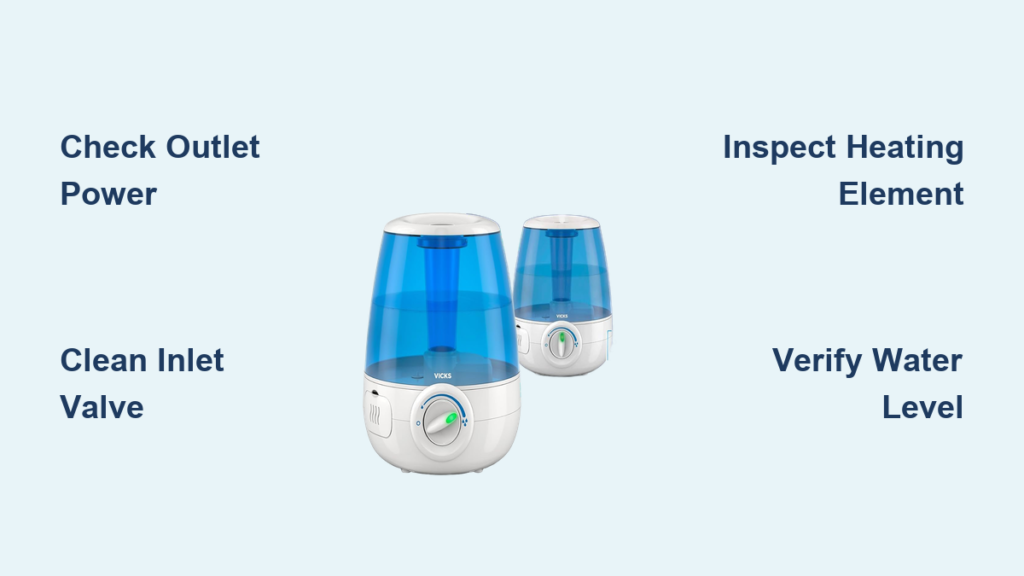
When your Vicks humidifier shows zero signs of life, the problem isn’t always the unit itself. First, test your outlet—plug in a phone charger or lamp to confirm the outlet works. If the outlet’s good, examine your power cord for damage. Look for kinks, cuts, or bent prongs that might interrupt power flow. Many users overlook simple electrical issues like tripped circuit breakers or GFCI outlets that need resetting—check your home’s electrical panel before assuming the humidifier is faulty.
Quick power check:
– Test outlet with another device
– Inspect power cord for visible damage
– Check plug prongs for corrosion
– Verify 120V rating matches your supply
Intermittent Power Problems
Does your humidifier turn on for a few seconds then shut off? This often indicates a loose connection or failing power switch. Listen carefully when you press the power button—any clicking sounds suggest the switch itself might be dying. Check if the power indicator flickers when you wiggle the cord where it connects to the unit. For models with detachable tanks, ensure the water level safety sensor isn’t triggering premature shutdowns. If the unit shuts off after 10-15 minutes of operation, overheating could be the culprit—give it 30 minutes to cool before testing again.
Water Supply Failures: Tank Full But No Mist
No Water Movement Detected
When your tank’s full but the water level never drops, you’ve got a flow problem. Remove the water tank and inspect the inlet valve at the base—mineral deposits often clog this tiny opening. Press the center pin on the tank valve to ensure it moves freely and isn’t stuck by buildup. If you see white crusty deposits around the valve opening, soak the affected area in white vinegar for 20 minutes to dissolve mineral blockages. Always empty the tank completely before cleaning—stagnant water breeds bacteria that exacerbate clogs.
Water flow diagnosis:
– Empty tank completely
– Check inlet valve for white crusty deposits
– Test tank valve by pressing center pin
– Verify tank sits flat on base without wobbling
Weak or Intermittent Mist Output
Low mist production usually means partial blockages or incorrect water levels. For cool mist models like the V4600 series, ensure water covers the ultrasonic transducer by at least 2 inches. Warm mist units like the V750 series need the heating element fully submerged—mineral buildup here acts like insulation, preventing proper heating. If your humidifier produces mist for 5 minutes then stops, check the float mechanism; it might be stuck in the “full” position, tricking the unit into thinking the tank is empty.
Model-Specific Fixes for Common Vicks Series

V750 Warm Mist Solutions
If your V750 produces cold mist instead of warm, the heating element needs immediate attention. Unplug the unit and let it cool completely. Remove the heating chamber cover (usually twists off) and soak the element in white vinegar for 30 minutes. Never scrub the heating element—mineral deposits will flake off naturally after soaking. After cleaning, verify the water level completely covers the element before operation; partial submersion causes rapid mineral buildup and overheating. If you smell burning during operation, stop using immediately—this indicates serious element failure requiring replacement.
V750 specific fixes:
– Vinegar soak heating element monthly
– Ensure water covers element completely
– Check warm mist setting is activated
– Look for burnt smell indicating element failure
V4600 Cool Mist Repairs
Ultrasonic transducer problems create distinctive symptoms. High-pitched squealing means debris is touching the transducer, while water droplets forming without vaporizing indicate frequency issues. Clean the transducer with a soft toothbrush using gentle circular motions—aggressive scrubbing damages the delicate surface. For persistent mineral buildup, soak the transducer in undiluted white vinegar for 15 minutes before brushing. Always check water level during operation—cool mist models require consistent water coverage of the transducer to prevent damage.
VUL520 Filter-Free Fixes
When your VUL520’s fan runs but produces no mist, check the nebulizer cup positioning. This small plastic component must sit perfectly centered; even slight misalignment prevents mist generation. Remove the water tank and verify the nebulizer cup clicks firmly into place. Inspect the water channel for blockages—mineral deposits often accumulate in the narrow tubing. Clean with a pipe cleaner soaked in vinegar, but avoid forcing objects that could damage internal seals. If water pools in the base, the tank valve likely isn’t sealing properly against the inlet.
Deep Cleaning: Restore Lost Performance
Weekly Deep Clean Protocol
Never use soap or detergents—they leave residues that create more problems. Instead, mix equal parts white vinegar and warm water for mineral deposits, and 3% hydrogen peroxide for disinfection. Disassemble only removable parts; forcing components voids your warranty. Focus on the mist nozzle, water tank, and base reservoir where mineral deposits accumulate. For stubborn buildup, soak components for 30 minutes rather than scrubbing aggressively. Always rinse parts thoroughly with clean water—vinegar residue can cause misting issues.
Weekly cleaning steps:
1. Unplug and empty completely
2. Remove tank, mist nozzle, and visible filters
3. Soak parts in vinegar solution for 20 minutes
4. Use soft brush on delicate components
5. Rinse thoroughly with clean water
6. Air dry completely before reassembly
Monthly Maintenance Must-Dos
Replace water filters every 30-60 days depending on water hardness. Hard water areas need more frequent changes—if you see white dust forming around the unit, your filter’s saturated. Check air intake vents for dust buildup that forces the fan to work harder. For filter-free models, inspect the nebulizer cup for cracks or warping. Lubricate fan motors only if specified in your manual—most modern Vicks units use sealed bearings requiring no lubrication. Always verify mist output consistency after reassembly; weak performance indicates missed blockages.
Quick Diagnostic Tests
30-Second Performance Check
Before diving deep, run this quick test: Fill the tank, plug in the unit, and set to maximum output. Place your hand 6 inches from the mist outlet—you should feel cool, moist air within 2 minutes for cool mist models, or warm vapor for warm mist units. No output means proceeding to detailed diagnostics. If you detect only cool air from a warm mist model, the heating element has failed. For intermittent operation, note exactly when shutdowns occur—this timing reveals whether it’s a thermal cutoff or water level issue.
Visual Inspection Points
Look for these red flags:
– White crusty buildup around tank openings
– Cracks in water tank or base
– Discolored water when tank is full
– Water pooling under the unit
– Bent or damaged prongs on power plug
Replacement Parts: What to Order
Water Tank Replacements
Cracked tanks can’t be repaired—replace immediately to prevent leaks. Order by exact model number: VUL520WT for VUL520 series, V4600WT for V4600 models. Installation takes 30 seconds: align the grooves, press down firmly until you hear a click, then check for leaks by filling with water. Never use third-party tanks—improper seals cause water damage and void warranties. If your tank develops permanent staining despite regular cleaning, replace it; porous plastic harbors bacteria.
Filter and Wick Changes
Protec WF2 filters fit most Vicks models, but always verify compatibility. Prime new filters by soaking in clean water for 15 minutes before installation—dry filters restrict airflow and overwork the motor. Replace every 30 days in hard water areas, 60 days with distilled water. If you notice reduced mist output immediately after filter replacement, the filter might be improperly seated. Gently press all edges to ensure full contact with the housing.
Prevention: Stop Problems Before They Start
Daily Habits That Save Your Humidifier
Empty the tank daily—stagnant water breeds bacteria and clogs components. Use room temperature water; hot water accelerates mineral buildup. Never add essential oils unless specified—they coat sensors and damage ultrasonic components. Wipe the base dry each time you refill to prevent mineral crust formation. Always unplug when not in use—this prevents electrical issues and extends component life. In hard water areas, keep distilled water on hand for regular use.
Optimal Placement Strategies
Position your humidifier at least 12 inches from walls to prevent mold growth. Keep away from heating vents and direct sunlight, which create mineral deposits. For bedrooms, place 3-4 feet from your bed—close enough for benefit, far enough to prevent condensation on bedding. Never place on carpeted surfaces; use a hard, level surface like a nightstand. Ensure the unit has proper ventilation on all sides—blocking intake vents causes overheating and shutdowns.
When to Call for Help
Warranty Service Essentials
Don’t void your warranty—unauthorized repairs cancel coverage. Vicks provides 3-year warranties on most models, but online registration within 10 days of purchase is required. Keep your receipt—digital photos work if originals fade. Contact 1-800-VAPOR-1-2 for warranty claims; they’ll often mail replacement parts for simple fixes like faulty sensors or heating elements. For digital display errors, try a factory reset (hold power button for 10 seconds) before seeking service.
Professional Repair Indicators
Call professionals when you see:
– Burnt electrical smell during operation
– Water leaking from electrical components
– Repeated fuse or breaker trips
– Error codes on digital displays
Final Takeaways
Most Vicks humidifier problems stem from three culprits: mineral buildup, incorrect water levels, or power supply issues. Start with the simplest fixes—clean the tank, check your outlet, verify water flow. These steps solve 80% of failures without replacement parts or professional service. Always use distilled water in hard water areas and establish a weekly cleaning routine—this prevents 90% of common malfunctions. If your humidifier remains unresponsive after trying these targeted solutions, check warranty coverage before investing in repairs. Remember: consistent maintenance transforms your Vicks humidifier from a frustrating appliance into a reliable ally for healthier indoor air.


