
When your WINIX air purifier stops delivering that crisp, clean air you’ve come to expect, the culprit is often a saturated filter in need of replacement. Knowing how to replace your WINIX air purifier filter properly ensures your unit continues capturing dust, pollen, pet dander, and other airborne contaminants that compromise your indoor air quality. A clogged filter doesn’t just reduce effectiveness—it forces your unit to work harder, increasing energy consumption and potentially shortening the lifespan of your entire air purifier system.
Replacing your WINIX filter is a simple 10-minute process that requires no special tools or technical expertise. This guide provides a complete walkthrough of the replacement procedure, including identifying the right filter for your specific model, understanding current pricing and discounts, and implementing maintenance habits that maximize your new filter’s performance. By following these steps precisely, you’ll restore your WINIX air purifier to peak operating condition and ensure your family continues breathing healthier air.
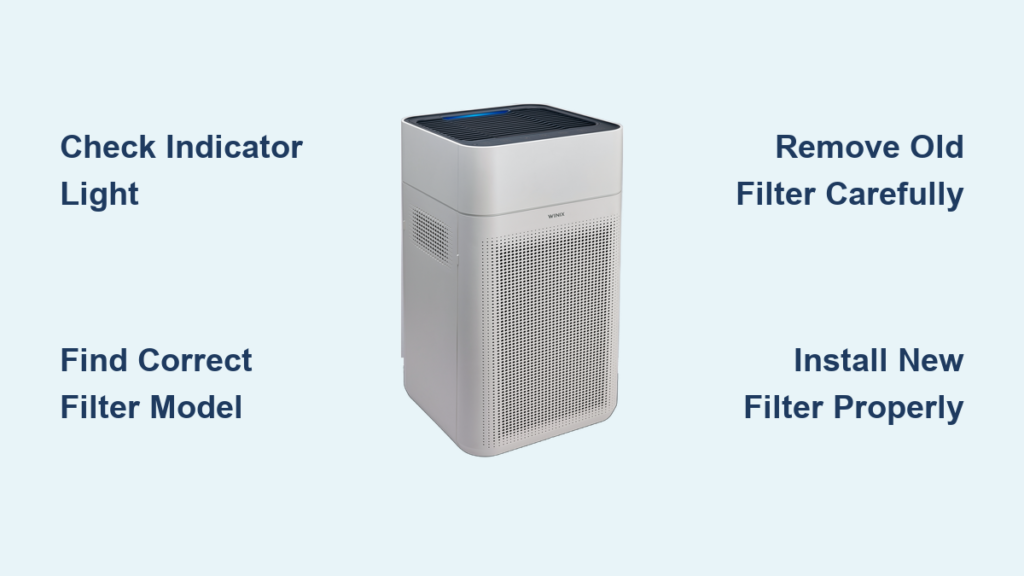
Check Your Filter Replacement Indicator
WINIX Air Purifiers feature an intelligent automatic filter replacement indicator that eliminates guesswork from your maintenance schedule. This built-in monitoring system tracks your filter’s usage and illuminates a warning light when saturation reaches the point where air purification effectiveness begins to decline. Rather than relying on calendar dates alone, this indicator provides a data-driven signal that it’s time for replacement—ensuring you never replace a filter too early or continue using one beyond its effective service life.
Under standard indoor conditions with average air quality, most WINIX filters deliver optimal performance for approximately 12 months before requiring replacement. However, this timeline varies significantly based on your specific environment. Units operating in kitchens with frequent cooking, near fireplaces, or in homes with tobacco use will require more frequent filter changes due to accelerated particle loading. If you notice increased allergy symptoms among household members despite the unit running, or if visible dust accumulates more quickly on surfaces, these serve as secondary indicators that your filter may need attention before the official indicator illuminates.
Find the Right Filter for Your WINIX Model

Before purchasing a replacement, you must identify the exact filter type compatible with your specific WINIX model. Using an incompatible filter not only reduces performance but can also prevent proper installation or potentially damage your unit. WINIX manufactures numerous filter types, each designed for specific model compatibility, so selecting the correct one is essential for optimal air purification.
Check your WINIX air purifier’s user manual to find the recommended filter type for your model number (such as WINIX 5000, 5000S, or 5300). Alternatively, examine your current filter—the part number is typically printed directly on the filter frame or attached label. Knowing both your model number and existing filter part number ensures you purchase a compatible replacement.
WINIX offers several core filter families to meet different purification needs:
– Filter S (part number 1712-0096-00) serves as a standard replacement across multiple WINIX configurations
– Filter A (part number 115115) and Filter H (part number 116130) address additional model requirements
– Filter B (part number 114190) delivers premium filtration performance
– Filter X (part number 1712-0089-01) represents WINIX’s most advanced filtration technology
Each filter family includes specialized variants targeting specific air quality concerns:
– AllergenGuard options provide enhanced protection against common allergens
– PetGuard variants capture dander and pet-related particles more effectively
– SmokeGuard filters feature advanced technology engineered for smoke-filled environments
Purchase Your Replacement Filter During Current Promotions
All WINIX filters currently feature a substantial 30% discount off original retail pricing, making this an optimal time for replacement purchases. This promotion applies across the entire WINIX filter lineup, from budget options to premium performance filters.
Budget-Friendly Options:
– Filter U (1712-0094-00) – $13.99 (was $19.99)
– PM 2.5 Filter M (118460) – $20.99 (was $29.99)
– Filter Pack P (115119) multi-pack – $34.99 (was $49.99)
Mid-Range Performance:
– Filter S (1712-0096-00) & Filter Z (1712-0121-00) – $41.99 (was $59.99)
– Filter C (113050) – $45.49 (was $64.99)
– Filter O (1712-0110-00) – $38.49 (was $54.99)
Premium Filtration:
– Filter X (1712-0089-01) – $132.99 (was $189.99)
– Filter X2 (1712-0089-03) – $111.99 (was $159.99)
– HEPAMax Filter K (118410) – $104.99 (was $149.99)
– Advanced Odor Control Carbon Filter L (118440) – $139.99 (was $199.99)
Consider your specific air quality challenges when selecting a filter—households with pets benefit from PetGuard variants, while those in wildfire-prone areas should prioritize SmokeGuard filters for optimal performance.
Remove the Old Filter Properly
Begin the replacement process by unplugging your air purifier—this critical safety step prevents accidental startup during filter access. Place the unit on a stable surface with adequate working space, preferably over a floor covering to contain any loose particles that may escape during removal.
Locate the filter access panel on your WINIX unit—most models feature a front-access design with a release mechanism. Press or slide the release mechanism according to your model’s design, then carefully remove the access panel to expose the filter compartment. Pro tip: Take note of how the filters are positioned before removal, as some WINIX models contain multiple filter layers (pre-filter and HEPA filter) that need to be addressed separately.
Gently remove the old filter from the compartment without shaking or compressing it excessively—this prevents releasing trapped particles back into your indoor air. If the filter appears heavily saturated, consider sealing it in a plastic bag before disposal to contain accumulated debris. Before installing your new filter, use a vacuum attachment or damp cloth to remove any visible dust from the internal compartment surfaces for optimal performance.
Install the New Filter Correctly
Proper installation is crucial for ensuring optimal performance and maintaining your unit’s warranty coverage. Start by unpacking your new replacement filter and removing all protective packaging materials. Inspect the filter for any shipping damage before installation and verify the part number matches your requirements.
Critical step: Note any directional arrows or airflow indicators on the filter—these indicate the correct orientation for installation. The filter must be installed with airflow direction matching your unit’s design to function properly. Align the filter carefully with the compartment, ensuring it sits flush and level within the housing. Most filters slide or click into place with minimal force; if you encounter significant resistance, double-check the orientation before proceeding.
Once the filter is properly seated, replace the access panel by aligning it with the housing and securing the latch mechanism. Ensure the panel clicks or locks into place fully to create an airtight seal—this prevents unfiltered air from bypassing the filter and reduces purification efficiency.
Reset the Filter Replacement Indicator
After installing your new filter, don’t forget the critical step of resetting your WINIX air purifier’s filter replacement indicator. This reset tells your unit that a fresh filter is now installed, clearing the replacement warning and restarting the usage timer.
The reset procedure varies slightly by model but typically involves pressing and holding the filter reset button for 3-5 seconds until the indicator light changes or you hear an audio confirmation. Locate this button on your control panel or near the filter access area. If your model lacks a visible reset button, consult your user manual for model-specific instructions, as some newer WINIX models feature automatic reset functionality that detects filter replacement through internal sensors.
Maximize Your New Filter’s Lifespan
Strategic placement significantly impacts your filter’s longevity. Position your WINIX air purifier in an area with good airflow circulation—avoid corners, behind furniture, or enclosed spaces that restrict air intake. Units placed near cooking areas or high-traffic zones with excessive dust will require more frequent filter changes due to accelerated particle loading.
Essential maintenance habit: Clean your washable pre-filter monthly using a vacuum attachment or mild soap and water. This removes larger particles before they reach your primary HEPA filter, extending its effective service life and maintaining optimal airflow through the system.
Monitor your indoor air quality indicators and adjust expectations accordingly. During high pollen seasons or wildfire smoke events, your filter will work harder and may require replacement sooner than the standard 12-month guideline. Conversely, units in consistently clean environments may exceed the typical lifespan, though your automatic indicator will signal when replacement is genuinely needed regardless of calendar time.
By following these replacement procedures and maintenance practices, your WINIX air purifier will continue delivering clean, fresh air to your home for years to come. Regular filter replacements—timed perfectly with your unit’s indicator system—ensure your family breathes healthier air while maximizing the performance and longevity of your WINIX investment.


