
You’ve just unboxed your new Dyson air purifier, but the control panel seems confusing with its touch-sensitive buttons and digital display. Many users struggle with understanding when to run the purifier, how to interpret the air quality readings, or why their unit isn’t performing as expected. Without proper setup and usage knowledge, your investment in cleaner air might not deliver the health benefits you anticipated. This guide provides clear, actionable steps to maximize your Dyson air purifier’s performance based on standard air purification principles and common features across air cleaning devices.
Unlike conventional air purifiers, modern units like the Dyson incorporate advanced filtration systems and smart sensors that require specific operational knowledge. Whether you’re concerned about seasonal allergies, indoor pollutants from cooking, or simply want to maintain optimal air quality in your home, understanding how to properly operate your device is crucial. By the end of this guide, you’ll know exactly how to position your unit, select appropriate settings, monitor air quality effectively, and maintain your system for long-term performance.
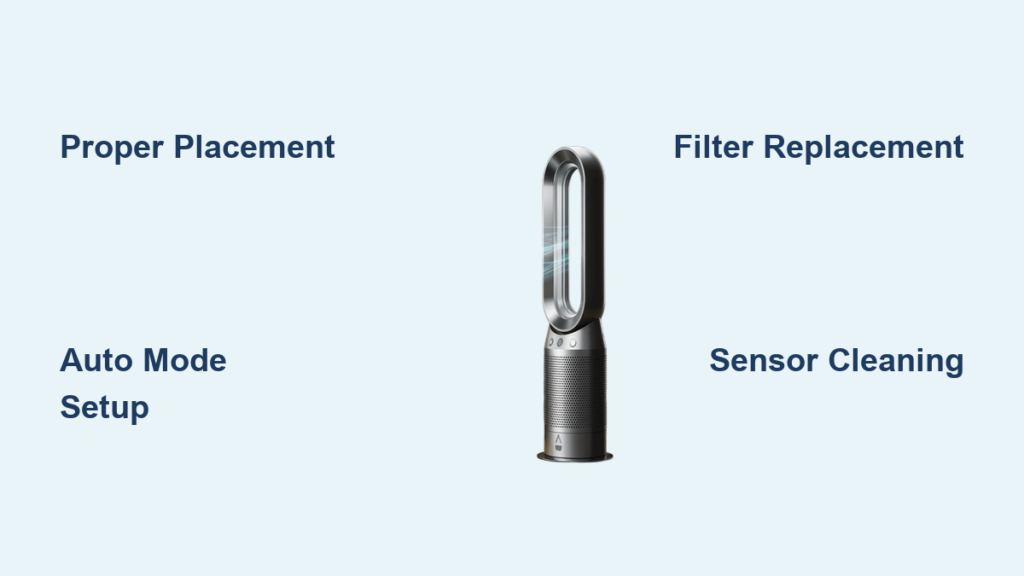
Proper Placement for Maximum Airflow Efficiency
Where you position your air purifier dramatically impacts its effectiveness. Many users make the critical mistake of placing their unit in a corner or behind furniture, severely limiting its ability to circulate and clean air throughout the room.
Optimal Room Positioning Guidelines
Place your air purifier in an open area with at least 18 inches of clearance on all sides, particularly around the air intake vents. Avoid positioning against walls or near large furniture that could obstruct airflow. For best results, position the unit at breathing height (approximately 3-5 feet off the ground) in the room where you spend the most time.
Critical placement mistakes to avoid:
– Don’t tuck the unit into tight spaces or closets
– Avoid placing near heat sources like radiators
– Keep away from humidity sources like bathrooms
– Never position directly under ceiling fans
Room Size Considerations for Effective Purification
Each air purifier model is designed for specific room dimensions. Operating a unit in a space larger than its capacity means it will struggle to clean the air effectively. Check your model’s maximum coverage area and match it to your room size.
For multi-room homes, consider these strategic placement approaches:
– Position units in bedrooms for clean air while sleeping
– Place in living areas during daytime hours
– Run units in kitchen areas after cooking to remove odors
– Use in home offices for improved concentration
Mastering Control Panel Operations
Understanding your air purifier’s control interface prevents frustration and ensures you’re using the device to its full potential. Most modern units feature similar operational patterns regardless of specific model variations.
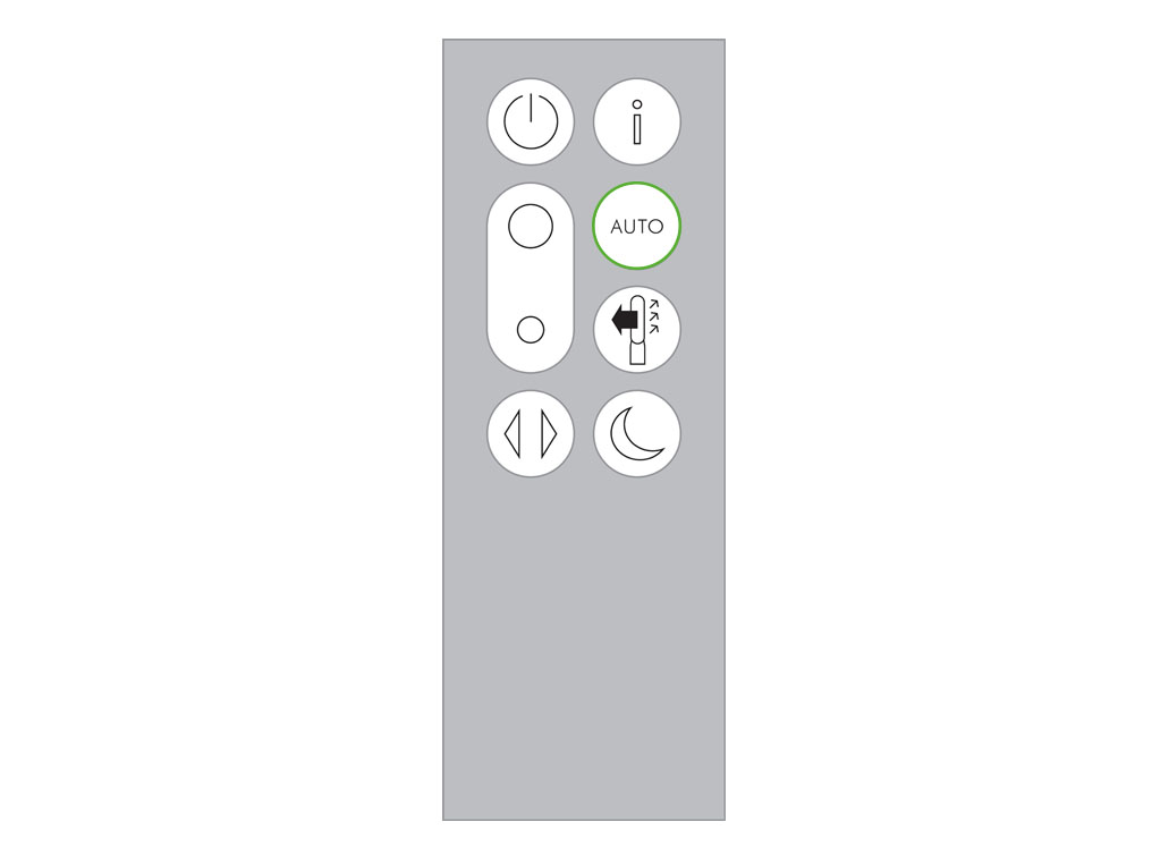
Essential Button Functions Explained
The power button typically activates the unit with default settings. The airflow speed control allows adjustment between multiple fan speeds (usually 1-10 settings). The oscillation button enables wider air distribution across the room. The night mode button reduces both fan speed and display brightness for undisturbed sleep.
Pro tip: Many units have hidden functions like holding certain buttons for 3 seconds to access special modes. Consult your specific model’s documentation for these advanced features.
Interpreting Air Quality Indicators
Your unit’s air quality display provides real-time feedback about your indoor environment. Green typically indicates good air quality, yellow moderate, and red poor conditions. The numerical PM2.5 reading shows particulate matter concentration in micrograms per cubic meter.
When you notice the display changing color:
– Red display: Run purifier on highest setting
– Yellow display: Medium setting usually sufficient
– Green display: Can reduce to lower setting or auto mode
– Spikes after cooking: Normal reaction to temporary pollutants
Setting Up Automatic Operation Modes
Modern air purifiers excel when configured to operate intelligently rather than manually. Properly setting automatic functions ensures your unit responds to actual air conditions without constant adjustment.
How to Configure Auto Mode Effectively
Auto mode allows your purifier to automatically adjust fan speed based on real-time air quality readings. To activate:
1. Press the auto button until “AUTO” appears on display
2. Ensure sensors are clean and unobstructed
3. Allow 24-48 hours for the unit to establish baseline readings
4. Avoid placing near temporary pollution sources that might trigger false readings
Common auto mode problems:
– Unit running constantly: Check for persistent pollution sources
– Not activating when needed: Clean sensors with soft brush
– Inconsistent performance: Reset by powering off for 30 seconds
Scheduling Cleaning Cycles for Optimal Results
Programming your purifier to run during specific times maximizes efficiency while minimizing noise disruption. Most units allow scheduling through physical controls or companion apps.
Recommended scheduling for different household needs:
– Allergy sufferers: Run continuously during pollen season
– Nighttime: Use night mode 2 hours before bedtime
– Pet owners: Run 30 minutes after pets shed heavily
– Post-cleaning: Operate on high for 2 hours after vacuuming
Filter Maintenance and Replacement Protocol
Your air purifier’s performance directly depends on proper filter care. Neglecting this critical component renders even the most advanced unit ineffective at cleaning your air.
Step-by-Step Filter Access and Inspection
To check your filter condition:
1. Power off and unplug the unit
2. Locate the filter compartment (typically at base or rear)
3. Release latches or unscrew access panel
4. Remove filter and inspect for visible dust buildup
5. Hold filter up to light – if you can’t see through it, replacement is needed
Warning: Never operate the unit without filters installed, as this damages internal components and circulates unfiltered air.
Determining When to Replace Filters
Most filters last 6-12 months depending on usage and air quality conditions. Your unit may have a filter life indicator, but these aren’t always accurate. Physical inspection remains the most reliable method.
Signs your filter needs immediate replacement:
– Visible darkening across filter surface
– Noticeable decrease in airflow
– Musty odors coming from the unit
– Air quality readings remain poor despite extended operation
Energy Efficiency and Cost Management
Understanding your air purifier’s energy consumption helps balance air quality needs with electricity costs, especially for units designed to run continuously.
Operating Cost Optimization Strategies
Running your purifier on lower settings when air quality is good can reduce energy consumption by up to 50% compared to maximum settings. Use auto mode to let the unit determine optimal fan speed based on actual conditions rather than running constantly on high.
Energy-saving tips:
– Use timer functions to operate only when needed
– Close windows and doors in the room being purified
– Combine with regular cleaning to reduce particle load
– Run at lower speeds overnight when air quality typically improves
Noise Level Management for Different Environments
Air purifiers produce varying noise levels depending on fan speed. Understanding these levels helps you select appropriate settings for different times and activities.
Noise level guidelines by setting:
– Level 1-3: Library-quiet (less than 30 dB) – ideal for sleep
– Level 4-6: Background conversation (30-45 dB) – good for work
– Level 7-10: Noticeable but not disruptive (45-60 dB) – for rapid purification
Troubleshooting Common Operational Issues
Even properly maintained units occasionally experience performance issues that can be resolved with basic troubleshooting techniques.
Addressing Poor Air Quality Readings
If your unit consistently shows poor air quality despite regular operation:
1. Clean the air quality sensors with a soft, dry brush
2. Check for nearby pollution sources you may have overlooked
3. Verify filters are properly installed and not expired
4. Move the unit away from walls or furniture blocking sensors
Resolving Unusual Noises and Vibrations
Strange sounds often indicate simple issues rather than major malfunctions:
– Rattling: Check for loose components or foreign objects
– Whistling: Inspect for airflow obstructions around the unit
– Grinding: Power off immediately and contact support
– Increased noise over time: Usually indicates dirty filters needing replacement
Final Note: For optimal performance, run your air purifier continuously rather than intermittently, as air quality constantly changes in indoor environments. Establish a monthly maintenance routine to check filters and clean sensors, ensuring your unit operates at peak efficiency. Remember that air purifiers work best as part of a comprehensive approach to indoor air quality that includes regular cleaning, proper ventilation, and source control of pollutants. If you experience persistent issues beyond basic troubleshooting, consult official manufacturer support for model-specific assistance.


