
Your new Dyson humidifier sits in the box, promising relief from dry air and improved sleep quality. But between the sleek design and innovative features, figuring out how to use your Dyson humidifier effectively isn’t always intuitive. Whether you’re dealing with winter dryness or year-round comfort issues, this guide walks you through everything from first setup to advanced scheduling features.
Let’s transform your living space into a perfectly balanced environment where every breath feels fresh and comfortable. By the end of this guide, you’ll know exactly how to use Dyson humidifier functions to create ideal humidity levels in your home without frustration or guesswork.
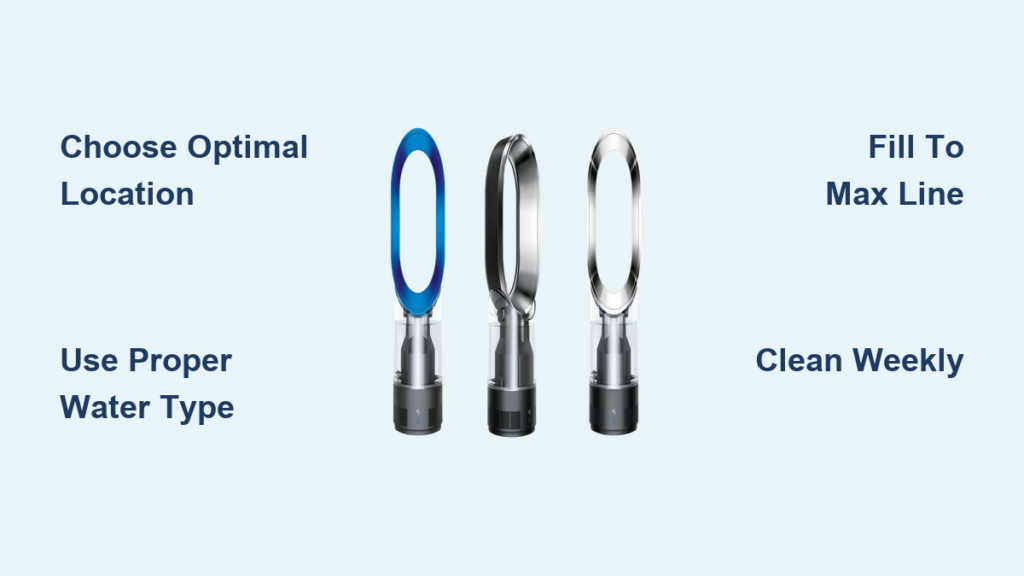
Choose the Perfect Location for Maximum Effectiveness
Positioning your humidifier correctly makes all the difference in performance and safety—get this step wrong and you’ll struggle with inconsistent results from day one.
Avoid Common Placement Mistakes That Reduce Performance
Place your humidifier on a flat, stable surface at least 3 feet from walls and furniture to prevent moisture buildup on surfaces while allowing proper airflow circulation. Never position it directly under shelves or artwork where condensation could cause damage over time. Avoid direct sunlight exposure, which creates ideal conditions for algae growth inside the water tank and reduces your unit’s efficiency.
Optimal Elevation for Even Humidity Distribution
Elevate your humidifier 2-3 feet off the ground using a stable table or stand rather than placing it directly on the floor. This strategic height improves mist distribution throughout the room and prevents moisture accumulation on flooring surfaces. Corner placement restricts airflow and creates uneven humidity levels—center placement in your target room delivers the most consistent results for how to use Dyson humidifier effectively.
Prepare Your Unit for First Use With Confidence
Skipping these critical preparation steps can lead to poor performance or even damage your investment before you get started.
Water Quality Requirements for Long-Term Reliability
Use cool tap water or distilled water based on your local water hardness—hard water areas benefit significantly from distilled water to minimize mineral buildup inside the system. Never use hot water, essential oils, or any additives in your Dyson humidifier as these can damage internal components and immediately void your warranty. The unit is designed specifically for clean water operation only.
Electrical Safety Setup That Prevents Hazards
Connect your humidifier directly to a wall outlet rather than using extension cords, which reduce efficiency and create potential fire hazards. Ensure cord placement doesn’t create tripping risks, especially in high-traffic areas or children’s rooms. Always verify you’re using a standard 120V outlet as voltage converters can cause permanent damage to your unit—this is non-negotiable for safe operation.
Initial Setup Process: From Box to Operating in Minutes
Follow this precise sequence to ensure your humidifier functions correctly from the very first use without common beginner mistakes.
Correct Water Tank Filling Technique
Lift the water tank straight up using the integrated handle, then remove the cap by twisting counterclockwise. Fill to the maximum line indicator—never overfill as this causes leaks and potential electrical hazards. Replace the cap securely by twisting clockwise until it clicks, then wipe any external spills before placing the tank back on the base unit. Proper filling technique is essential for how to use Dyson humidifier safely.
Power-On Sequence and Initialization
Plug in your unit and press the power button once—your humidifier automatically runs through a 30-second initialization sequence that calibrates internal sensors. During this process, the display shows current room humidity levels and illuminates softly for easy viewing. Never attempt to adjust settings during initialization as this can disrupt the startup process and require a full reset.
Control Panel Navigation Made Simple
Mastering these controls unlocks your humidifier’s full potential for customized comfort without confusion or frustration.
Understanding Essential Display Symbols at a Glance
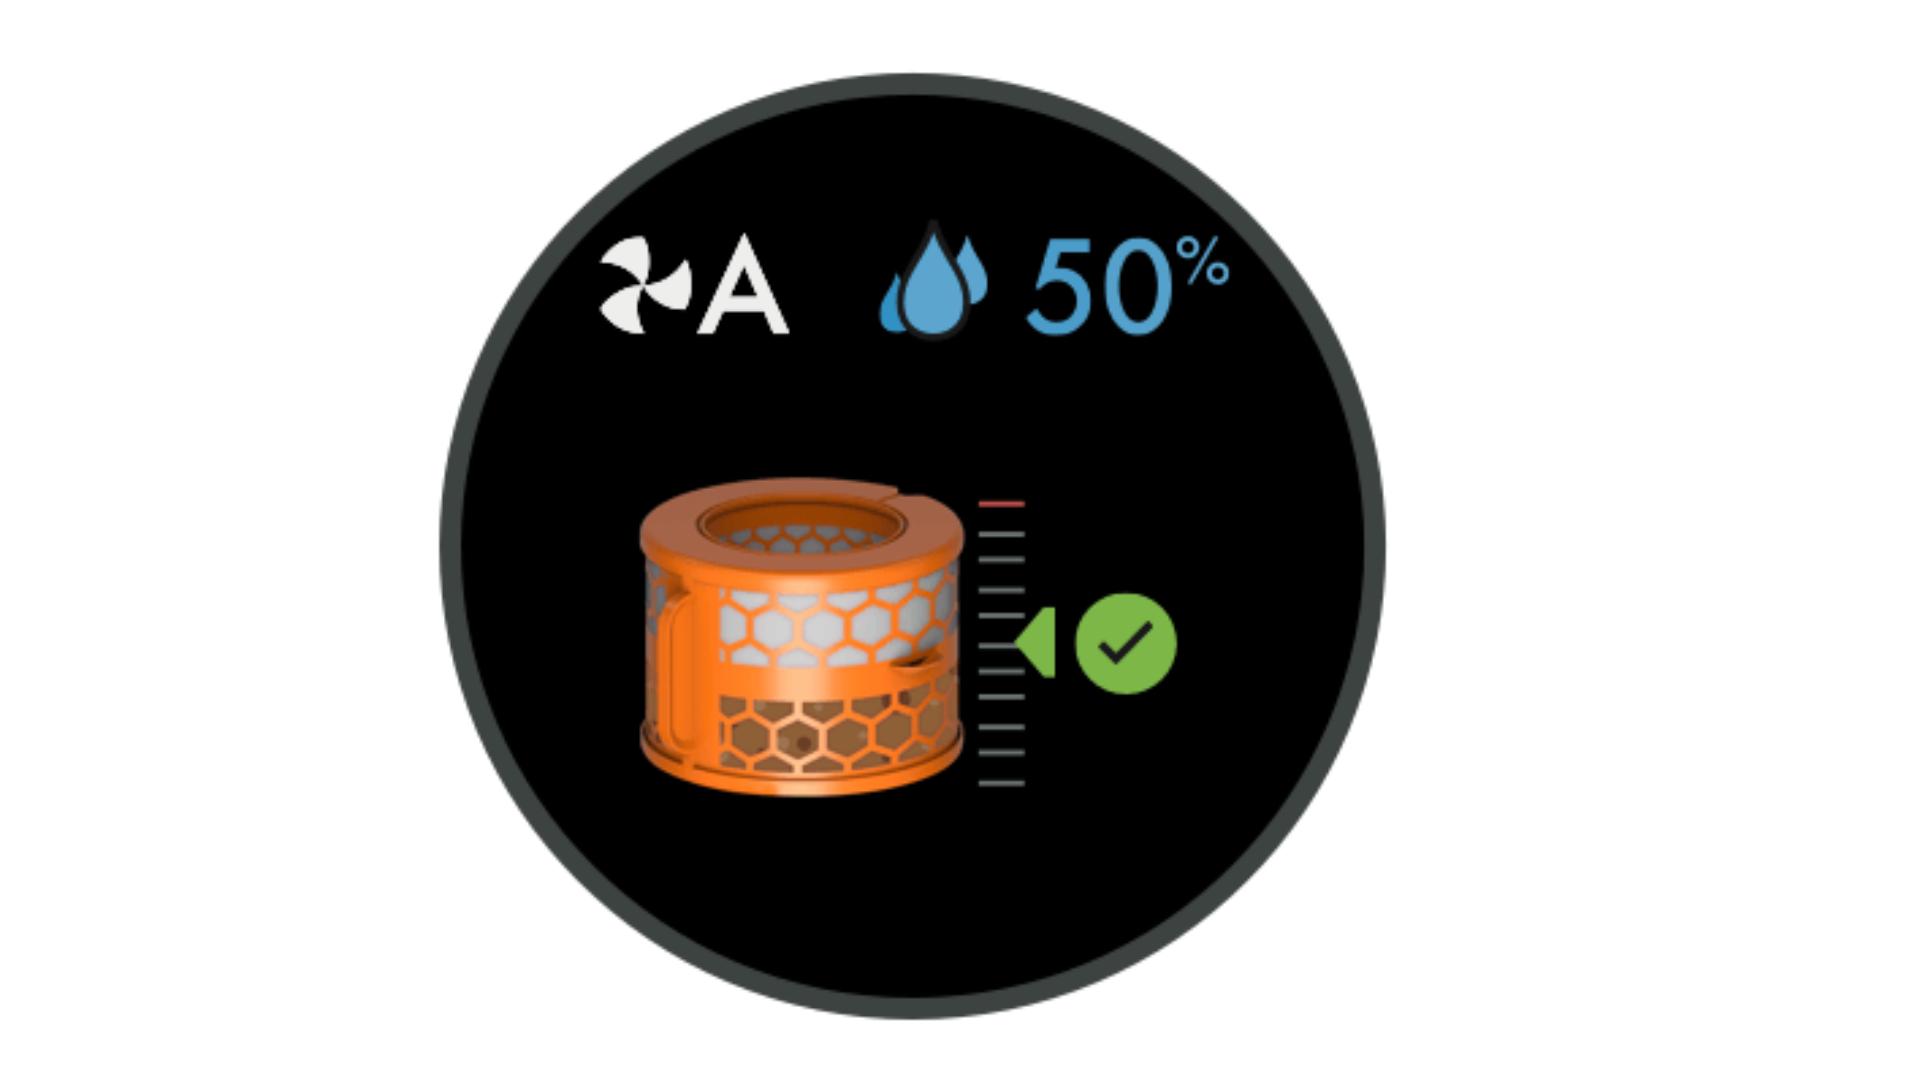
The LED display uses intuitive icons: a water droplet shows current humidity percentage, a fan symbol indicates airflow speed level, and a moon icon activates sleep mode. Temperature displays in your selected unit (°F/°C) automatically. Learn these symbols first—they’re your visual guide to how to use Dyson humidifier settings effectively without constantly referring to the manual.
Precise Humidity Level Adjustment Process
Press the humidity button to cycle through available settings between 30-70%—most users find 40-50% ideal for general comfort. The Auto mode intelligently adjusts output based on real-time room conditions, maintaining your selected humidity level without manual intervention. When adjusting levels, wait 15-30 minutes for the system to respond before making additional changes.
Fan Speed and Oscillation Control Explained
Select from three airflow speeds to accommodate different room sizes and noise preferences—Speed 1 operates whisper-quiet for bedrooms while Speed 3 quickly humidifies large living areas. Activate oscillation by pressing the dedicated button to sweep airflow across 90 degrees for even humidity distribution throughout your space. Always start at lower speeds and increase only if needed for optimal energy efficiency.
Daily Operation Best Practices for Consistent Results
Implement these simple routines to maximize efficiency and comfort with minimal effort in your daily how to use Dyson humidifier routine.
Ideal Humidity Targets for Different Living Spaces
Aim for 40-50% humidity in general living areas and 45-55% in bedrooms for optimal comfort and health benefits. Use a separate hygrometer to verify accuracy as built-in sensors can vary by 3-5%—this prevents over-humidification that leads to condensation issues. Adjust seasonally with higher settings in winter heating months and slightly lower in summer for natural climate adaptation.
Strategic Refill Scheduling to Prevent Interruptions
Most tanks require refilling every 12-24 hours depending on usage intensity and room size—establish consistent refill routines that match your daily schedule. Morning refills work well for daytime use while evening refills ensure uninterrupted overnight operation. Always empty any remaining water before refilling to prevent stagnation and maintain optimal air quality.
Room Size Considerations for Effective Coverage
Your Dyson humidifier effectively treats rooms up to 400 square feet—larger spaces may require strategic placement near primary seating areas for targeted comfort. Close doors to maintain humidity in your target area rather than attempting whole-house coverage with a single unit. For multi-room needs, consider operating multiple units on coordinated schedules for comprehensive humidity management.
Maintenance Schedule That Extends Your Unit’s Lifespan

Regular maintenance prevents 90% of common humidifier problems and ensures consistent performance year after year.
Weekly Cleaning Protocol to Prevent Buildup
Empty and rinse the water tank weekly with warm water only—never use harsh chemicals that could contaminate your air. Use a soft brush to clean corners where minerals accumulate, focusing on the cap seal area. Wipe the base with a damp cloth while avoiding electrical components, and never submerge the base unit in any liquid. This simple routine keeps your how to use Dyson humidifier experience trouble-free.
Filter Replacement Timing Based on Actual Usage
Replace the evaporative filter every 6-12 months depending on water hardness and daily usage patterns—hard water areas typically require 6-month intervals. The display shows a filter indicator when replacement is due, but check monthly for visible mineral deposits that signal earlier replacement. Always use genuine Dyson filters to maintain optimal performance and warranty coverage.
Monthly Deep Cleaning Process for Optimal Hygiene
Conduct a thorough deep cleaning monthly to prevent mold and bacteria growth—mix one part white vinegar with two parts water, fill the tank, and run for 30 minutes. Rinse thoroughly with clean water multiple times to eliminate any vinegar residue, then air-dry completely before next use. This essential process maintains healthy air quality and prevents musty odors from developing.
Troubleshooting Common Issues Without Panic
Quick solutions for the most frequent operational problems save time, money, and frustration when learning how to use Dyson humidifier properly.
Immediate Fixes for No Mist Output
First verify adequate water level and ensure the tank sits properly aligned on the base unit—improper seating is the most common cause. Check for clogged air vents where dust buildup restricts airflow and reduces output. If issues persist after these checks, the filter may need replacement after extended use, especially in hard water areas.
Noise Reduction Solutions for Peaceful Operation
Rattling sounds typically indicate loose tank placement—remove and firmly reseat the tank to eliminate vibration noise. Grinding noises suggest mineral buildup on the fan assembly—immediately perform the monthly deep cleaning process to resolve this. Normal operation should stay under 35 decibels; persistent unusual noises warrant contacting Dyson support before attempting internal repairs.
Water Leak Solutions That Protect Your Home
Leaks almost always occur from overfilling or damaged tank seals—fill only to the maximum line indicator and inspect the tank cap O-ring for cracks or misalignment. Always position the unit away from electronics and use a protective mat underneath to catch any accidental spills. If leaks persist after these checks, stop using the unit immediately and contact customer support.
Key Takeaway: Your Dyson humidifier transforms dry air into comfortable living conditions through intelligent automation and user-friendly controls. Start with basic setup, master daily operations, then explore advanced features as you become comfortable. Regular maintenance ensures years of reliable performance while protecting your investment.
Ready to perfect your indoor air quality? Begin with the initial setup today, then gradually incorporate advanced features as your comfort needs evolve. With this guide, you now know exactly how to use Dyson humidifier functions to create your ideal living environment with confidence.


