A persistent chirp from the ceiling interrupts your evening, or perhaps you are repainting and need to take the unit down temporarily. Whatever the reason, knowing how to remove a smoke detector the right way protects both you and the device. Each model type—battery, hard-wired, or tamper-resistant—requires specific steps to avoid damage or electrical hazards.
This guide walks you through identifying your detector, releasing safety locks, and detaching the unit without breaking the mounting bracket. You will also learn how to check expiration dates, perform a reset, and reinstall everything correctly so your home stays protected.
Identify Your Smoke Detector Type Before Removal
The removal method depends entirely on the power source and mounting system. Taking a moment to identify your model prevents accidental damage and keeps you safe.
Battery, Hard-Wired, or Interconnected?
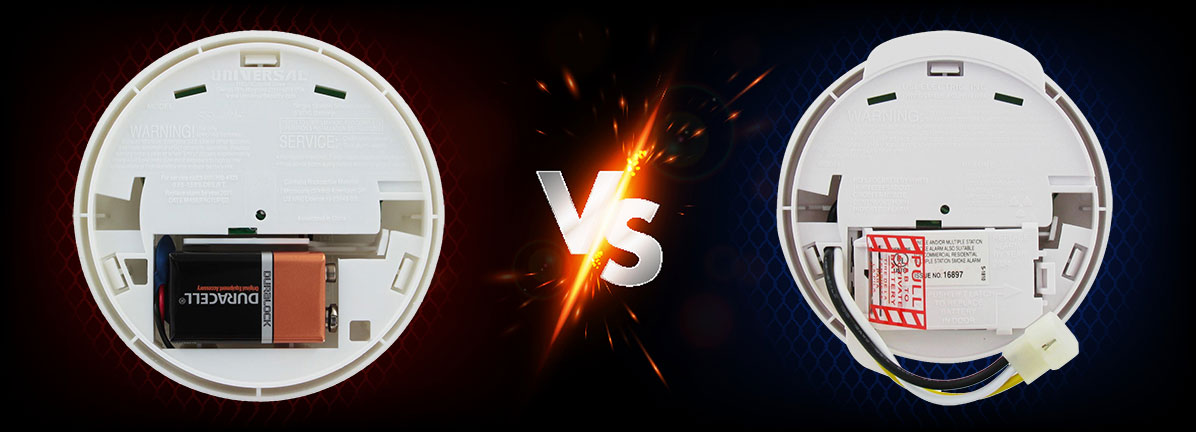
Look for these visual differences from the ground:
- Battery-operated: No wires connect to the ceiling or wall; usually round with a single mounting screw
- Hard-wired (AC): Connected to house wiring; often includes a 9-volt backup battery
- Interconnected systems: Multiple alarms that sound together; always hard-wired
Interconnected units require extra caution because power flows through the entire system.
Check for Tamper-Resistant Features
Many modern alarms include anti-removal locks. Common signs include a small plastic pin sticking out from the side, a locking tab near the mounting bracket, or a hidden release slot. If your unit has any of these, you must disengage the lock before the alarm will turn.
Remove a Battery-Operated Smoke Detector
Standalone battery units are the simplest to take down and require no tools under normal conditions.
Rotate Toward the OFF Arrow
- Set up a stable step ladder directly beneath the alarm.
- Locate the directional arrow marked “OFF” printed on the cover.
- Grip the alarm firmly and rotate it in the direction the arrow points.
- The unit will drop slightly and release from the trim ring once unlocked.
Pull the alarm straight down to fully detach it. A gentle wiggle can help if it feels stuck.
Disconnect a Hard-Wired Smoke Alarm Safely
AC-powered detectors carry live electricity and demand extra precautions before you touch them.
Shut Off Power at the Breaker
- Walk to your breaker box and switch off the circuit powering the smoke alarm.
- Return to the alarm and check the indicator light. On Ei Electronics models, the green light should be off.
- Wait about 10 seconds to let any stored charge dissipate.
Skipping this step risks electrical shock or damage to the wiring.
Rotate and Release the Wiring Harness
- Twist the alarm toward the OFF arrow, usually counter-clockwise.
- Lower the unit gently. It will still hang by the connector.
- Find the quick-connect harness at the bottom of the alarm.
- Squeeze the locking arms on both sides of the connector using your fingers or needle-nose pliers.
- Pull the connector straight out to separate the alarm from the base.
The unit is now safe to handle away from the ceiling.
Use the Easy-Fit Base Removal Method for Aico and Ei Electronics

Aico and Ei Electronics alarms use a tool-assisted base system that allows fast servicing without full disassembly.
Insert a Tool Into the Release Slot
- Find the small slot on the side of the alarm near the base.
- Insert a flat-head screwdriver or the dedicated Easy Change removal tool.
- Press gently inward to release the internal catch.
Slide the Alarm Off the Base
- Slide the alarm straight down once the catch releases.
- For Ei141 models, pull the tool handle downward until you feel a slight click.
- Align the unit with the directional arrow on the base and push in that direction to fully disengage.
This approach works well for battery swaps or quick cleaning sessions.
Disable Tamper-Resistant Locks Before Removal
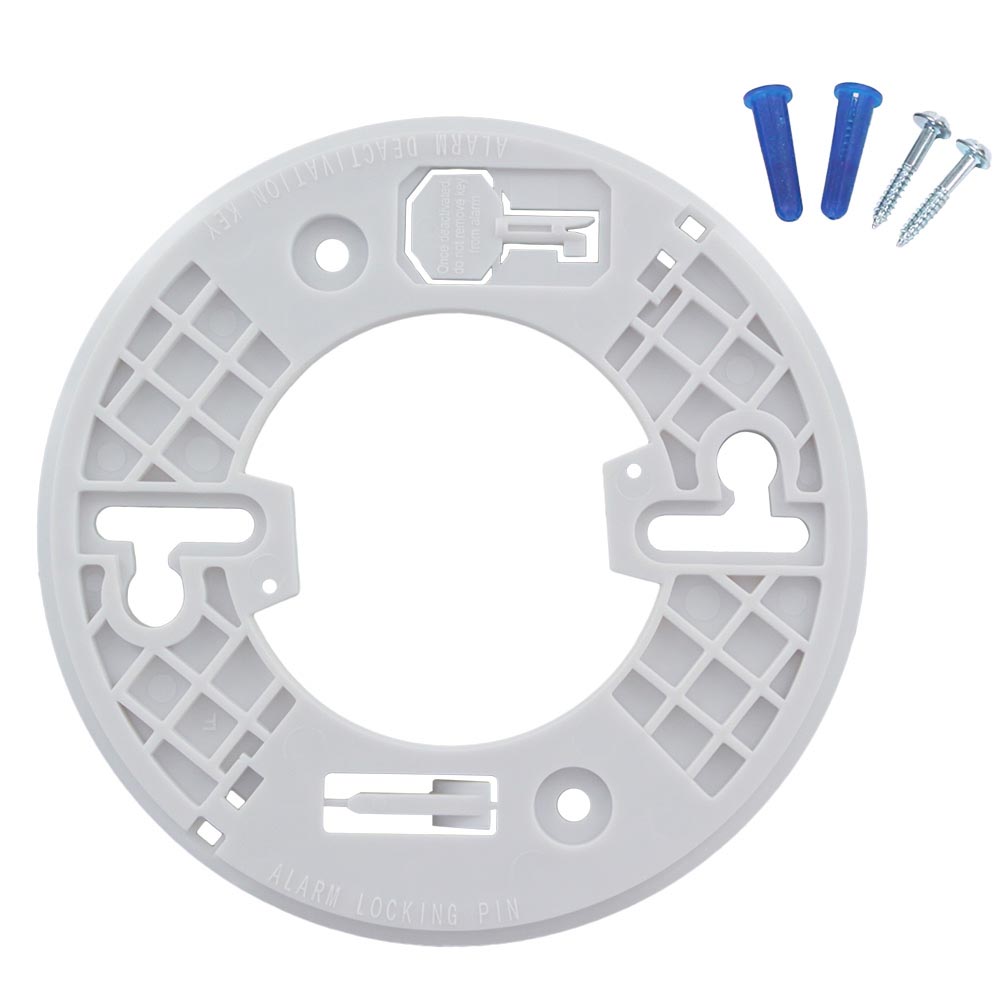
Anti-tamper mechanisms stop unauthorized removal but also block you unless you disengage them first.
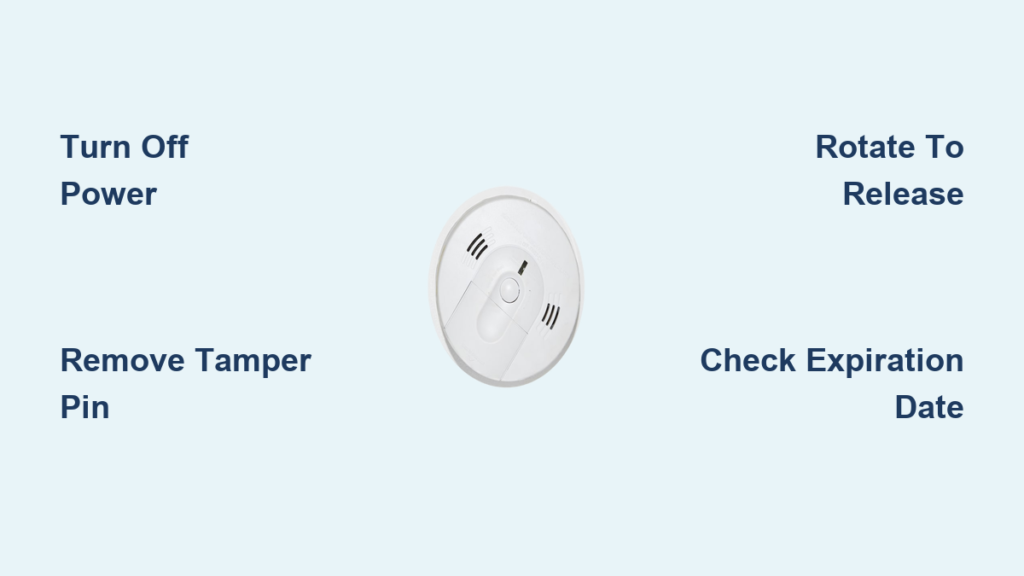
Pull the Tamper-Resist Pin
- Look for a small plastic pin inserted into a hole on the side of the unit.
- Grip the pin with long-nose pliers and pull it straight out.
- Store the pin somewhere safe if you plan to re-enable the feature later.
Some pins are single-use, so a replacement may be necessary after removal.
Press and Rotate the Locking Tab
- Locate the tamper-resist tab near the mounting bracket.
- Press down firmly with your thumb.
- While holding the tab down, rotate the alarm toward the OFF arrow.
The alarm will then detach like a standard model.
Inspect the Detector After Removal
Once the unit is down, use the opportunity to check its condition and age.
Check the Manufacture or Install Date
- Flip the alarm over and find the date label on the back.
- Compare the date to today’s date.
- If the unit is more than 10 years old, replace it right away.
Every smoke detector expires after a decade because internal sensors lose sensitivity over time.
Look for Damage or Dust Buildup
- Check for discoloration, cracks, or insect nests inside the sensing chamber.
- Vacuum the exterior vents using a soft brush attachment.
- Avoid water and chemical cleaners since they can damage sensors.
Reinstall the Smoke Detector Properly
Putting the same unit back follows a simple reverse process.
Reinstall a Battery-Operated Model
- Line up the tabs on the alarm with the slots on the mounting base.
- Rotate toward the ON arrow until the unit clicks into place.
- Press and hold the test button to confirm operation.
Reinstall a Hard-Wired Model
- Reconnect the wiring harness by pushing the connector firmly until it locks.
- Lift the unit and align it with the base.
- Rotate toward the ON arrow until secured.
- Restore power at the breaker and check for the green indicator light.
Press and hold the test button for 5 seconds afterward to clear any error states.
Troubleshoot Common Removal Problems
Even with the right technique, alarms sometimes refuse to budge.
Unit Won’t Rotate
- Cause: Tamper-resist feature still engaged.
Fix: Inspect the unit for pins or tabs and remove or press them first. - Cause: Paint or debris sealing the seam.
Fix: Wiggle gently while turning or slice through painted edges with a utility knife.
Wiring Harness Won’t Disconnect
- Cause: Locking arms not fully compressed.
Fix: Use needle-nose pliers to squeeze both sides evenly while pulling. - Cause: Damaged or corroded connector.
Fix: Replace the entire mounting base or call an electrician.
Reset the Detector After Removal or Battery Change
A proper reset clears memory errors and restores full function.
Run a Full Reset
- Turn off power at the breaker for hard-wired units.
- Remove the backup battery.
- Press and hold the test button for 15 seconds.
- Reinsert the battery and restore power.
- Press the test button again to verify the alarm sounds.
For battery swaps alone, a shorter 5-second test button press is enough.
Replace Every Smoke Detector After 10 Years
Age matters more than most homeowners realize. Sensors degrade, dust reduces sensitivity, and internal electronics grow unreliable. A 12-year-old detector may stay silent during a fire even if the test button still chirps.
Write the installation date on the side of each unit with a permanent marker. Replace every alarm on schedule, regardless of apparent performance.
Keep Your Detector Reliable With Simple Maintenance
Consistent care prevents false alarms and extends service life.
Clean and Test Monthly
- Vacuum the exterior cover using a soft brush attachment each month.
- Press and hold the test button for 5 to 10 seconds to confirm a loud, consistent sound.
- Replace the 9-volt battery as soon as a low-battery chirp starts.
Avoid Problem Locations
- Keep detectors at least 10 feet from cooking appliances to limit false alarms.
- Skip bathrooms, garages, and spots near HVAC vents where humidity or airflow causes confusion.
Call a Professional for Certain Situations
Some scenarios call for expert help instead of DIY work.
You’re Not Comfortable With the Wiring
Stop immediately if you see multiple wires or unfamiliar colors. An electrician can finish the job safely.
Interconnected Alarms Stop Triggering Together
If one alarm sounds but others stay silent, the interconnected wiring likely needs diagnostic testing.
Chirping Continues After a Fresh Battery
Persistent chirping can point to wiring faults, ground issues, or incompatible replacement units.
Reach the right support team using these contacts:
– First Alert: 1-800-323-6333 or support@firstalert.com
– Ei Electronics and Aico: Contact Safelinks or visit the official distributor website
Frequently Asked Questions About Removing a Smoke Detector
Do I need to turn off the power before removing a hard-wired smoke detector?
Yes. Switch off the breaker for the alarm circuit before touching any wiring. On Ei Electronics models, the green indicator light should be off to confirm no power is reaching the unit.
How do I remove a smoke detector with a tamper-resistant lock?
Look for a small plastic pin or locking tab on the side. Pull the pin out with long-nose pliers, or press the tab down while rotating the alarm toward the OFF arrow. The alarm will then release normally.
How can I tell if my smoke detector is expired?
Flip the unit over and read the manufacture or install date printed on the back label. Any detector older than 10 years should be replaced right away, even if it still chirps during tests.
Can I reuse the same smoke detector after taking it down?
Yes, as long as the unit is less than 10 years old, undamaged, and clean. Reinstall by aligning the tabs with the base, rotating toward the ON arrow, and pressing the test button to confirm operation.
What tools do I need to remove a smoke detector?
Most battery units require no tools at all. Hard-wired alarms may need needle-nose pliers for the wiring harness. Aico and Ei Electronics models benefit from a flat-head screwdriver or the Easy Change removal tool for accessing the release slot.
Why does my smoke detector chirp even after I changed the battery?
A leftover error state can cause chirping. Hold the test button for 5 to 15 seconds to reset the unit after battery replacement. If chirping persists, inspect the wiring or consider that the detector may have reached its 10-year expiration.
Key Takeaways for Safely Removing a Smoke Detector
Removing a smoke detector is a quick task when you match the method to your model. Always cut power at the breaker before touching a hard-wired unit, disengage any tamper-resistant pins or tabs first, and never twist the alarm in the wrong direction. Once the unit is down, check the date label, vacuum the vents, and confirm the unit is under 10 years old before reinstalling. Replace aging detectors on schedule so your home stays protected when it matters most.