
That dry winter air leaves your skin cracked, your throat scratchy, and static electricity zapping you at every turn. You glance at your Aprilaire humidifier expecting relief, but wonder—is it actually working? Most homeowners only discover humidifier problems when humidity plummets below 30% or water starts dripping from the ceiling. This guide shows you exactly how to check Aprilaire humidifier operation like a professional HVAC technician, with simple tests you can perform in under 30 minutes.
When your Aprilaire humidifier fails silently, you’re left battling health issues from dry air while wasting energy heating moisture-starved air. Whether you own a basic 600 series model or a sophisticated 700 series with automatic controls, these diagnostic steps apply universally. You’ll learn to verify proper humidity levels, test electrical components, inspect water flow, and identify common failure points before they escalate into costly repairs or water damage.
Measure Real Indoor Humidity Against Your Settings
Before assuming your Aprilaire humidifier has failed, confirm whether it should even be running based on current conditions. Grab a calibrated digital hygrometer and take readings in multiple rooms—bedrooms, living areas, and your basement. You’ll likely discover humidity varies by 10-15% between floors due to natural air stratification.
Match Humidity to Outdoor Temperature Guidelines
Your Aprilaire humidifier operates differently depending on how cold it is outside. Check your current outdoor temperature and compare against these critical thresholds:
- Above 20°F: Maintain 35-45% relative humidity
- 0°F to 20°F: Reduce to 25-35% humidity
- Below 0°F: Lower to 15-25% to prevent window condensation
If your indoor humidity exceeds your humidistat setting by more than 5%, the unit should remain off—that’s normal operation. But if readings are 10% or more below your set point and the humidifier isn’t running, you’ve got a genuine problem requiring investigation.
Listen for Humidistat Activation Sounds
Turn your humidistat control knob through its full range while placing your ear near the unit. You should hear distinct mechanical clicks as the internal switch engages and disengages at different humidity thresholds. The absence of these clicks indicates either control failure or a power supply interruption to the humidistat.
Perform the Quick Response Test
- Set humidistat to maximum (7 on most models)
- Wait 2-3 minutes for the furnace blower to activate
- Listen carefully for the solenoid valve’s “click” followed by water flow sounds
If you hear clicks but no water flow, your issue lies with the water supply system. No clicks at all points to electrical problems requiring voltage testing with a multimeter. Pro tip: Test when outdoor temperatures are cold enough to require humidification—warmer days may prevent activation regardless of settings.
Inspect Water Flow Through the Solenoid Valve
The solenoid valve controls all water entering your Aprilaire humidifier and only opens when three conditions align: furnace running, humidity below set point, and proper electrical signal. To verify operation:
Conduct the Direct Water Flow Test
- Locate the water supply line entering your humidifier
- Remove the water feed tube from the distribution tray
- Place a measuring cup underneath and run the system for 60 seconds
- Expect 3-6 ounces of water flow (models vary)
No water flow? Check these common culprits:
– Saddle valve partially closed or clogged with debris
– Water line kinks or ice blockage in cold weather
– Failed solenoid valve requiring replacement
Warning: Continuous water flow after system shutdown indicates a stuck-open solenoid valve—turn off the water supply immediately to prevent flooding.
Evaluate Evaporator Pad Absorption Capacity
The evaporator pad is your Aprilaire humidifier’s workhorse, absorbing water and releasing moisture into your air stream. Remove this component for inspection—you’ll find it behind the front access panel. A properly functioning pad should feel damp but not saturated during operation.
Identify When to Replace Your Evaporator Pad
Look for these critical warning signs:
– Mineral buildup covering 30%+ of surface (white/brown crusty deposits)
– Stiff or warped texture instead of flexible, flat condition
– Poor water absorption—submerge in water; good pads absorb evenly within 30 seconds
Time-to-replace guidelines:
– Standard pads: Replace annually before heating season
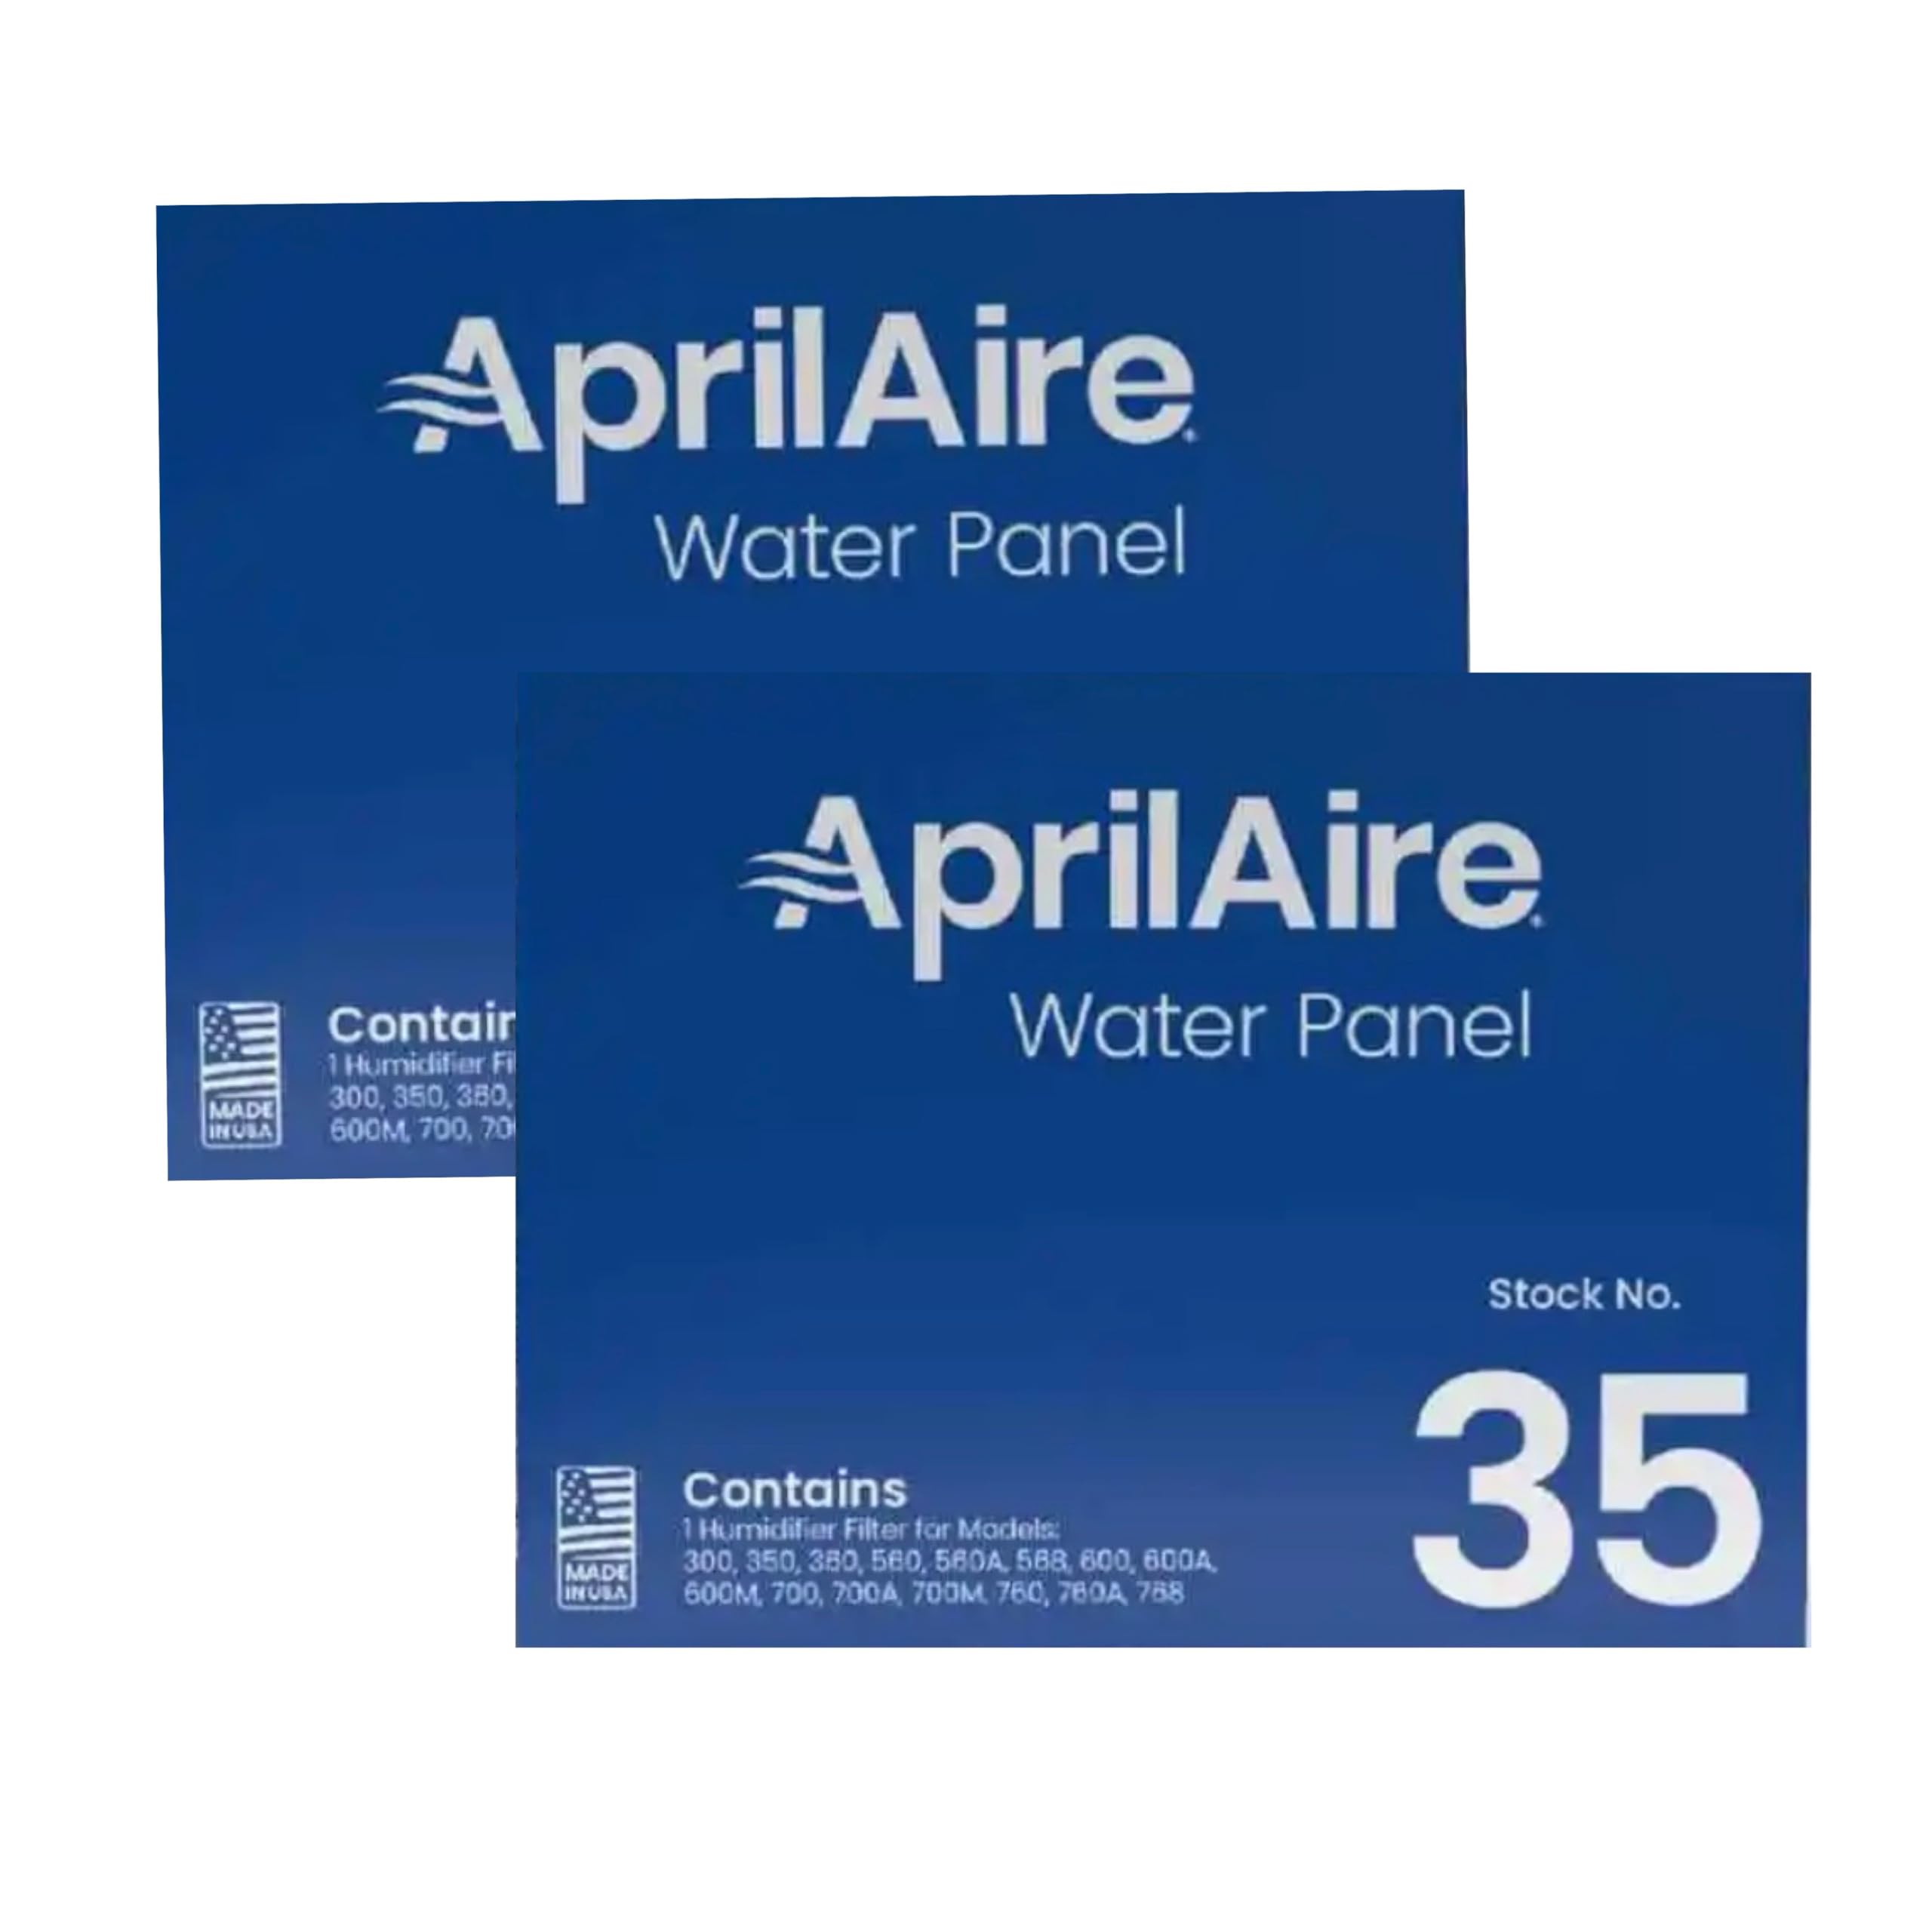
– Water panel evaporators: Every 2-3 years with soft water
– Hard water areas: Replace every 6 months regardless of appearance
Expert note: Never operate your Aprilaire humidifier without the evaporator pad—it causes water damage and reduces efficiency.
Verify Electrical Connections and Voltage
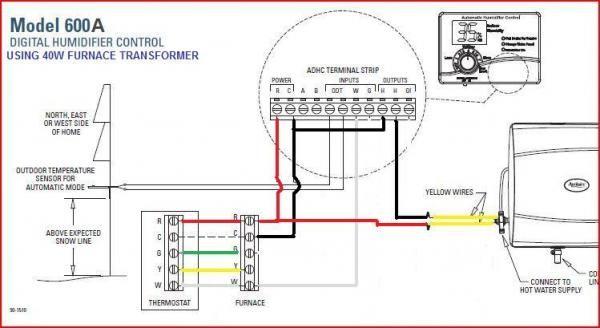
Using a digital multimeter, test voltage at critical points in your humidifier’s control circuit. This requires basic electrical safety knowledge—always turn off power at the breaker before accessing wiring.
Complete Voltage Testing Sequence
- Test humidistat output: With system calling for humidity, check for 24-28 volts AC across humidistat terminals
- Check solenoid voltage: Measure at valve terminals during operation (should match humidistat reading)
- Verify current sensing relay: Confirm output when furnace blower activates
Troubleshoot common electrical issues:
– Phantom voltage: Test with circuit loaded for accurate readings
– Corroded connections: Look for green residue on wire nuts and terminals
– Loose wires: Temperature cycling causes expansion/contraction—tighten annually
Critical safety step: Never assume wires are dead—always verify with your multimeter before handling.
Test Bypass Damper Functionality
If you have a bypass model Aprilaire humidifier, the damper controls airflow through the unit. This component must open fully during operation and seal tightly when inactive to prevent conditioned air loss.
Perform the Damper Function Check
- Run your furnace and verify the damper opens completely
- Confirm it closes tightly when humidification isn’t needed
- Check for proper summer/winter position labels
Airflow verification technique: Hold a tissue near the humidifier air intake—when operating, it should draw the tissue firmly against the opening. Weak suction indicates ductwork restrictions or improper installation that prevents effective humidification.
Document Performance Trends for Early Problem Detection
Maintain simple logs to catch gradual degradation before complete failure. This takes just 30 seconds daily but provides invaluable diagnostic information over time.
Essential Tracking Metrics
During initial heating weeks:
– Morning humidity readings at consistent times
– Corresponding outdoor temperatures
– Humidifier runtime hours (if your model displays this)
Weekly maintenance checks:
– Water consumption rate at saddle valve
– Unusual sounds, leaks, or odors
– Humidity consistency across different rooms
Pro tip: Note when problems occur—intermittent issues often correlate with specific outdoor temperatures or furnace run times, helping pinpoint the exact failure point.
Execute These Quick Fixes for Common Issues
Most Aprilaire humidifier problems stem from simple, correctable issues rather than major component failures. Try these targeted solutions before calling a technician.
Humidity Too Low Despite Running
- Gradually increase set point (1-2 numbers maximum at a time)
- Check for air leaks around windows and doors
- Ensure furnace runs long enough cycles (minimum 5 minutes)
Water Leaks Around Unit
- Tighten all water line connections with appropriate tools
- Verify drain line isn’t clogged or frozen
- Confirm evaporator pad is properly seated in housing
Complete No-Operation Scenario
- Confirm furnace is actually running (not just thermostat calling)
- Check dedicated circuit breaker for humidifier control
- Test humidistat by temporarily bypassing it with a jumper wire
Follow This Seasonal Maintenance Schedule
Prevent most Aprilaire humidifier problems through consistent, model-appropriate maintenance. These simple routines extend component life and ensure reliable winter operation.
Monthly During Heating Season
- Quick visual inspection for leaks or unusual sounds
- Verify proper water flow during operation
- Clean distribution tray if mineral deposits appear
Pre-Heating Season Deep Maintenance
- Replace evaporator pad regardless of appearance
- Clean water distribution tray and unclog all orifices
- Test all electrical connections and control operation
- Verify proper water flow rate and drainage
Warning: Never use standard duct tape on humidifier connections—always use foil tape or mastic sealant designed for HVAC applications to prevent dangerous air leaks.
Your Aprilaire humidifier should maintain comfortable, healthy humidity levels throughout your home when properly maintained. If these diagnostic steps reveal persistent issues you can’t resolve, or if you’re uncomfortable testing electrical components, contact a qualified HVAC technician. Remember that most humidifier failures stem from simple maintenance neglect—regular attention prevents costly repairs and ensures you breathe comfortably all winter long. By learning how to check Aprilaire humidifier performance yourself, you’ll catch small issues before they become major problems, saving money and protecting your home from dry air damage.


