
That faint humming from your Canopy humidifier suddenly stops, or worse—you notice a dusty smell when it runs. When mineral deposits and airborne debris coat your fan blades, airflow drops by up to 40%, turning your moisture machine into a bacteria incubator. Unlike traditional humidifiers requiring disassembly nightmares, Canopy’s smart design lets you revive peak performance in under 10 minutes. You’ll discover exactly how to clean the fan without risking electrical damage, prevent mold at its source, and extend your unit’s lifespan using only tools already in your kitchen drawer.
Most homeowners waste money on vinegar soaks or replacement units when a 5-minute fan wipe solves 90% of performance issues. The critical mistake? Forcing water into the main housing where moisture meets live circuits. Canopy’s integrated filtration means tap water won’t harm internal components—but one drip into the fan motor can. Follow this precise method to keep your unit circulating clean, bacteria-free moisture all season long.
Access Your Canopy Fan Without Tools
Time required: 3 minutes
Difficulty: Beginner
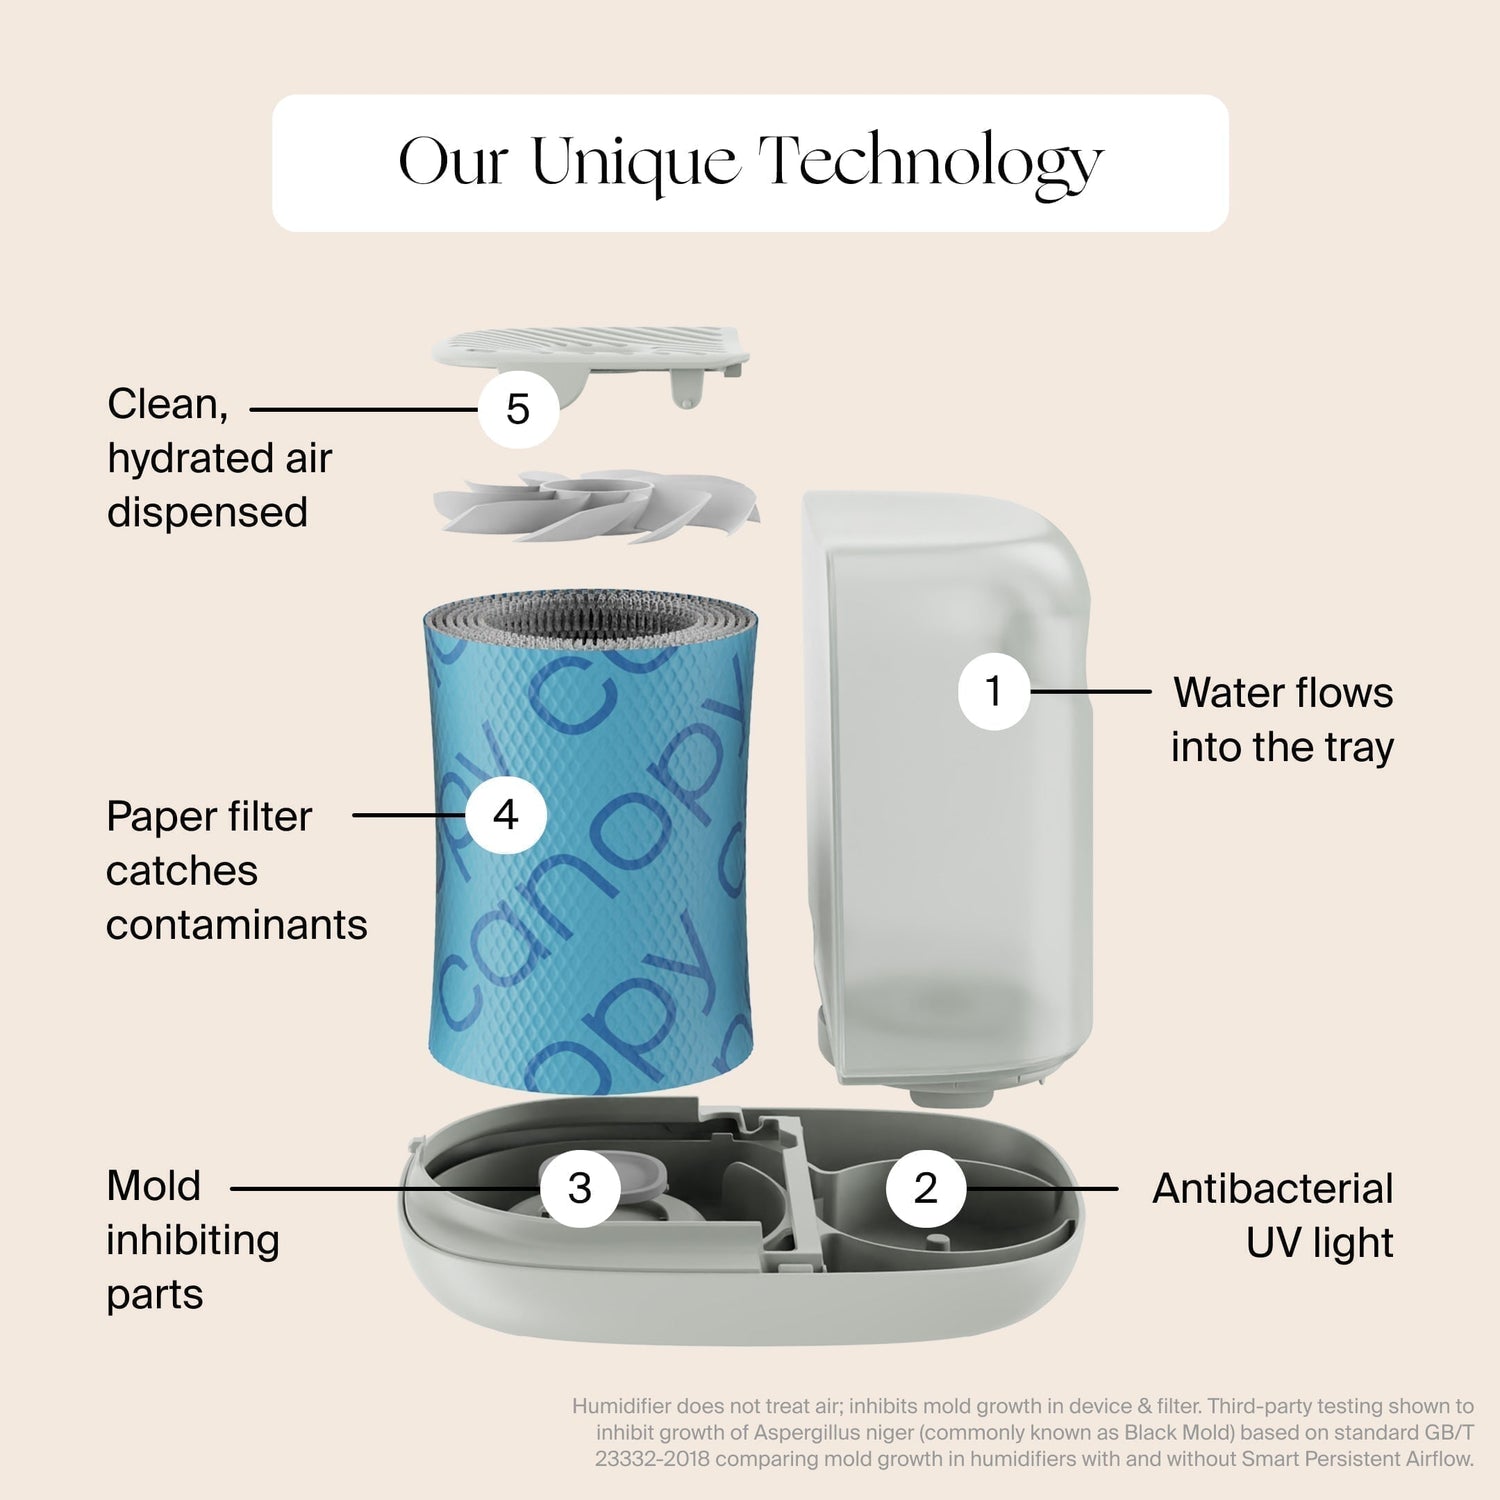
Skip the screwdrivers—your Canopy fan hides behind zero-tool disassembly. Start by lifting the water tank straight upward (no twisting needed), then slide the tray forward with gentle pressure. Next, grasp the filter’s edges and pull upward; it releases cleanly without suction resistance. The cap unscrews with one counterclockwise turn. Now your main housing stands exposed, revealing the fan through its protective front grille.
Pro tip: Snap a quick phone photo before removing components. This visual cheat sheet prevents reassembly errors, especially if you’re interrupted mid-cleaning. Unlike traditional humidifiers with hidden fasteners, Canopy’s modular parts click back into place audibly—so if you hear a distinct “snap,” you’ve seated it correctly.
What to Check Before Cleaning
Inspect the grille for visible dust bunnies or chalky white mineral rings—these indicate hard water buildup. If you spot moisture pooling near the grille, unplug the unit and wait 20 minutes for evaporation. Never proceed with damp surfaces; residual water conducts electricity to the motor housing. Also verify your filter isn’t moldy (gray fuzz or sour smells mean immediate replacement).
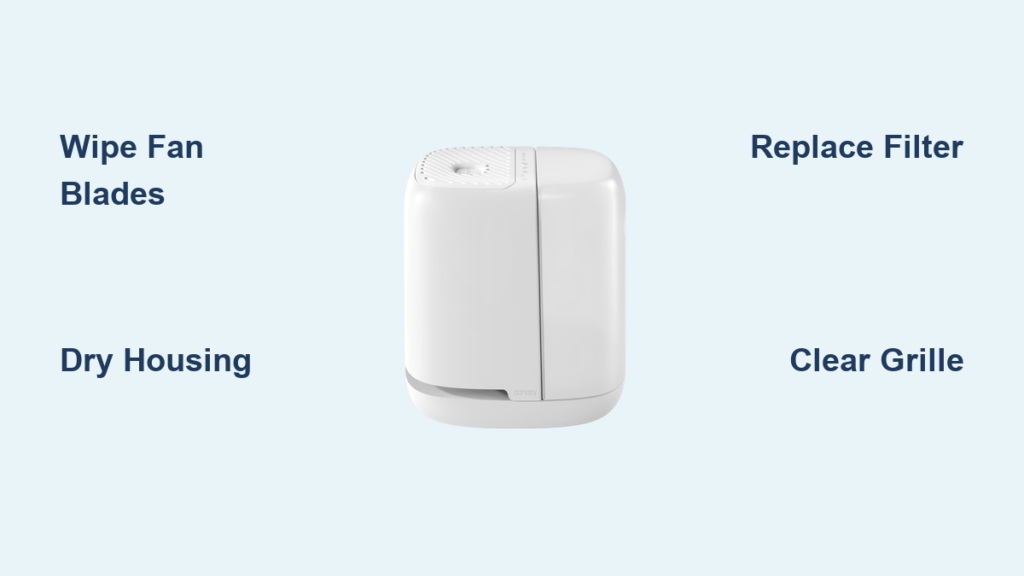
Wipe Your Fan Blades Without Causing Damage

The Microfiber Cloth Method
Grab a dry microfiber cloth first to lift loose debris—dampness comes later. Fold the cloth into quarters, exposing a clean surface for each blade. Tilt your main housing slightly downward so dislodged particles fall away from the motor. Working from the blade’s center outward, use straight-line motions (not circular) to avoid forcing dust deeper into the housing. For stubborn spots, lightly dampen one section of the cloth—wring it until no moisture transfers to your fingertip.
Critical moisture warning: If water enters the motor housing, your unit may emit a burning smell or shut down mid-cycle. Should drips occur, place the housing upright in a well-ventilated area for 24 hours before reuse. Never use paper towels—they shed lint that clogs airflow sensors.
Cotton Swab Edge Cleaning
The grille’s inner rim traps hair and fibers that standard cloths miss. Wrap a cotton swab in microfiber fabric (preventing cotton fibers from breaking off), then gently trace the plastic housing where blades meet the grille. Focus on the 1/8-inch gap around the fan perimeter—this is where pet hair accumulates fastest. Discard swabs after one use; reusing them grinds debris into the motor.
Weekly Deep Clean Routine That Prevents Mold
Step-by-Step Component Separation
- Remove water tank – Lift vertically until the base seal releases (no wiggling)
- Slide out tray – Pull straight forward; resistance means you’re lifting it
- Lift filter – Grasp both edges simultaneously to avoid tearing
- Unscrew cap – Turn counterclockwise until the red indicator aligns with “open”
Your main housing now sits ready for fan attention. Place other components in the dishwasher rack immediately—delaying causes mineral crust on tank surfaces.
Fan-Specific Cleaning Sequence
Start with a dry microfiber pass over visible blades to capture loose particles. For mineral deposits (white crust near blade bases), use a barely damp cloth folded to expose clean edges every swipe. Target only the top 70% of blades—the motor compartment sits at the bottom third. Finish with a dry cloth pass while rotating the fan manually to access all angles. Finally, blow gently through the rear grille to dislodge hidden debris—never use compressed air, which jams particles against wiring.
Filter Maintenance During Fan Cleaning
Replace or Reuse? The 10-Second Test
Hold your filter against a bright light. If you see gray discoloration, musty odors, or pinprick mold spots (common in humid climates), replace it immediately. Canopy filters last 30 days in high-use households (2+ people) but stretch to 60 days for solo users. Reusable filters must dry completely on a clean counter—never return damp filters, as this breeds bacteria in the housing.
Subscription hack: Canopy’s $10 filter subscription (normally $15) delivers replacements every 45 days and includes $25 off your initial humidifier. Activate this before your first deep clean to avoid mid-process filter shortages.
Prevent Fan Failures With Daily Habits
The 30-Second Morning Routine
Before refilling your tank each morning:
– Dump residual water (even if ¾ full)—stagnant water breeds bacteria overnight
– Wipe the tray with a dry paper towel to remove film buildup
– Shine a flashlight through the front grille to spot dust accumulation
This ritual prevents the “biofilm” sludge that forces emergency cleanings. Unlike traditional humidifiers requiring distilled water, Canopy’s tap-water compatibility means no extra grocery runs—but hard water areas need weekly vinegar soaks only on dishwasher-safe parts.
Optimal Placement for Fan Longevity
Place your unit 12+ inches from walls to maintain airflow. The fan’s rear intake needs clearance, but unlike mist-style humidifiers, you won’t damage furniture with moisture spray. Run on “Medium” settings for 80% of usage—high speeds strain bearings, while low settings cause condensation pooling.
Fix Slow or Noisy Fan Operation in 5 Minutes
Troubleshooting Checklist
If your fan spins sluggishly or emits grinding sounds:
1. Verify filter placement – 70% of airflow issues stem from filters inserted upside down (the “Canopy” logo must face outward)
2. Clear intake blockages – Use a soft brush to dislodge hair from the rear grille
3. Check unit leveling – Uneven surfaces misalign the motor shaft (place on a flat table)
4. Confirm dry housing – Residual moisture from recent cleaning causes temporary drag
Mold prevention insight: Canopy’s sensors automatically run the fan for 2 hours after water depletion to dry internal components. But this only prevents internal mold—not airborne spores. If you smell mildew, replace the filter and run an empty cycle for 30 minutes to purge the housing.
Cleaning Methods That Destroy Your Fan
Four Deadly Mistakes to Avoid
- Vinegar soaks on main housing – Acidic solutions corrode electrical contacts within 3 uses
- Submerging the housing – Water seeps into motor bearings, causing irreversible rust
- Compressed air blasts – Forces debris through grille gaps into the motor core
- Abrasive scrubbing – Scratches on blades create turbulence that strains the motor
Safe Cleaning Toolkit
Use only:
– Lint-free microfiber cloths (no terrycloth)
– Cotton swabs with fabric-wrapped tips
– Soft-bristled toothbrush (dry) for grille crevices
– Paper towels only for final dry passes
Extend Fan Lifespan Through Smart Storage
Off-Season Preparation Protocol
Before storing your Canopy for summer:
1. Complete a full deep clean cycle
2. Run the unit empty for 30 minutes to evaporate hidden moisture
3. Store disassembled parts in original packaging (not plastic bags—they trap humidity)
4. Keep in a closet between 50-75°F (avoid garages where temperature swings crack plastics)
Pro longevity tip: Rotate your main housing 180 degrees every 3 months. This evens out dust accumulation patterns and prevents one-sided motor wear. Units maintained this way average 5+ years of service versus 2-3 years for neglected models.
Clean fan blades aren’t just about airflow—they’re your first defense against airborne bacteria. By dedicating 5 minutes weekly to this precise cleaning method, you’ll avoid 95% of performance failures while keeping your home’s moisture output medically clean. Remember: Canopy’s dishwasher-safe components handle the heavy lifting, but the fan demands your gentle touch. Complete one cleaning cycle today, and you’ll hear that smooth, quiet hum confirming your unit’s back to peak performance—no vinegar, no guesswork, just pure, clean moisture.


