
Your humidifier fan silently circulates moisture through your home—until dust and grime choke its performance. A dirty fan doesn’t just reduce humidity output; it can spread mold spores and bacteria throughout your living space. The good news? Most humidifier fans clean up in under 15 minutes with tools you already own. Knowing how to clean humidifier fan components properly prevents health hazards while restoring quiet, efficient operation. Skip this critical maintenance, and you risk breathing contaminated air every time you run your unit.
Why Fan Cleaning Prevents Health Hazards
Dust accumulation in your humidifier fan creates the perfect breeding ground for microbial growth. When tap water mixes with accumulated debris, biofilm forms on fan blades and intake screens. This invisible slime harbors bacteria and mold spores that get distributed through your air every time the unit runs. Performance suffers dramatically when mineral deposits coat fan blades. You’ll notice reduced airflow, strange noises, and musty odors—the telltale signs of contamination. What seems like a failing humidifier often just needs a thorough fan cleaning.
Essential Safety Steps Before Cleaning
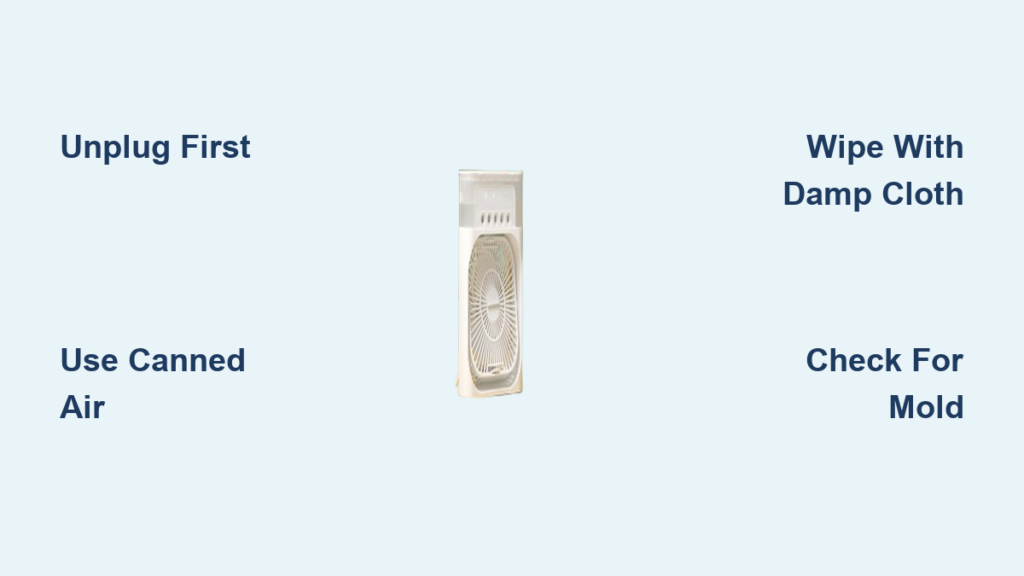
Unplug immediately before touching any components. Never assume the unit is off—humidifier fans can restart unexpectedly. Let the unit cool completely, especially if it just finished a cycle. Keep electrical components dry at all times. The fan housing contains motor parts that will short-circuit if exposed to moisture. Work on a clean, dry surface with good lighting to spot all contamination zones. Never submerge the main body in water, regardless of how dirty the fan appears. Water and electricity don’t mix, and most humidifier warranties exclude water damage.
Quick Visual Inspection Guide
Start with a flashlight check around the fan intake and exhaust areas. Look for:
– Gray dust buildup on fan blades (normal dust)
– White crusty deposits (mineral scale from tap water)
– Black or green spots (mold or mildew growth)
– Unusual debris like pet hair or fabric fibers
If you spot black or green growth, wear a mask before cleaning—mold spores become airborne quickly during cleaning. This 30-second inspection determines whether you need basic dust removal or a deeper disinfection protocol.
Universal Cleaning Method for All Models

This method works for every humidifier type with accessible fan components:
Dust Removal with Canned Air
Hold the canned air upright and use short, controlled bursts. Start at the intake area and work toward the exhaust, following the natural airflow path. Pay special attention to the tiny gaps between fan blades where dust loves to hide. Pro tip: Angle the nozzle at 45 degrees to dislodge stubborn debris without forcing it deeper into the motor housing. Spend 60 seconds max—over-pressurizing can damage delicate components.
Wipe Down Technique
After blowing out loose dust, use a barely damp cloth—not wet—to clean accessible surfaces. Microfiber cloths work best because they grab dust without leaving lint behind. Work gently around delicate fan components; blades bend easily under pressure. Check for moisture before plugging back in. Any dampness on electrical parts can cause permanent damage.
Evaporative Model Special Considerations

Your evaporative humidifier’s fan works overtime pulling air through the wick filter. Filter interaction directly impacts fan performance—wet filters force the motor to work harder, shortening its lifespan. Always ensure filters are completely dry before reinstalling. Drying protocol: Before storage, run the humidifier for one hour without water. This dries both the filter and fan area, preventing contamination during off-seasons.
Canopy Bedside/Nursery Cleaning

The Canopy V1 humidifier keeps its fan in the main body, which never goes in the dishwasher. While the water tank and cap enjoy dishwasher-safe convenience, the fan housing requires hand cleaning only. Don’t forget the sensors—those two small metal rods at the bottom need a quick wipe with a damp paper towel. Calcium deposits here can trigger false empty-tank warnings, wasting your time troubleshooting phantom issues.
Weekly Maintenance Routine
Two-minute dust removal prevents major buildup. A quick blast of canned air through the intake areas keeps your fan running smoothly between deep cleans. Check for unusual sounds or reduced airflow—these indicate immediate attention needed. Visual inspection takes 30 seconds: peer into intake areas for visible dust accumulation. Catching problems early prevents the need for disassembly later.
Monthly Deep Cleaning Checklist
When weekly maintenance isn’t enough, follow this systematic approach:
1. Check filter condition (evaporative models) for mineral deposits affecting fan strain
2. Inspect fan blades for crusty white mineral deposits using a flashlight
3. Clean air pathways completely with canned air, focusing on exhaust vents
4. Test for odors by running the unit empty for 5 minutes—musty smells mean microbial growth
5. Verify airflow returns to normal levels; weak output signals residual blockage
Essential Tools for Safe Cleaning
Canned air remains your primary weapon against dust buildup. Keep a can specifically for humidifier maintenance—household dusters often blow larger particles that can damage fan blades. Soft brushes help with stubborn debris, but avoid anything metal. A clean makeup brush or soft toothbrush reaches tight spaces without scratching surfaces. Flashlight or phone light reveals hidden contamination. Most fan problems hide in shadows where casual inspection misses them.
Common Fan Problems Solved
Reduced Airflow
Symptoms: Weak mist output, longer run times to humidify room
Cause: Dust blocking fan blades or intake screen
Fix: Follow universal cleaning method, focusing on blade surfaces and intake areas. Test airflow immediately after cleaning.
Grinding or Clicking Noises
Symptoms: Unusual sounds during operation
Cause: Debris caught in fan or mineral deposits on blades
Fix: Thorough cleaning with emphasis on removing all particles. If noise persists after cleaning, unplug and gently rotate blades by hand to dislodge obstructions.
Musty Odors
Symptoms: Smells like a damp basement when running
Cause: Microbial growth in fan area
Fix: Complete unit cleaning including fan housing. Wipe with cloth dampened with white vinegar (never bleach), then air-dry 24 hours before reuse.
Fan Won’t Start
Symptoms: Unit powers on but fan doesn’t spin
Cause: Dust interfering with motor or electrical connections
Fix: Clean thoroughly, check for visible damage. If still unresponsive, consult manufacturer—attempting motor repairs often voids warranties.
Prevent Future Contamination
Water quality matters—distilled water reduces mineral deposits throughout the entire unit, including the fan. While tap water seems cheaper, the long-term cost of fan damage outweighs the savings. Placement strategy keeps your fan cleaner longer. Position humidifiers away from curtains, beds, and high-traffic areas where dust concentration peaks. Storage best practices: Clean and completely dry the entire unit before seasonal storage. A clean fan stored dry won’t develop mold or mineral issues during months of non-use.
When to Seek Professional Help
Persistent problems after thorough cleaning indicate deeper issues. If airflow remains poor or unusual sounds continue, the motor itself may need replacement. Electrical concerns require professional attention. Burning smells, unusual heat, or visible damage to wiring means it’s time to contact the manufacturer or a qualified repair service. Warranty considerations: Check your warranty terms before attempting any advanced repairs. Many manufacturers void coverage if internal components are accessed by consumers.
Key takeaway: Clean humidifier fans prevent health hazards and maintain optimal performance. Most cleaning sessions take under 15 minutes with canned air and a damp cloth. Make weekly dust removal part of your routine, and deep clean monthly during active use. Your lungs—and your humidifier—will thank you. Mastering how to clean humidifier fan components correctly transforms a potential health risk into reliable comfort for your home.


