
That white crust lining your humidifier’s tank isn’t just an eyesore—it’s a microbial breeding ground pumping mold spores directly into your bedroom air while you sleep. Within 48 hours of stagnant water, bacteria colonies explode, and mineral deposits harden into limescale that slashes mist output by 40%. The fix? A 20-minute cleaning routine that transforms your appliance from health hazard to air-purifying ally. Follow this exact protocol to eliminate dangerous buildup, restore peak performance, and breathe easier tonight.
Your humidifier’s warm, dark tank is the perfect incubator for mold, mildew, and bacteria. When these contaminants aerosolize through your mist, they trigger asthma attacks, worsen allergies, and even cause “humidifier lung”—a pneumonia-like illness. Simultaneously, tap water minerals crystallize into chalky limescale that clogs mist outlets and coats ultrasonic discs. This double threat forces your unit to overwork while circulating white dust onto your furniture and into your lungs. But the right cleaning method stops both problems dead.
Health Risks of Dirty Humidifier Tanks

Mold spores trigger respiratory emergencies within hours. When your humidifier runs with contaminated water, it converts mold colonies into breathable particles smaller than 2.5 microns—the most dangerous size for lung penetration. Victims report sudden wheezing, chest tightness, and flu-like symptoms within 6 hours of exposure. The CDC links unclean humidifiers to 15% of indoor mold-related illnesses, especially in children and seniors.
Mineral dust silently damages your health. As tap water evaporates, calcium and magnesium concentrate into fine white powder that settles on surfaces and infiltrates your airways. This “white dust” isn’t just messy—it carries heavy metals like lead and arsenic absorbed from plumbing. Studies show prolonged exposure aggravates COPD and increases hospitalization risk by 22% for vulnerable individuals. Worse, limescale buildup forces your humidifier to work harder, burning out motors prematurely.
Essential Supplies Checklist
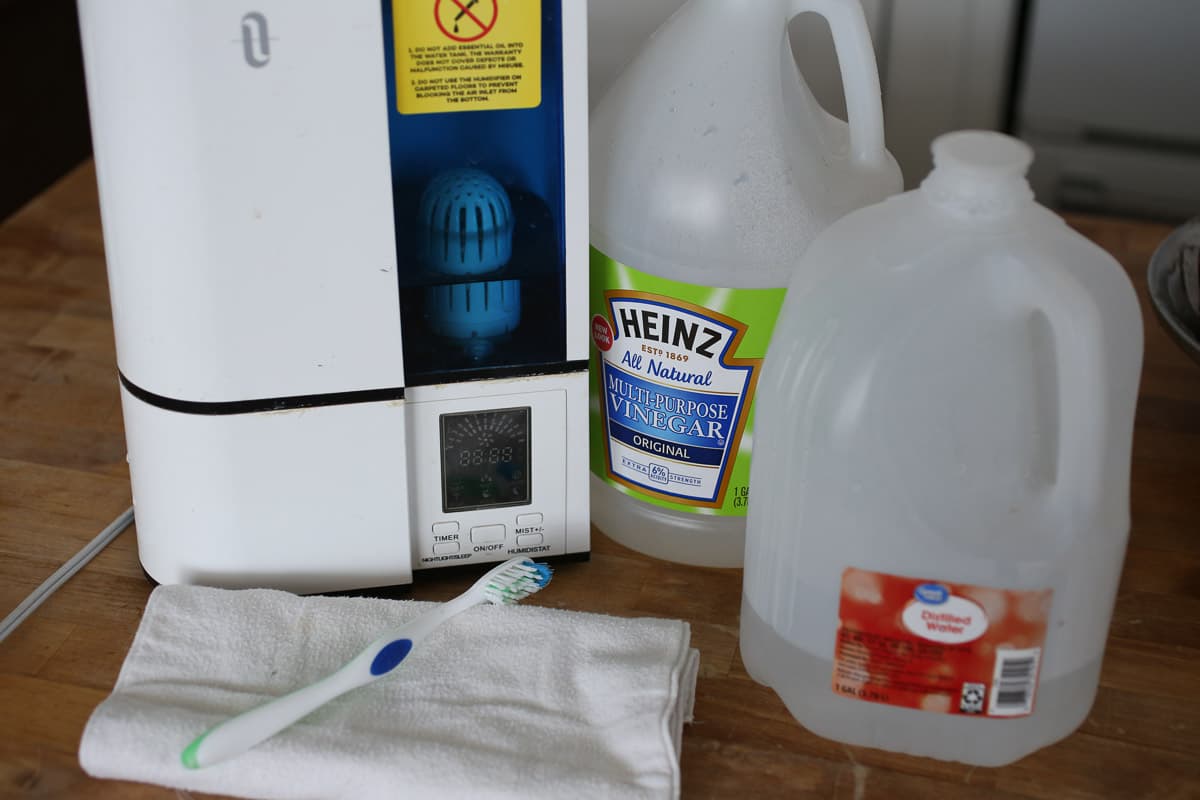
Gather these before starting to avoid mid-cleaning delays:
- White vinegar (1 gallon for deep cleaning)
- Soft-bristle bottle brush (never use steel wool—it scratches plastic)
- Microfiber cloths (lint-free for streak-free drying)
- Table salt (coarse kosher salt for abrasive cleaning)
- 3% hydrogen peroxide OR household bleach (choose ONE—never mix)
- Distilled water (critical for final rinse—tap water reintroduces minerals)
- Cotton swabs (for ultrasonic disc crevices)
- Measuring spoons (precision prevents chemical damage)
Skip commercial cleaners unless EPA-registered—they often leave toxic residues that aerosolize.
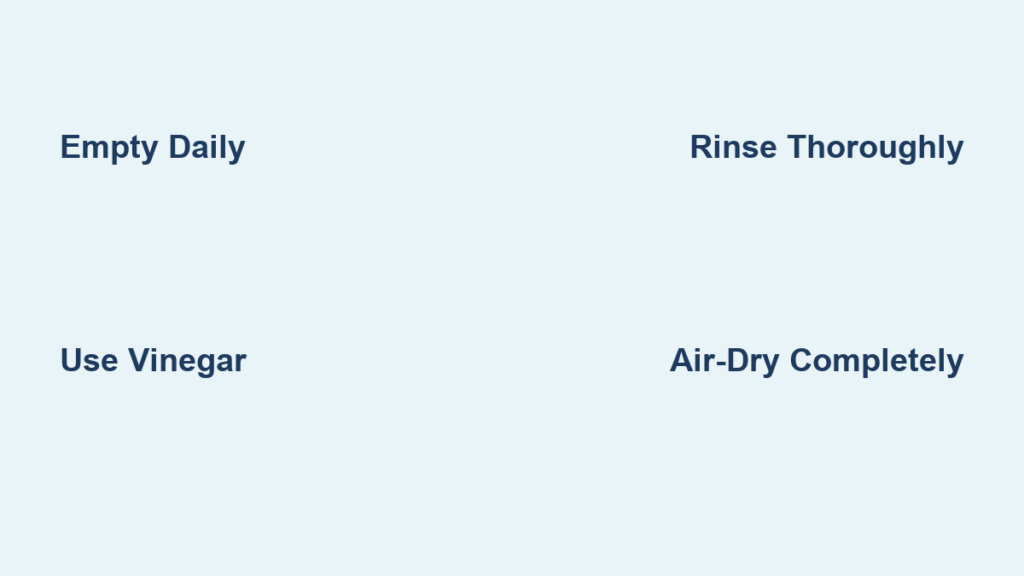
Quick Daily Maintenance
Empty and Dry Between Uses
Never let water sit overnight. After each use:
1. Flip the tank upside down for 30 seconds to drain residual droplets
2. Wipe the cap seal with a dry microfiber cloth
3. Leave the tank inverted on a towel for 2 hours to air-dry completely
This stops 80% of mold growth by eliminating the moisture bacteria need. If you skip this, biofilm forms within 12 hours—visible as a slippery film inside the tank.
Choose the Right Water
Switch to distilled water immediately. Tap water’s mineral content creates limescale that harbors bacteria and clogs mist outlets. Yes, distilled costs more upfront ($2/gallon vs. $0.001 for tap), but it:
– Reduces deep cleaning frequency from weekly to monthly
– Prevents white dust on furniture
– Extends humidifier lifespan by 3+ years
Pro tip: Store distilled water in glass containers—plastic jugs leach chemicals into water over time.
Weekly Deep-Cleaning Protocol
Step 1: Safe Disassembly
- Unplug the unit—even battery-operated models have electrical components
- Separate all parts: Tank, base, mist nozzle, demineralization cartridge (if present)
- Identify “no-soak zones”: Motors, control panels, and ultrasonic discs must stay dry
- Check your manual—some models (like Honeywell HCM350) have hidden screws
Critical mistake: Forgetting to remove the demineralization cartridge. Soaking it in vinegar destroys its ion-exchange resin, causing white dust within days.
Step 2: Acidic Descaling Solution
Mix 2 tablespoons white vinegar per ½ gallon warm water. This ratio dissolves limescale without etching plastic. For severe buildup (thick white crust):
– Use undiluted vinegar for 15-minute soaks
– Never exceed 30 minutes—prolonged acid exposure cracks polycarbonate tanks
Visual cue: Bubbling stops when limescale is fully dissolved.
Step 3: Tank Cleaning Process
- Fill tank halfway with solution—never submerge completely (traps air pockets)
- Cap and swirl gently for 30 seconds to coat all surfaces
- Let stand 20 minutes—set a timer! Vinegar loses effectiveness after 30 minutes
- Scrub seams and threads with a bottle brush (mineral deposits hide here)
- Rinse 5+ times until water runs clear and vinegar smell vanishes
Pro tip: For curved tanks, add 3 tablespoons salt to create an abrasive slurry—shake vigorously for 60 seconds to dislodge biofilm.
Step 4: Base and Small Parts
- Pour solution into base to cover the oscillator disc (ultrasonic models) or wick housing
- Soak 20 minutes max—excess time degrades rubber gaskets
- Scrub the float valve with a cotton swab (clogs cause overflow leaks)
- Rinse base 8+ times—residual vinegar corrodes metal components
Monthly Disinfection Methods
Choose Your Sanitizer
| Method | Ratio | Contact Time | Best For |
|---|---|---|---|
| Bleach solution | 1 tsp per quart water | 10 minutes | Heavy contamination |
| Hydrogen peroxide | 3% undiluted | 10 minutes | Weekly maintenance |
| Citric acid | 1 tbsp per cup hot water | 20 minutes | Sensitive respiratory systems |
Critical warning: Bleach + vinegar = chlorine gas. Hydrogen peroxide + vinegar = peracetic acid. Both cause chemical pneumonia.
Disinfection Application
- Soak plastic parts ONLY—never submerge electronics
- Scrub mist outlets with a peroxide-soaked cotton swab (mold hides here)
- Rinse 10+ times under running water—residue aerosolizes into your air
- Air-dry 24 hours before reassembly (damp parts regrow mold instantly)
Type-Specific Cleaning Guide

Ultrasonic Humidifiers
- Oscillator disc: Dip cotton swab in vinegar, wipe gently—scraping destroys the ceramic coating
- Demineralization cartridge: Rinse under cold water only; replace every 60 days
- Mist nozzle: Soak in vinegar for 5 minutes if output weakens
Evaporative/Wick Models
- Wick filter: Swish in cold water only—heat or chemicals melt antimicrobial coatings
- Replace wick when stiff or discolored (typically 3 months)
- Cabinet base: Scrub with vinegar slurry—mold grows under the waterline
Troubleshooting Common Problems
White Dust Everywhere
Cause: Tap water minerals aerosolized through mist
Fix: Switch to distilled water and install a demineralization cartridge immediately
Reduced Mist Output
Cause: Limescale clogging the ultrasonic disc
Fix: Soak tank base in undiluted vinegar for 15 minutes, then scrub disc with toothbrush
Persistent Musty Odor
Cause: Biofilm trapped in tank seams
Fix: Run salt-vinegar slurry through the tank, followed by 2 hydrogen peroxide disinfection cycles
Tank Leaks After Cleaning
Cause: Stretched O-ring from over-tightening
Fix: Hand-tighten caps only—force cracks plastic threads
Storage and Off-Season Care
Before storing:
1. Run a full disinfection cycle with hydrogen peroxide
2. Air-dry all parts for 48 hours in direct sunlight (UV kills residual mold)
3. Store disassembled in an open container—sealed bags trap moisture
4. Place silica gel packets in storage to absorb ambient humidity
When retrieving:
– Repeat full cleaning cycle
– Inspect O-rings for cracks (replace if brittle)
– Test run for 10 minutes outdoors before indoor use
Prevention Schedule That Works
Daily: Empty tank, shake out droplets, air-dry upside down
Weekly: Deep-clean with vinegar solution
Monthly: Disinfect with hydrogen peroxide
Every 60 days: Replace demineralization cartridge
Every 3 months: Replace wick filter
Following this routine eliminates 95% of humidifier problems. Your reward? Clean, healthy moisture that actually helps your breathing instead of harming it. Start tonight—your lungs will thank you by morning.


