
That musty smell when you turn on your humidifier? You’re not alone. Many households reach for vinegar as the go-to cleaner, only to discover its harsh odor lingers for days—and worse, it can damage your machine’s delicate components. If you’re searching for how to clean humidifier without vinegar, you’ve made the right choice for both your health and your appliance’s longevity. This guide reveals professional-approved alternatives that deliver sparkling clean results without the drawbacks of acidic cleaners.
You’ll learn exactly how to clean humidifier without vinegar using hydrogen peroxide, baking soda, citric acid, lemon juice, and safe commercial options. These methods not only protect your humidifier’s internal parts but also eliminate the risk of inhaling vinegar fumes through your mist. Follow these expert techniques to maintain peak performance while keeping your indoor air quality pristine.
Why Vinegar Damages Your Humidifier Components
Component damage tops the list of reasons professionals avoid vinegar. HVAC specialist Josh Mitchell confirms that vinegar’s acidity attacks rubber seals, plastic reservoirs, and metal parts, potentially shortening your humidifier’s lifespan by years. That “natural” cleaner you’re using could be silently corroding critical components inside your unit.
Lingering odors create an even more immediate problem. The sharp vinegar smell doesn’t stay confined to your cleaning area—it travels through your humidifier’s mist system, filling your entire room with an unpleasant aroma that can persist for days after cleaning. This defeats the purpose of having clean, fresh air in your home.
Material degradation varies by humidifier model but always poses risks. Air quality expert Michael Rubino emphasizes that vinegar compromises rubber gaskets and plastic reservoirs over time, leading to leaks and reduced efficiency. Your humidifier’s internal sensors and mist mechanisms are particularly vulnerable to vinegar’s corrosive properties.
How to Clean Your Humidifier with Hydrogen Peroxide
The 30-minute disinfection method delivers professional results without harsh chemicals. Start by mixing equal parts 3% hydrogen peroxide (food-grade preferred) and water. For standard tanks, use 1 cup peroxide to 1 cup water; double quantities for larger units.
Step-by-Step Peroxide Cleaning
- Pour solution into both base and tank components
- Soak for 30 minutes minimum to kill bacteria and mold
- Scrub gently using soft brush on all surfaces, especially around the mist outlet
- Rinse thoroughly until water runs completely clear—this step is critical
- Air dry completely before reassembly to prevent moisture retention
Critical safety note: Ensure zero peroxide residue remains before operation, as inhaling even trace amounts through mist can irritate respiratory passages. This method effectively eliminates microbial growth without damaging sensitive components.
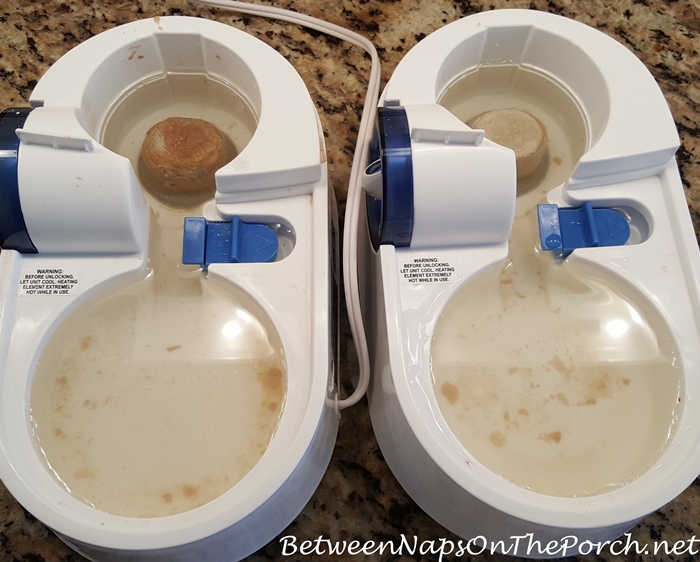
Baking Soda Deep Cleaning for Mineral Deposits
Two approaches for different cleaning needs make baking soda versatile for humidifier maintenance. For routine cleaning, mix 1-2 tablespoons with warm water and let sit for 30-60 minutes before scrubbing. This gentle formula removes light buildup without scratching surfaces.
Heavy Buildup Removal Technique
Create a thick paste with baking soda and minimal water. Apply directly to stubborn mineral deposits, let sit 15-30 minutes, then scrub vigorously with a soft brush. The mild abrasiveness cuts through crusty scale while being gentle on plastic components.
Pro tip: Focus extra attention on the base reservoir and mist outlet where minerals typically accumulate most heavily. Rinse thoroughly afterward—any remaining baking soda residue can affect mist quality and create cloudy water.
Citric Acid Method for Removing Hard Water Stains

The mineral-dissolving powerhouse works more effectively than many commercial cleaners while remaining completely safe. Mix 1-2 tablespoons citric acid powder with warm water until fully dissolved. This natural acid breaks down mineral deposits without harming your humidifier’s components.
Maximum Stain Removal Process
- Fill components completely with citric acid solution
- Wait 30-60 minutes for thorough mineral breakdown
- Watch fizzing action as deposits lift away from surfaces
- Scrub gently with soft brush on stubborn areas
- Final rinse until water feels squeaky clean and residue-free
This method outperforms vinegar for hard water stains while avoiding the strong odor and potential damage associated with acidic cleaners. Citric acid leaves no lingering scent after proper rinsing.
Lemon Juice Cleaning for a Fresh Scent
The naturally scented alternative creates a pleasant cleaning experience. Mix equal parts fresh lemon juice and water—bottled juice won’t work as effectively. Real lemons provide natural citric acid without harsh chemicals.
Enhanced Cleaning Approach
- Let solution work for full 30 minutes to break down deposits
- Scrub with lemon rind for extra cleaning power on stubborn spots
- Focus on crevices where mineral buildup hides
- Rinse completely to prevent sticky residue from affecting performance
Important note: While this method leaves a faint citrus aroma initially, it dissipates completely after drying. Never skip the thorough rinse step—residual lemon juice can create bacterial breeding grounds.
Complete Step-by-Step Humidifier Cleaning Process
Phase 1: Safe Preparation
- Unplug completely from electrical outlet—never clean while connected
- Empty all water from tank and base reservoir
- Disassemble fully per manufacturer instructions
- Remove filter/wick (clean separately with water only)
Phase 2: Deep Clean Execution
- Apply chosen solution throughout all components
- Set timer for recommended soak period (30-60 minutes)
- Scrub systematically:
– Tank interior/exterior surfaces
– Base reservoir bottom and sides
– Mist outlet and nozzle
– Small caps and valves - Target crevices with soft brush to remove hidden buildup
- Rinse repeatedly until water runs perfectly clear
Phase 3: Final Assembly
- Dry completely with clean, lint-free towel
- Reassemble carefully ensuring all parts fit properly
- Fill with fresh distilled or demineralized water
- Test operation for 5 minutes before regular use
Filter Care Without Chemical Damage
Wick filters require special handling—clean using hot water only. Never expose to cleaning agents as these destroy the antimicrobial coatings designed to prevent bacterial growth. Chemical exposure compromises the filter’s ability to maintain air quality.
Replacement signals you shouldn’t ignore:
– Discoloration appears (yellow or brown spots)
– Persistent odor develops despite cleaning
– 30-60 days of regular use has passed
– Visible mold growth is present anywhere on the filter
Water Quality Tips to Reduce Cleaning Frequency
Best choices for minimal buildup:
– Distilled water: EPA top recommendation for preventing mineral scale
– Demineralized water: Excellent alternative when distilled isn’t available
– Purified water: Reduces contaminants while minimizing deposits
Tap water reality: Acceptable but demands weekly cleaning due to mineral content creating white, flaky scale deposits that harbor bacteria. If you use tap water, increase cleaning frequency to twice weekly.
Weekly Maintenance Schedule for Longevity
Daily Quick Care
- Empty tank completely after use
- Rinse with clean water
- Air dry between uses
- Never store with standing water
Weekly Deep Clean
- Perform full cleaning cycle using preferred vinegar-free method
- Focus on mineral deposit removal
- Inspect for bacterial growth
- Check seals and connections for integrity
Critical Safety Protocols for Non-Vinegar Cleaning
Chemical mixing warnings you must follow:
– Never combine hydrogen peroxide with vinegar—creates harmful fumes
– Skip bleach entirely—risk of inhaling toxic vapors through mist
– Rinse until squeaky clean—no residue should remain
– Dry completely before operation—moisture retention breeds mold
Health monitoring essentials:
– Maintain 30-50% humidity levels
– Watch for condensation around unit
– Reduce output if surrounding areas become wet
– Replace filters regularly for optimal air quality
Performance Benefits of Proper Vinegar-Free Cleaning
Immediate improvements you’ll notice:
– Stronger, consistent mist output
– Elimination of musty odors
– Reduced white dust from minerals
– Extended filter lifespan
Long-term advantages that save money:
– Years added to humidifier life
– Reduced repair costs
– Better air quality
– Lower filter replacement frequency
Final note: Your humidifier thrives on consistent, gentle cleaning without vinegar’s harsh effects. Choose your preferred natural method, stick to a weekly schedule, and enjoy clean, healthy moisture without chemical odors or component damage. For best results, combine regular cleaning with distilled water to minimize mineral buildup and extend time between deep cleanings.


