
Your Pure Enrichment humidifier runs quietly day after day, but mineral buildup and mold can silently sabotage its performance. If you’ve noticed white dust on furniture, strange odors, or reduced mist output, it’s time for a deep clean. Regular maintenance isn’t just about fresh air—it prevents costly repairs and extends your humidifier’s lifespan significantly.
This comprehensive guide walks you through the exact steps to restore your Pure Enrichment humidifier to peak condition, whether you have the popular MistAire, HumeXL Pro, or any other model. You’ll learn professional cleaning techniques, common mistakes to avoid, and maintenance schedules that keep your air healthy and your device running efficiently for years.
Why Your Pure Enrichment Humidifier Needs Regular Cleaning
Mineral deposits form quickly when hard water evaporates, creating a breeding ground for bacteria and mold. These invisible contaminants get dispersed into your air every time the humidifier runs, potentially triggering allergies or respiratory issues. Most users don’t realize their humidifier needs cleaning until performance noticeably declines—don’t wait for visible problems to start your maintenance routine.
Regular cleaning preserves the ultrasonic transducer’s effectiveness and prevents permanent scaling that can ruin your unit. Pure Enrichment humidifiers operate most efficiently when all components are free from buildup, ensuring consistent humidity levels throughout your space.
Visible Mineral Deposits Signal Immediate Action Needed
Check your water tank after emptying—it should be crystal clear with no white residue. If you see chalky white buildup around the water line or on the ultrasonic plate, calcium and lime deposits are already interfering with performance. These deposits harden over time, making them increasingly difficult to remove and potentially damaging the transducer.
The ultrasonic plate at the bottom of your tank is particularly vulnerable. Even a thin film of minerals reduces mist output significantly. When this plate appears cloudy instead of shiny, immediate cleaning restores optimal functionality and prevents costly replacements.
Pink Slime or Black Mold Requires Emergency Cleaning
Don’t ignore pink residue—that’s Serratia marcescens bacteria thriving in your humidifier. This common household bacteria causes respiratory irritation and spreads quickly through mist output. Black spots indicate mold growth, which poses serious health risks for allergy sufferers. Both require immediate deep cleaning with disinfecting solutions before the unit can safely operate again.
Essential Supplies for Proper Pure Enrichment Humidifier Cleaning
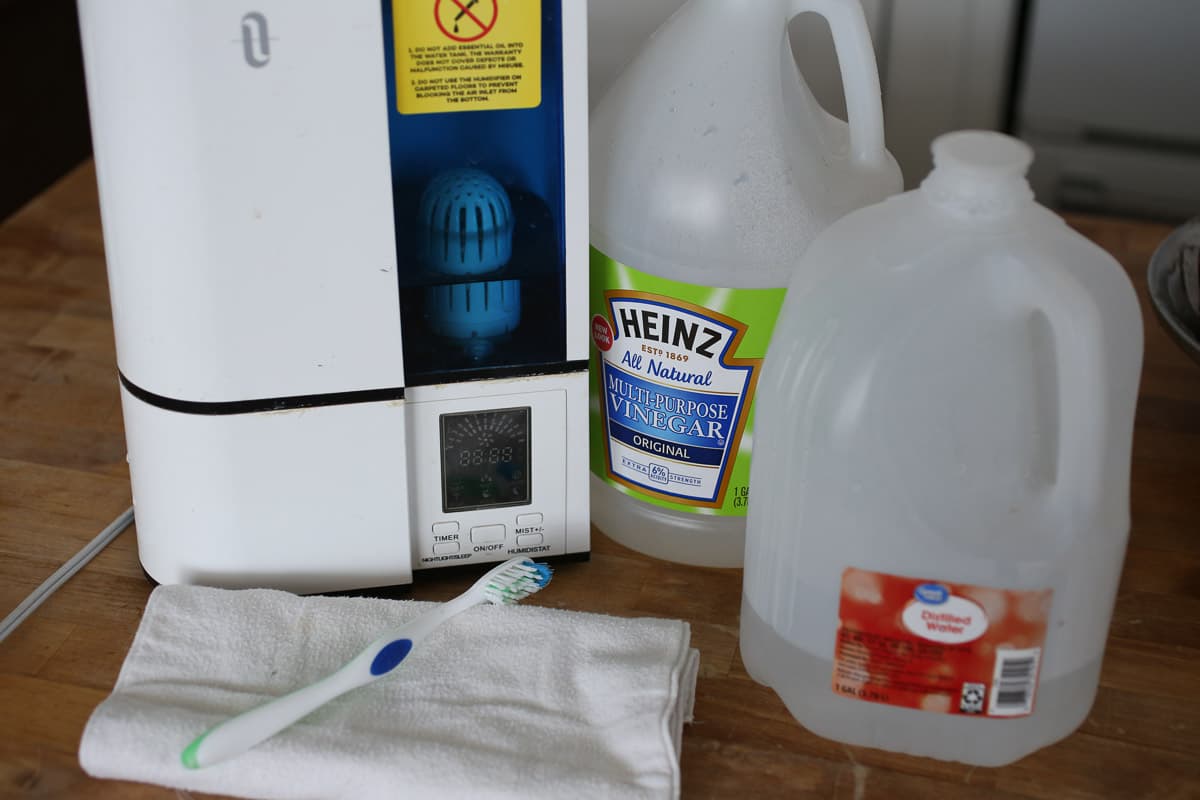
White vinegar (5% acidity) dissolves mineral deposits without damaging plastic components. Measure exactly 2 cups for standard cleaning—more for larger models like the HumeXL Pro. Never substitute apple cider vinegar as its pigments can permanently stain your tank.
Distilled water is non-negotiable for final rinses. Tap water contains minerals that accelerate new buildup, defeating your cleaning efforts. Keep a dedicated jug of distilled water near your humidifier for daily refills after cleaning.
Soft-bristled brushes reach into corners without scratching. A baby bottle brush works perfectly for tank interiors, while a clean toothbrush handles the base reservoir. Replace brushes monthly to maintain effective cleaning power as bristles wear down.
Critical Tools You Must Have for Effective Humidifier Cleaning
- Microfiber cloths that won’t leave lint in crevices
- Cotton swabs for precision nozzle cleaning
- Measuring cup specifically for cleaning solutions (never reuse for food)
- Small bowl for soaking removable parts
Materials That Damage Pure Enrichment Humidifiers
Avoid bleach at all costs—it corrodes plastic components and leaves toxic residues in your mist. Steel wool and abrasive pads scratch surfaces, creating micro-tears where bacteria hide. Commercial lime removers often contain harsh chemicals that void your warranty. Stick to the vinegar method for safe, effective cleaning that preserves your investment.
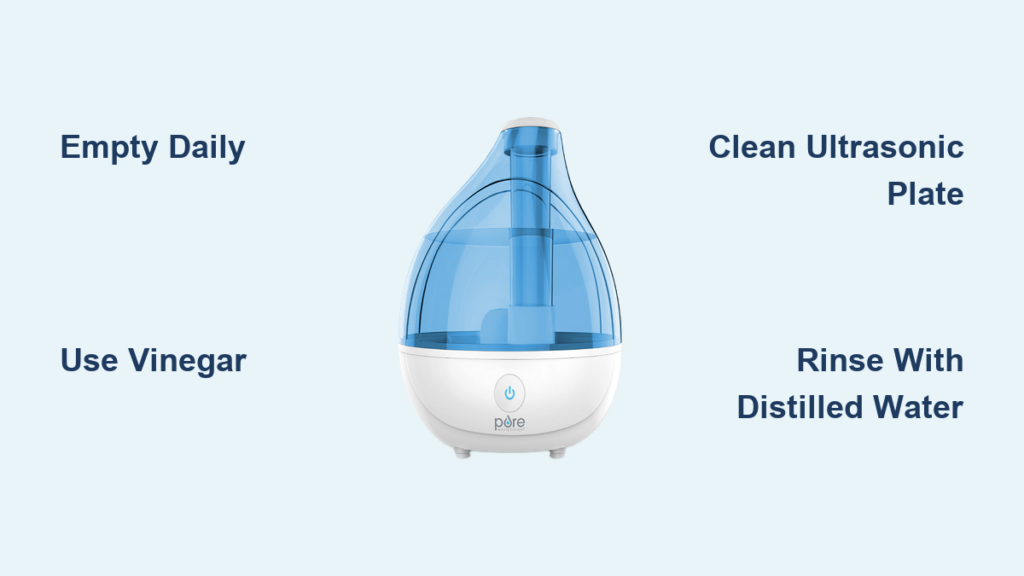
Daily Maintenance That Prevents Major Cleaning Headaches
Empty your water tank completely every 24 hours, even if water remains. Stagnant water breeds bacteria within hours. Unplug the unit, remove the tank, and pour water directly down the drain—never reuse old water as it contains concentrated minerals.
Rinse the tank thoroughly with warm water each time you refill. Swish vigorously for 30 seconds, focusing on the bottom where minerals settle. This simple habit prevents 80% of buildup issues and takes less time than making your morning coffee.
Wipe the base dry after each use with a microfiber cloth. Pay special attention to the ultrasonic plate area—moisture left here creates perfect conditions for mineral rings that harden overnight. A quick wipe takes 15 seconds but saves you hours of deep cleaning later.
Water Quality Check That Extends Cleaning Intervals
If you notice white dust forming within days of cleaning, your tap water is too hard for regular use. Switch to distilled water exclusively, or install a demineralization cartridge designed for Pure Enrichment models. Hard water users should clean twice as often to maintain performance—better yet, invest in a water softener for whole-house protection.
Deep Cleaning Process for Maximum Humidifier Performance
Disassemble your unit completely before starting. Remove the water tank, mist nozzle, and any filters according to your model’s specific design. Most Pure Enrichment models feature twist-off components—never force parts that don’t come loose easily. Consult your manual if unsure about disassembly.
Prepare the perfect cleaning solution using one part white vinegar to two parts water. For tanks showing heavy buildup, use undiluted vinegar. Fill the tank halfway with solution, then place it upside down in your sink to ensure full coverage of the ultrasonic plate.
Clean the base reservoir by pouring vinegar solution directly into the unit. Let it sit for 20 minutes, then use your soft brush to gently scrub corners and the transducer area. Focus on any visible white spots—these are concentrated mineral deposits that reduce mist output.
Ultrasonic Plate Cleaning Technique That Restores Mist Output
The small metal disc at your tank’s bottom creates the mist through ultrasonic vibrations. Gently scrub this plate with vinegar-soaked brush using circular motions. Never use metal tools—scratches here permanently damage mist production. After cleaning, hold the tank up to light—any remaining cloudy spots need additional attention.
Filter Maintenance That Prevents White Dust
If your model includes a demineralization cartridge, replace it every 30-40 tank fillings. When white dust appears on furniture, it’s time for a new filter. For reusable filters, rinse under warm water but never use soap—residue affects air quality. Squeeze gently to remove water, then air dry completely before reinstalling.
Stubborn Buildup Removal That Saves Your Humidifier

Create a vinegar paste for thick deposits by mixing two tablespoons vinegar with one tablespoon baking soda. Apply directly to problem areas and let sit for one hour before gentle scrubbing. The bubbling action lifts stubborn minerals without scratching surfaces.
Use the cotton swab method for narrow mist nozzles. Dip swabs in vinegar solution and twist inside the nozzle channel until clean. Replace swabs frequently—reusing dirty ones just moves minerals around. For Pure Enrichment models with multiple nozzles, clean each individually for best results.
Try the ultrasonic cleaning trick for base reservoir stains. Fill the base with one inch of vinegar solution, then run your humidifier for 10 minutes. The unit’s own vibrations help loosen deposits—empty immediately after and rinse thoroughly.
Safe Mold and Bacteria Elimination for Healthier Air
Use hydrogen peroxide disinfection after removing visible mold. Mix one teaspoon of 3% hydrogen peroxide with one cup of water. Fill the tank, let sit for 15 minutes, then rinse completely with distilled water. This food-safe method kills 99.9% of pathogens without toxic residues.
Never use essential oils for cleaning—they leave oily residues that clog components and degrade plastic over time. While pleasant smelling, oils create breeding grounds for bacteria and void your warranty. Stick to vinegar and hydrogen peroxide for safe, effective disinfection.
Implement weekly disinfection during cold and flu season. Run your humidifier with hydrogen peroxide solution once weekly when viruses circulate. This simple step prevents your unit from becoming a disease vector in your home.
Reassembly and Testing Protocol for Flawless Operation
Rinse every component with distilled water until vinegar smell disappears completely. Residual vinegar affects mist quality and creates unpleasant odors during operation. Shake parts vigorously to remove water from crevices before reassembly.
Verify proper seating of all components. The tank should click securely into place with no gaps. Mist nozzles must fit snugly—if they feel loose, disassemble and try again. Improper assembly causes leaks that damage furniture and floors.
Conduct a 30-minute test run on the lowest setting. Watch for consistent mist output and listen for unusual sounds. Properly cleaned units operate quietly with visible, steady mist. Any sputtering or reduced output indicates remaining buildup that needs attention.
Leak Detection Method That Prevents Water Damage
Place paper towels under your reassembled unit during the first test run. Any moisture on the towels signals improper assembly or damaged seals. Address leaks immediately—water damage to electronics is irreversible and voids warranties. Most leaks stem from misaligned tanks or worn gaskets.
Maintenance Schedule That Doubles Your Humidifier’s Lifespan
Daily users must empty and rinse daily, with deep cleaning every 5-7 days. High-use environments like bedrooms require more frequent maintenance—set phone reminders if needed. Consistent cleaning prevents the gradual performance decline that catches most users off guard.
Hard water areas demand twice-weekly deep cleans regardless of usage frequency. Install a demineralization cartridge and use exclusively distilled water to minimize maintenance headaches. Your local water report indicates hardness levels—if over 7 grains per gallon, treat your water source.
Seasonal storage protocol prevents startup problems. Before storing, perform a deep clean, then run the unit dry for 30 minutes to eliminate moisture. Store disassembled with silica gel packets in original packaging. Always deep clean again before first seasonal use.
Key Takeaway: A 20-minute weekly cleaning session prevents the 2-hour restoration projects that neglected Pure Enrichment humidifiers require. This simple habit maintains optimal performance, protects your respiratory health, and extends your unit’s lifespan by years. Your investment in regular maintenance pays off through consistent, healthy humidity levels without unexpected breakdowns.
Next Steps: Start with today’s deep clean using the vinegar method, then implement the daily empty-and-rinse routine. Within one week, you’ll notice noticeably fresher air, consistent mist output, and the peace of mind that comes from knowing your humidifier supports—not harms—your indoor air quality. Mark your calendar for weekly cleanings and monthly filter checks to keep your Pure Enrichment humidifier operating at peak efficiency all season long.


