
That musty smell creeping from your Vornado humidifier isn’t normal—it’s your first warning sign of mold growth. When your evaporative humidifier starts spreading airborne contaminants instead of clean moisture, it’s time for immediate action. This complete cleaning guide shows you exactly how to clean Vornado humidifier fan components and filter system properly, whether you own the EVDC300 model or another Vornado evaporative unit.
Mineral deposits from tap water clog fan blades while stagnant moisture breeds dangerous mold colonies. Left unchecked, these issues reduce your humidifier’s effectiveness and compromise indoor air quality. Follow these proven cleaning methods to restore optimal performance and ensure your Vornado continues delivering clean, healthy humidity.
Stop Daily Mineral Buildup Before It Starts
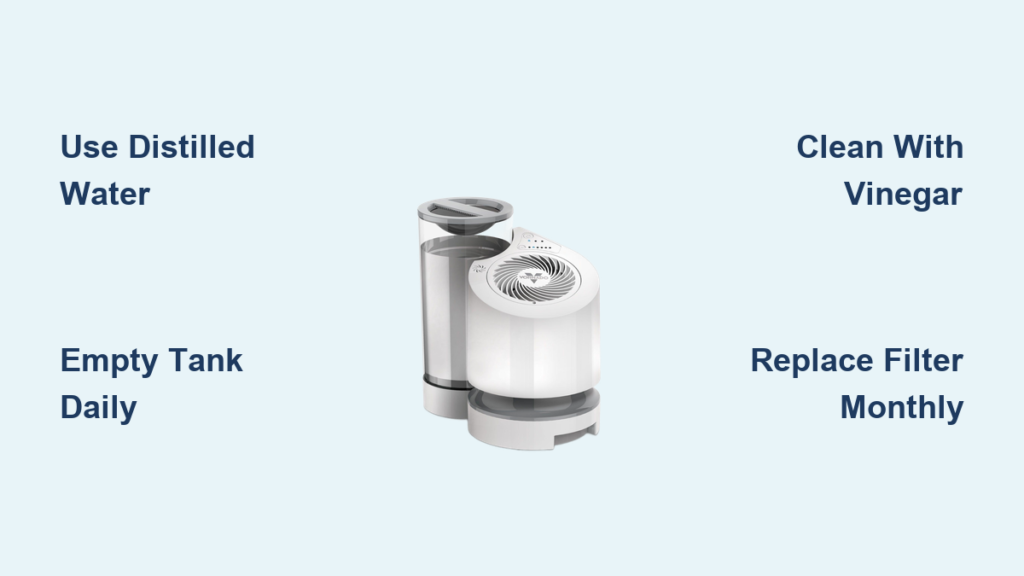
Switch to Distilled Water Immediately
Tap water contains minerals that transform into stubborn white film on your fan blades and internal components. Switching to distilled or demineralized water prevents 90% of cleaning problems and significantly extends your filter’s lifespan. You’ll notice cleaner operation from the first use—no more white dust coating your furniture.
Critical warning: Never use hard tap water in your Vornado humidifier. The minerals create limescale that damages internal components over time and reduces mist output.
Empty Tank Completely Every Single Day
Don’t assume your Vornado has drained completely when the tank appears empty. Residual water hides in corners and grooves, creating perfect breeding conditions for mold. After each use, detach the tank and vigorously shake it over your sink—you’ll be surprised by how much water remains trapped.
Pro tip: Flip the tank upside down on a dish rack for 30 minutes to ensure complete drainage. Check for invisible slime on tank sides during this daily routine.
Weekly Fan Cleaning That Actually Works

Safe Disassembly Procedure
Power down and unplug your Vornado before starting. Remove the water tank, then carefully extract the filter/wick assembly according to your model’s specific clips or latches. Most Vornado units feature easily removable plastic components, but always consult your manual for model-specific guidance.
Safety first: Never submerge parts with electrical connections. Wipe these areas with a barely damp cloth only to prevent electrical damage.
Vinegar Solution for Mineral Removal
Create an effective cleaning solution by mixing 2 tablespoons white vinegar per half-gallon of warm water. This weak acid dissolves mineral deposits without harming plastic components. Dip a soft brush in the solution and scrub:
- Fan blade edges (both sides)
- Air intake grilles
- Water tank interior walls
- Base reservoir crevices
For stubborn buildup: Pour vinegar directly on crusted areas and let it sit for 20 minutes before scrubbing. You’ll see the white mineral deposits begin to dissolve immediately.
Complete Rinse and Dry Cycle
After thorough scrubbing, rinse all plastic parts with clean water until no vinegar smell remains. Run your Vornado briefly with fresh water to flush any residual vinegar from internal channels. This final rinse cycle ensures no cleaning solution remains to contaminate your indoor air.
Monthly Deep Disinfection Protocol
When to Disinfect Immediately
Don’t wait for your monthly schedule if you notice:
– Musty or dank odors developing
– Visible mold spots appearing
– After extended storage periods
– Following illness in your household
These signs indicate active microbial growth requiring immediate disinfection—not just regular cleaning.
CDC-Approved Disinfection Method
Create a safe disinfecting solution using either:
– 1 teaspoon bleach per gallon of water, OR
– Undiluted 3% hydrogen peroxide
Critical warning: Never combine vinegar and bleach—this creates toxic chlorine gas that can cause serious respiratory problems.
Complete System Treatment Process
- Disassemble completely following your weekly routine
- Soak plastic parts in disinfecting solution for 20 minutes
- Scrub all surfaces with solution using a dedicated brush
- Rinse thoroughly until chemical odor disappears
- Air-dry completely before reassembly
For severe contamination: Run disinfecting solution through the fully assembled unit outdoors for 10 minutes. This flushes hard-to-reach internal channels but requires outdoor operation to prevent indoor air contamination.
Filter Maintenance Without Causing Damage

Proper Filter Drying Technique
Every time you turn off your Vornado, remove the filter and set it out to dry completely. This simple step prevents mold growth and extends filter life significantly. For faster drying, run the unit for one hour without water—the fan will pull air through the filter, accelerating the drying process.
Critical timing: If storing the unit for more than a day, never leave the filter installed while wet. Moisture trapped in the filter housing creates ideal mold conditions.
Cold Water Filter Cleaning Method
During weekly maintenance, swish the filter in cold water only. You’ll see brown, slimy mineral deposits release—this is expected and indicates effective mineral removal. Never use soap, bleach, or chemicals on the filter material, as these destroy antimicrobial coatings and create breathing risks when the humidifier operates.
Soaking technique: While cleaning other components, let the filter soak in cold water. Gently squeeze (don’t wring) to remove mineral buildup without damaging the filter structure.
Filter Replacement Schedule
Replace your filter every 3-6 months regardless of appearance or cleaning frequency. A properly maintained filter lasts closer to 6 months, while neglected ones fail at 3 months. Check your filter monthly—if it feels hard and crusty rather than soft and pliable, replace it immediately.
Fan Blade Deep Cleaning Techniques
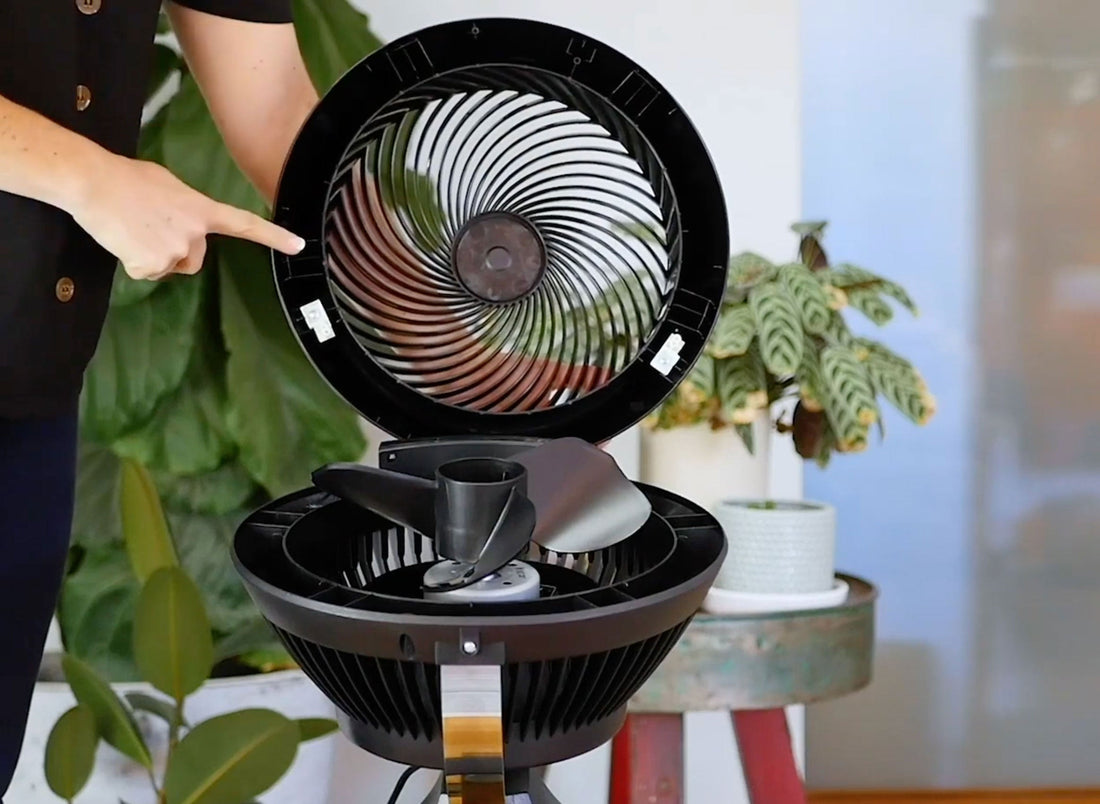
Access Hard-to-Reach Areas
The fan blades accumulate the most mineral deposits. Use a cotton swab dipped in vinegar solution to clean between blade edges and the fan housing. Rotate the blades manually to reach all surfaces. For tight spaces, wrap a microfiber cloth around a chopstick to access hidden crevices.
Pro tip: Shine a flashlight into the fan housing to identify all areas needing attention—mineral deposits often hide in shadowed corners.
Electrical Component Safety Precautions
When cleaning near the fan motor, never let liquids drip into electrical areas. Use barely damp cloths followed immediately by dry cloths to prevent moisture damage. If you accidentally get moisture in electrical components, let the unit dry for 24 hours before attempting to use it again.
Troubleshooting Common Cleaning Issues
Fan Runs But No Mist Output
This typically indicates a clogged filter. Remove and inspect the filter—if it’s hard and crusty, replace it immediately. For slightly clogged filters, soak in cold water for 30 minutes, then gently squeeze to restore functionality. Never attempt to force water through a severely clogged filter.
White Dust Covering Surfaces
This white dust comes directly from tap water minerals being dispersed into your air. Switch to distilled water immediately and clean all components thoroughly to remove existing mineral deposits. Your Vornado should never produce visible dust—if it does, your cleaning routine needs immediate adjustment.
Musty Odor Returns Quickly After Cleaning
If odors return rapidly, increase your cleaning frequency to weekly disinfection. Persistent odors indicate mold colonies likely hiding in crevices you’re missing during regular cleaning. Use the outdoor disinfection method described above to eliminate deeply embedded mold.
Complete Vornado Maintenance Schedule
After Each Use: Empty and air-dry tank completely
Weekly: Complete disassembly, vinegar cleaning of all components, filter swish
Monthly: Full disinfection with bleach or peroxide solution
Every 3-6 Months: Filter replacement regardless of appearance
Following this schedule prevents 95% of common Vornado humidifier problems. The few minutes spent on weekly cleaning prevents hours of troubleshooting and ensures your indoor air stays healthy and comfortably humidified. Your Vornado humidifier will reward proper maintenance with years of efficient operation—don’t wait for problems to start your cleaning routine.


