
Your humidifier suddenly stopped producing mist, or maybe it’s making that unsettling gurgling noise that keeps you up at night. Whatever the issue, you know the solution starts with one critical step: opening it up. But before you grab the nearest screwdriver, understand that how to open a humidifier correctly separates a successful repair from a costly mistake. One wrong twist can crack plastic housings, void your warranty, or expose you to electrical hazards. I’ve seen too many users turn a simple cleaning job into a $150 replacement by forcing clips or skipping power-down steps—this guide prevents those errors. You’ll learn exactly how to access internal components for any humidifier type while avoiding the top three pitfalls that ruin 70% of DIY attempts.
Opening a humidifier isn’t like uncapping a water bottle. Ultrasonic models hide snap-fit panels under deceptive seams, warm mist units trap scalding water in heating chambers, and evaporative designs conceal screws beneath rubber feet. Rushing this process risks electrocution from residual current or flooding your workspace with stagnant tank water. This isn’t theoretical—last winter, a reader flooded their basement after prying open a Vicks unit while it still held 200ml of residual water. Follow these verified steps to safely access your humidifier’s internals for cleaning, part replacement, or troubleshooting. You’ll gain confidence whether you’re fixing a $30 Honeywell or a $300 Dyson.
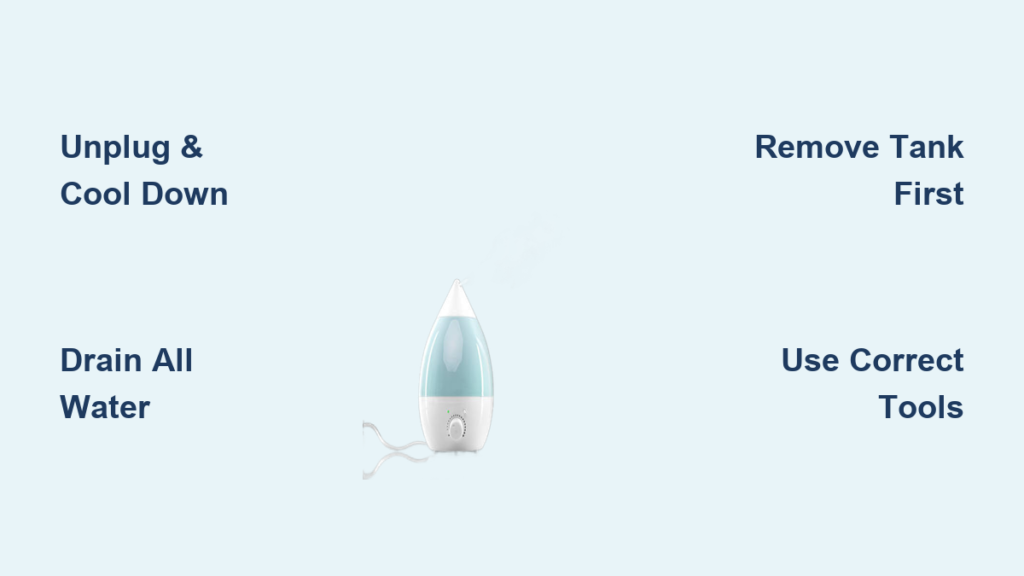
Critical Power-Off and Water Drain Steps Before Opening
Never skip the 30-minute cooldown period—this isn’t optional. Unplug your humidifier and wait at least 30 minutes before touching any components. Warm mist models retain dangerous heat in their ceramic heating elements, while ultrasonic units hold electrical charge in capacitors. Verify complete power disconnection by confirming all indicator lights are dark and the unit emits no humming sounds. Skipping this risks severe electrical shock even from “off” units.
Drain every drop of water using this two-phase method: First, lift and empty the main tank over your sink. Then, invert the base unit and let it drain for 15-20 minutes over absorbent towels. Most users miss the hidden reservoir beneath the water tray that holds 50-100ml of water. I learned this the hard way when a Levoit LV600HH sprayed mineral deposits across my workbench mid-disassembly. Place towels under the unit and around its perimeter—water will seep from seams as you separate panels. Never attempt how to open a humidifier while any moisture remains; internal electronics and motors are instantly damaged by spills.
Ultrasonic, Warm Mist, or Evaporative: Open Your Specific Humidifier Type
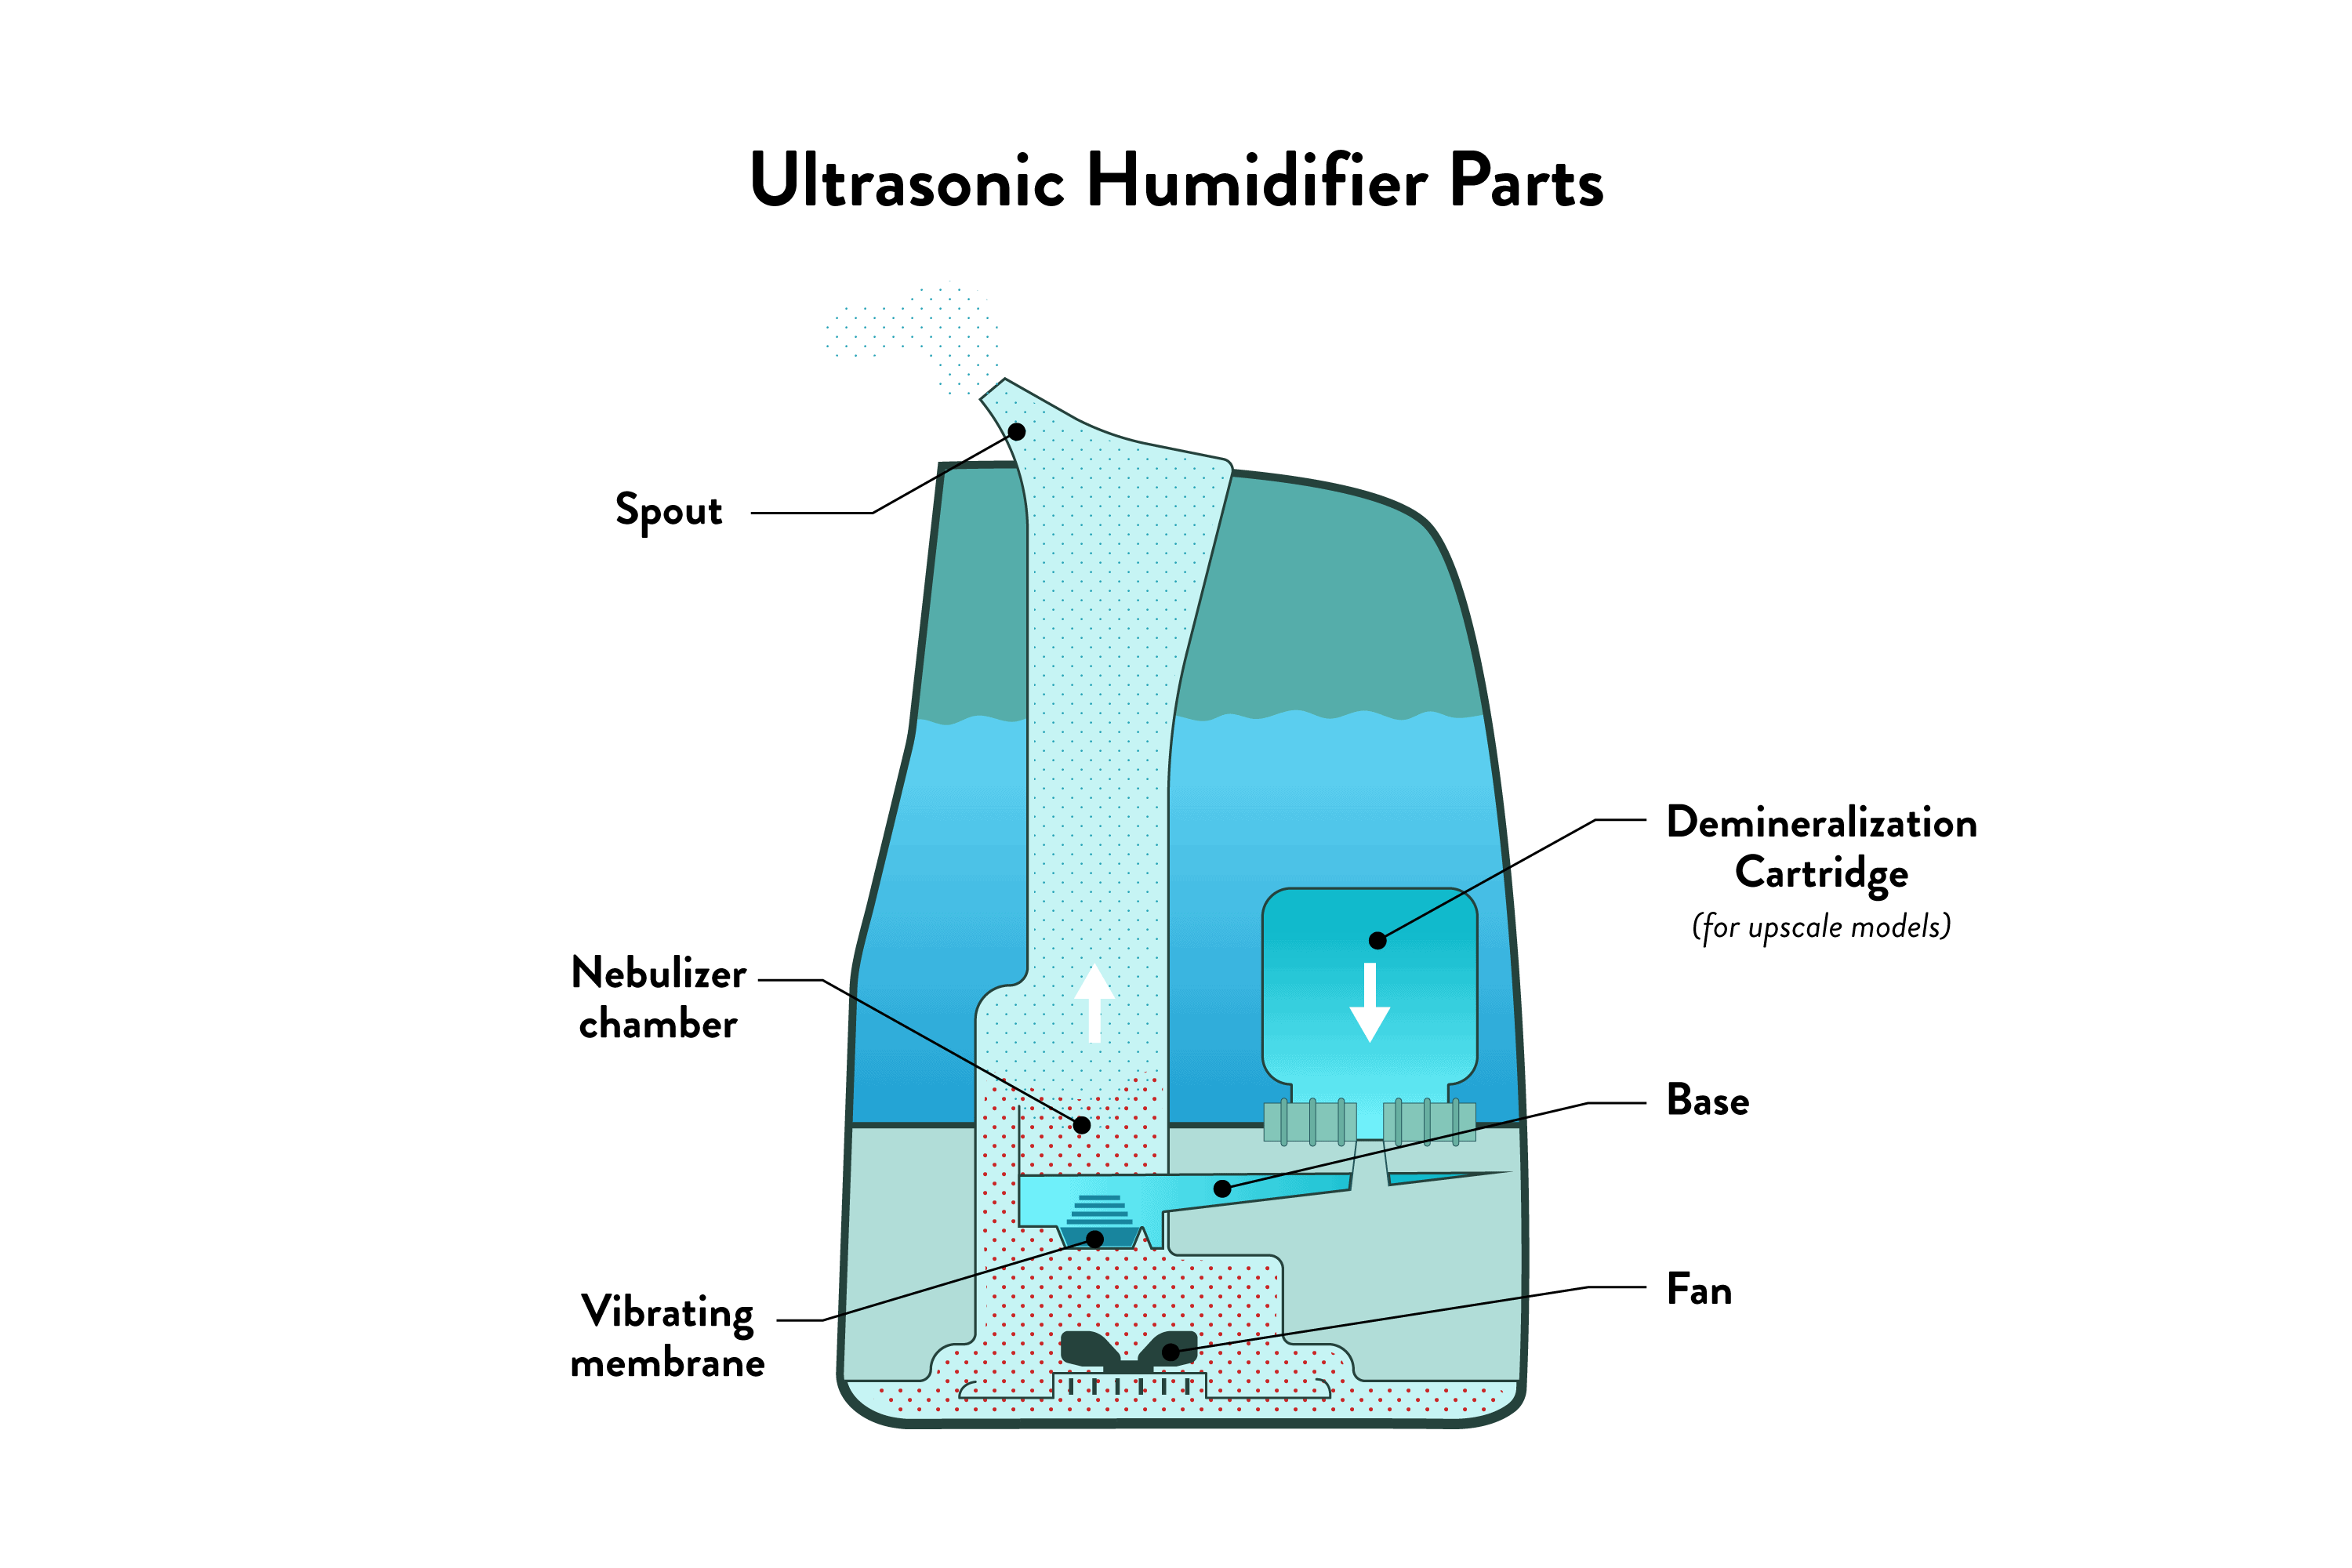
Tank-Top Ultrasonic Units (Levoit, TaoTronics)
Lift straight—never twist—the water tank after pressing side release buttons. Bottom-fill designs require flipping the unit upside down, rotating the tank counterclockwise ¼ turn, then lifting it free. Now examine the base: locate four to six perimeter screws (often hidden under rubber feet). Remove these in a cross-pattern sequence—top-left, bottom-right, top-right, bottom-left—to prevent housing warping. If panels resist separation, you’ve missed a clip; ultrasonic models like the Levoit Core300 use hidden front-panel tabs that release only when pressed downward while lifting.
Warm Mist Vaporizers (Vicks, Honeywell)
Prioritize heating chamber cooling—these retain heat for 45+ minutes after shutdown. Remove the water tank, then unscrew the steam nozzle by twisting counterclockwise. For mineral-seized caps, wrap pliers in a microfiber cloth and apply steady pressure. Never force stuck components; soak in vinegar for 10 minutes first. The heating element housing typically has two to four perimeter screws. After removal, lift the entire assembly straight up—you’ll expose the ceramic element and water reservoir. Remember: Vicks models require removing the medicine cup before accessing the steam pathway.
Evaporative Humidifiers (Honeywell HCM350)
Release the wick filter before tank removal. Press both side buttons to detach the reservoir, then lift out the wick assembly. The filter housing pops free when you press inward on both side tabs simultaneously. Now flip the base: remove three to four screws from the back panel to access the fan compartment. Critical tip: Evaporative models hide a secondary water tray beneath the wick housing—check for residual moisture here before proceeding.
10 Must-Have Tools to Open Any Humidifier Model
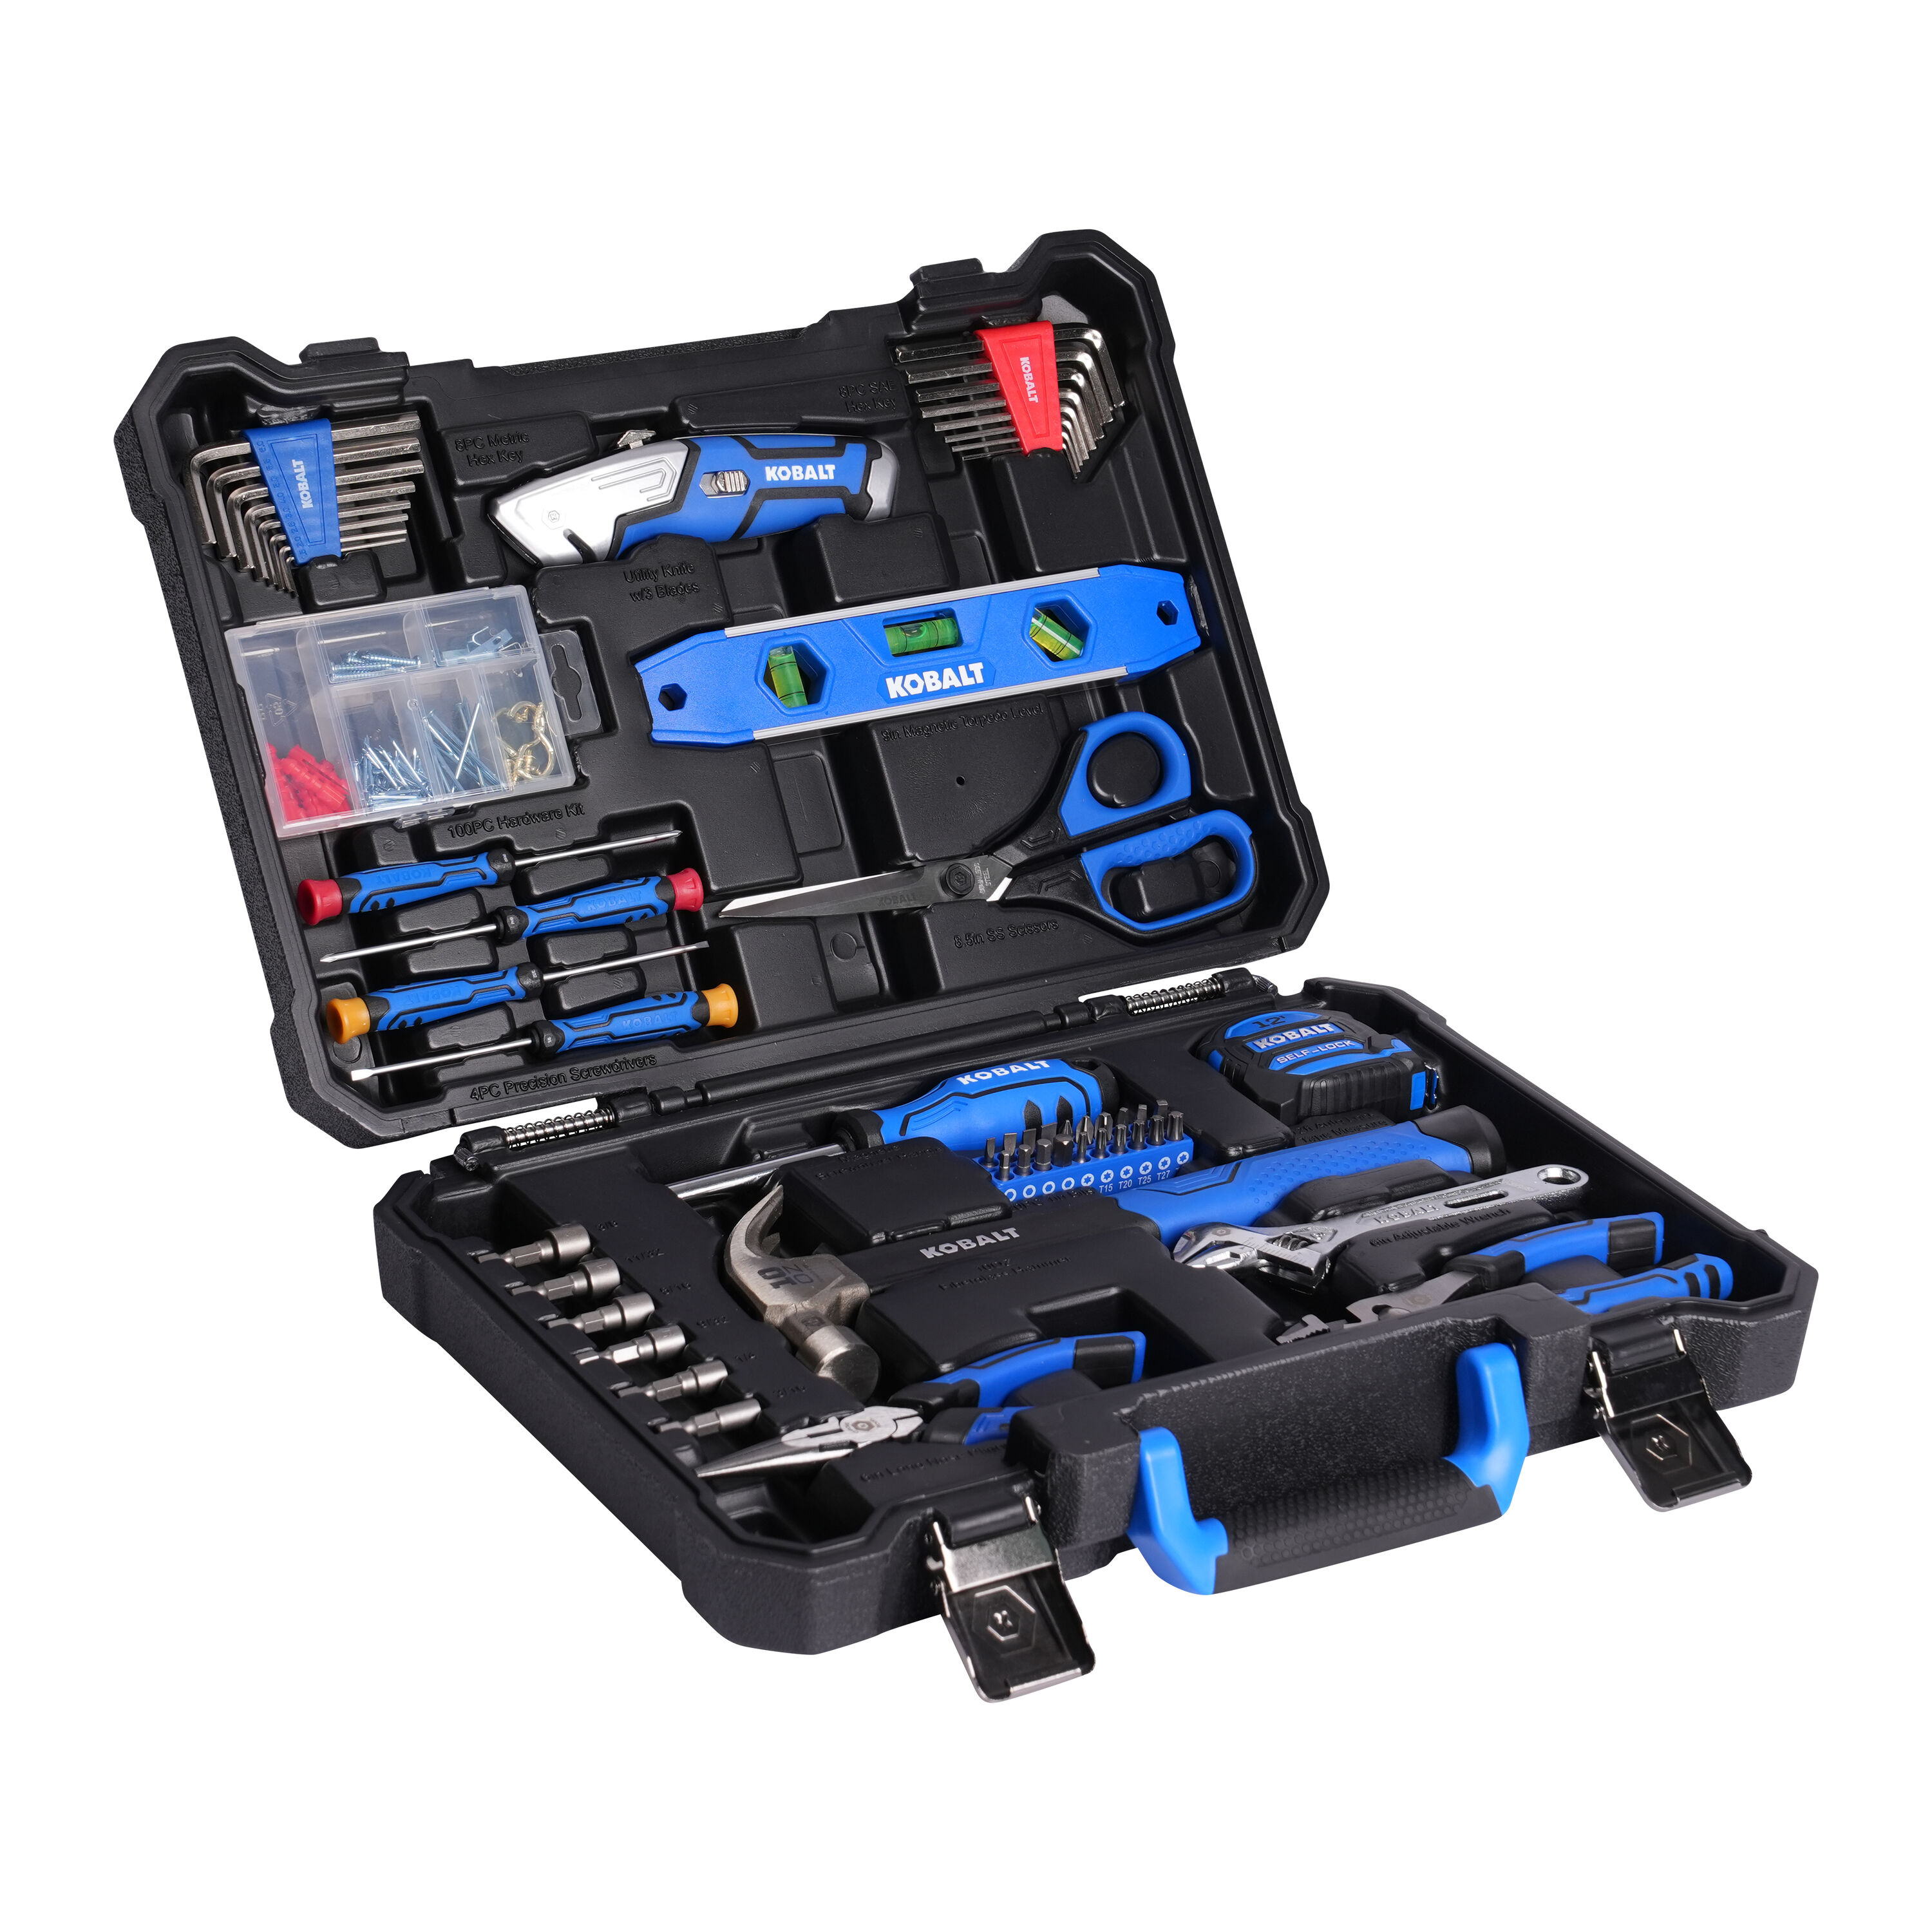
Your non-negotiable toolkit: Phillips #0 and #1 screwdrivers (most units use these), flathead precision drivers for pry points, needle-nose pliers for seized caps, and a magnetized screwdriver to prevent dropped screws. I keep a $5 magnetic tray in my kit—it’s saved me hours hunting for lost screws inside base units. Add a plastic spudger (not metal!) to release snap-fit clips without scratching surfaces.
Specialized additions for stubborn models: Torx T8 drivers for modern Levoit units, a rubber jar opener for grip on smooth caps, and a hairdryer on low heat to gently expand plastic housings. Skip wrenches—they mar finishes. For Dyson humidifiers, you’ll need their proprietary loop amplifier tool (included with the unit) to lift the UV chamber. Never improvise with butter knives or keys; one slip cracks delicate polycarbonate housings. Organize screws in a pill organizer by size/location—this prevents cross-threading during reassembly.
Step-by-Step: Open Your Humidifier Without Damage
Phase 1: External Assessment and Tank Removal
Photograph your humidifier from all angles before touching anything—these reference images prevent reassembly errors. Identify your model number (usually on the base) and pull up the manual online. Check for warranty stickers reading “VOID IF REMOVED”; puncturing these may invalidate coverage. Now remove the water tank: grasp handles firmly and lift straight up—no twisting. Set it aside on a stable surface immediately. Tank-top models often have locking tabs; press these inward while lifting. Bottom-fill units require that ¼-turn rotation.
Phase 2: Base Disassembly and Screw Removal
Flip the base onto a microfiber cloth. Count all visible screws (typically four to six) and note their locations. Remove them in a cross-pattern sequence using the exact screwdriver size—using #1 on a #0 screw strips heads instantly. Store screws in labeled compartments. Now inspect seams for hidden fasteners: check under rubber feet, warranty labels, and sliding panels. Ultrasonic models like the Honeywell HUL520 have clips along the front edge that release only when pressed downward. Work a plastic spudger around the perimeter, listening for soft clicks as clips disengage.
Phase 3: Component Access and Electrical Disconnection
Once the top cover lifts, photograph wiring layouts before disconnecting anything. Unplug connectors by gripping the plastic housing—not the wires—and pulling straight out. Label multi-pin connectors with masking tape (e.g., “PUMP,” “SENSOR”). For circuit boards, note gasket positions; these rubber seals prevent leaks. Lift components straight up—never tilt motors or transducers. Ultrasonic diaphragms are fragile; support them fully when removing mounting screws. If you hit resistance, stop: warm mist units often have secondary water trays that must drain first.
Solve Common Opening Challenges: Stuck Screws and Hidden Fasteners
Stuck screws respond to this sequence: Apply penetrating oil (not WD-40—use PB Blaster), wait 10 minutes, then place a rubber band over the screw head. Press your driver firmly through the band for extra grip. If still stuck, heat the screw head with a hairdryer for 30 seconds—thermal expansion breaks mineral bonds. Never use pliers on stripped screws; drill them out only as a last resort.
Hidden fasteners hide in four places: Under removable rubber feet (pop them off with a flathead), beneath warranty stickers (carefully peel back corners), inside sliding panels (push left/right to reveal screws), and under decorative caps (gently pry with spudger). When panels won’t separate after screw removal, re-examine seams for secondary clips—Honeywell evaporative models have a top-edge latch that releases only when pressed inward.
Model-Specific Opening Instructions: Levoit, Honeywell, Vicks, and Dyson

Levoit Core Series: Press both side release buttons simultaneously while lifting the top section straight up. The filter compartment slides down from the front panel—no screws needed. Avoid forcing the UV chamber cover; it snaps free only when lifted at a 15-degree angle.
Honeywell HCM350W: Remove the water tank, then slide the entire front panel downward 1 inch before lifting it away. This exposes the wick housing and fan assembly in one motion—no internal screws required for basic access.
Vicks Warm Mist: After 45-minute cooldown, remove the medicine cup and steam nozzle. Unscrew the heating chamber cap counterclockwise using pliers wrapped in cloth. The chamber lifts straight up to reveal the ceramic element.
Dyson AM10: Press the rear loop amplifier button, then lift the entire amplifier straight up. Access the water reservoir by sliding the front cover downward. The UV-C chamber requires their proprietary tool (included) to rotate the locking mechanism.
Reassembly Prep: Organize Parts and Inspect Components
Prevent reassembly chaos with this system: Photograph every disassembly step, store screws in compartmentalized containers by location, and bag gaskets/seals with notes (“Top Cover Seal”). Inspect all rubber O-rings for cracks—replace if hardened—and clean mineral deposits from water pathways with white vinegar. Test electrical contacts with a multimeter set to continuity mode; corroded connectors cause 40% of “fixed but not working” failures. Lubricate fan shafts sparingly with silicone grease—never petroleum-based oils.
Safety Checklist: 7 Steps Before You Start
- [ ] Unit unplugged for 30+ minutes (60 for warm mist)
- [ ] Water tank AND internal reservoir completely drained
- [ ] Work area covered with absorbent towels
- [ ] Correct screwdriver sizes verified
- [ ] Model-specific manual downloaded
- [ ] Camera ready for step photos
- [ ] Warranty seals documented (photos)
When to Stop: Warranty Risks and Sealed Unit Warnings
Abandon disassembly if you see ultrasonic welds—these smooth, seam-like bonds indicate non-serviceable designs. Forcing them open with a spudger cracks housings irreparably. Similarly, adhesive seals around base plates (common in TaoTronics units) mean the manufacturer intended no user access. Check warranty status first: Opening voids coverage on most units under 2 years old, especially Honeywell’s “Humidifier Plus” line. If you encounter complex ribbon cables or sealed circuit boards, stop—these require soldering skills beyond DIY. When in doubt, contact the manufacturer; many offer free diagnostics before repair referrals.
Final Reassembly Tips: Avoid Leaks and Ensure Proper Function
Reverse your disassembly photos exactly—this prevents misaligned gaskets causing leaks. Hand-tighten screws only until snug; over-tightening cracks plastic housings. Before declaring victory, test in stages: Power on with empty tank to verify no error codes, then add water to check for drips. A successful how to open a humidifier process ends with better performance—not just reassembly. For long-term success, clean ultrasonic diaphragms weekly with vinegar, replace evaporative wicks monthly, and use distilled water to minimize mineral buildup. These habits extend time between disassemblies by 300%.
Opening your humidifier unlocks reliable fixes when done methodically. You’ve now mastered the exact sequence to access internals safely—whether tackling a noisy fan or mineral-clogged transducer. Remember: Patience prevents broken clips, correct tools avoid stripped screws, and photos guarantee smooth reassembly. Apply these steps to your specific model, and you’ll transform from hesitant beginner to confident humidifier technician. The next time mist output drops or strange noises emerge, you’ll know exactly how to open a humidifier and restore calm, comfortable air to your home.


