
That white, chalky buildup coating your humidifier’s interior isn’t just unsightly—it’s actively destroying your unit’s performance while filling your air with harmful mineral dust. When hard water evaporates during normal operation, calcium and magnesium crystallize on heating elements and internal surfaces, creating stubborn mineral deposits that reduce efficiency by up to 30% and breed dangerous bacteria. Learning how to remove mineral deposits from humidifier components saves money on replacements, protects your respiratory health, and ensures clean, effective moisture output. This guide delivers actionable steps to eliminate scale from any humidifier type—ultrasonic, evaporative, or steam—using solutions you likely already have in your kitchen.
Why Mineral Scale Ruins Humidifier Performance
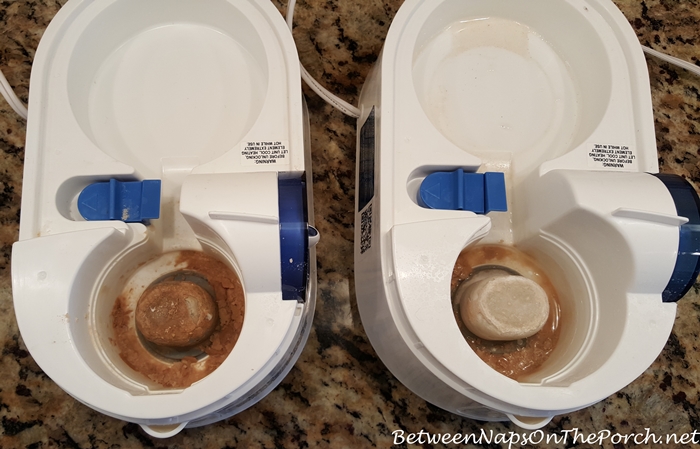
Mineral deposits create a protective barrier around heating elements, forcing your humidifier to work significantly harder while producing less moisture. This crystallized layer becomes a perfect breeding ground for bacteria and mold, directly contaminating the air you breathe. As scale accumulates, your unit’s mist output drops dramatically while energy consumption increases—often without you realizing the connection to that white residue on furniture near your unit.
Critical Warning Signs You Need Cleaning
- Visible white crust on heating elements or water tank walls
- Reduced mist output despite full water levels
- White dust settling on nearby surfaces
- Unusual noises from clogged components
- Persistent musty odors indicating bacterial growth
Essential Supplies for Effective Descaling
You don’t need expensive specialty products to remove mineral deposits from humidifier parts—common household items work remarkably well. The right tools make the process efficient while protecting delicate components from damage during cleaning.
Natural Cleaning Solutions:
– White vinegar (most effective for light to moderate deposits)
– Citric acid (superior for stubborn calcium buildup)
– Baking soda (ideal for spot treatments on visible stains)
Specialized Tools:
– Soft-bristled toothbrush for detailed areas
– Non-abrasive sponge for tank interiors
– Cotton swabs for narrow vents and sensors
– Lint-free microfiber cloths for drying
Step-by-Step Guide to Remove Mineral Deposits from Humidifier
1. Proper Disassembly Before Cleaning
Unplug your humidifier and allow it to cool completely—never attempt cleaning while components are warm. Remove the water reservoir, filter, and any detachable parts according to your model’s specifications. Check for hidden latches or twist mechanisms that could break if forced. Improper disassembly causes more damage than mineral buildup, so consult your manual when unsure.
2. Initial Rinse and Deposit Assessment
Rinse all components with warm water to remove loose debris before tackling hardened deposits. Examine critical areas where mineral buildup concentrates:
– Ultrasonic transducers (metal disc at base)
– Heating elements in steam models
– Mist outlets and vents
– Float sensors and mechanisms
Light deposits appear as thin white film, while severe scaling forms thick, crusty layers that resist normal cleaning. Knowing your deposit severity determines the appropriate cleaning method and duration.
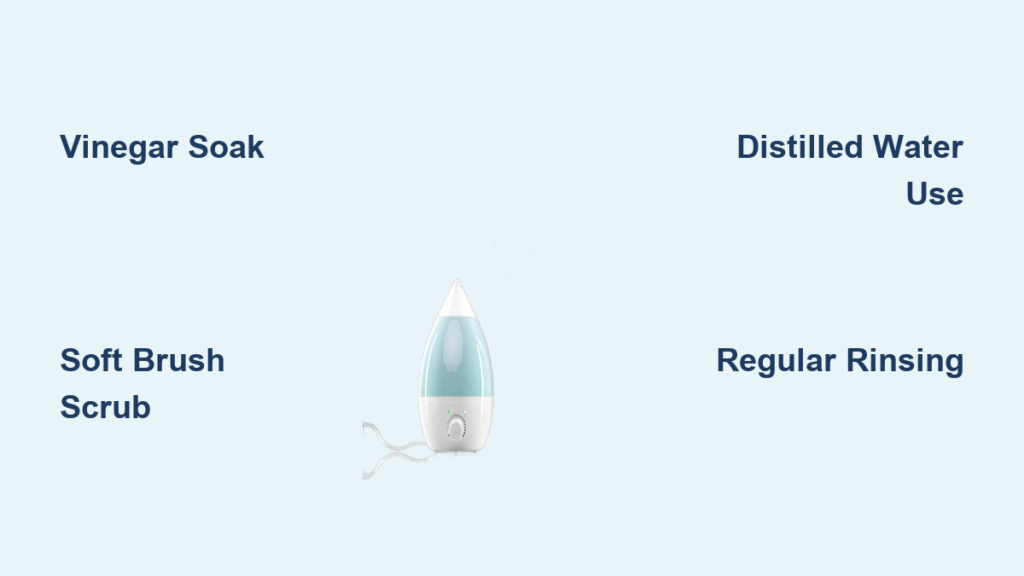
3. Vinegar Soak Method for Most Humidifiers
Fill your water tank and base with equal parts white vinegar and warm water, ensuring complete submersion of affected components. For light mineral deposits, a 30-60 minute soak dissolves most buildup. Heavy scaling requires 2-4 hours or overnight soaking. The acetic acid in vinegar safely breaks calcium bonds without damaging plastic or metal parts.
Pro tip: Slightly warming the vinegar solution (not boiling) accelerates the chemical reaction by 40%, reducing soak time significantly. Never use boiling vinegar—it creates harsh fumes and can warp plastic components.
4. Gentle Scrubbing Techniques That Work
After soaking, use a soft-bristled brush to remove loosened deposits with circular motions. Pay special attention to textured surfaces where minerals hide. For ultrasonic transducers, never use metal brushes or sharp objects—scratches create new collection points for future deposits. Cotton swabs clean narrow vents and sensors effectively without damage.
Critical warning: Aggressive scrubbing damages protective coatings and creates microscopic grooves where minerals reattach faster. If deposits resist gentle cleaning, repeat the soaking process rather than increasing scrubbing pressure.
5. Complete Rinsing Prevents Rebuild
Rinse all components 3-4 times with clean water until no vinegar smell remains. Run your fingers over surfaces—any slippery feeling indicates residual cleaning solution that will accelerate new mineral buildup. Air-dry all parts for 24 hours or wipe thoroughly with lint-free cloths before reassembly. Trapped moisture breeds mold and defeats your cleaning efforts.
Specialized Cleaning for Different Humidifier Types
Ultrasonic Humidifier Transducer Care
The metal disc at your ultrasonic unit’s base attracts mineral deposits like a magnet. Submerge it in vinegar solution for at least 2 hours, then clean with soft circular motions. Hold the transducer at an angle under light to spot remaining film—any visible residue reduces mist output. Finish with a distilled water rinse to prevent immediate re-scaling.
Evaporative Wick System Maintenance
Never wash the wick filter itself—this damages its antimicrobial coating. Instead, replace wicks showing stiffness or discoloration every 30-60 days in hard water areas. Clean the water reservoir, fan housing, and float mechanism weekly with vinegar solution to prevent mineral clogs that restrict airflow.
Steam Vaporizer Element Restoration
Heating elements in steam models develop thick white crusts that cause overheating. Soak for 6-8 hours in vinegar solution, then gently scrub with a non-abrasive pad. Check steam outlets with pipe cleaners for blockages, and replace the unit if the element shows permanent discoloration or pitting—these indicate irreversible damage.
Permanent Prevention Strategies After Removing Mineral Deposits
Switch to Distilled Water Immediately
Distilled water contains zero minerals, eliminating the source of scale completely. While more expensive upfront, you’ll save on cleaning supplies, replacement parts, and energy costs from improved efficiency. For ultrasonic units, distilled water is essential—tap water inevitably creates white dust problems.
Install Demineralization Cartridges
Drop-in cartridges absorb minerals before they crystallize, reducing cleaning frequency by 70%. Replace monthly for best results. Popular options include Protec for ultrasonic models and Honeywell cartridges for evaporative units. These cost-effective solutions work especially well when combined with filtered tap water.
Implement a Strict Cleaning Schedule
- Daily: Empty and rinse tank completely
- Every 3 days: Quick wipe-down of accessible parts
- Weekly: Deep cleaning with descaling solution
- Monthly: Replace filters and inspect components
Hard water areas require more frequent cleaning—adjust based on visible buildup rather than calendar dates. Consistent maintenance prevents deposits from becoming permanent problems.
Brand-Specific Cleaning Recommendations
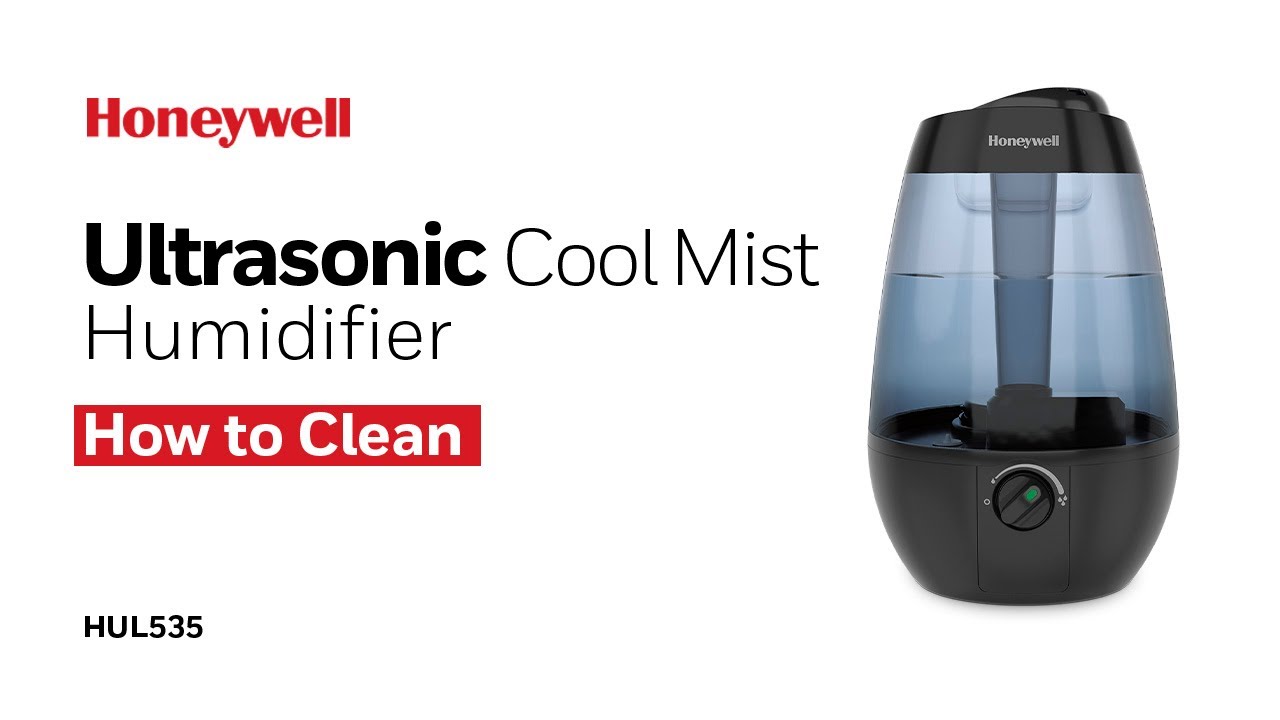
Honeywell Models
Use only manufacturer-approved descaling solutions to maintain warranty coverage. Their heating elements react poorly to citric acid, so stick with vinegar-based cleaning methods.
Vicks Warm Mist Units
Never submerge the electrical base—clean with damp cloth only. Focus cleaning on the medicine cup and steam pathway where mineral deposits commonly form.
Levoit Ultrasonic Models
Remove filters before descaling as they aren’t washable. Concentrate efforts on the ultrasonic disc and water sensor float where deposits most affect performance.
When to Replace Rather Than Clean
Replace your humidifier if:
– Mineral deposits have caused permanent component damage
– Cleaning costs exceed 50% of a new unit’s price
– White dust persists despite distilled water use
– Visible corrosion affects electrical components
Professional cleaning typically costs $50-150, while new basic units start around $30. High-end models worth preserving may justify professional service, but most standard humidifiers become more cost-effective to replace than repair after 2-3 years of mineral exposure.
Consistent cleaning prevents the need to repeatedly remove mineral deposits from humidifier components. By following this guide’s methods and maintenance schedule, your unit will operate efficiently, produce cleaner moisture, and last significantly longer. Start today by emptying your tank and implementing daily rinsing—those 30 seconds prevent hours of difficult descaling later while protecting your indoor air quality.


