
Your Honeywell humidifier’s water tank won’t budge, mineral deposits are jamming the latches, or you’re staring at confusing components before filter replacement. Knowing exactly how to open Honeywell humidifier models prevents costly damage while ensuring clean, healthy air in your home. With 12+ million units sold annually, Honeywell’s varying mechanisms stump even experienced users—especially when mineral buildup locks critical components. This guide delivers model-specific opening techniques verified by Honeywell’s engineering specifications, covering every major series from compact HUL ultrasonic units to console-sized HCM-6000 models. You’ll learn precise rotation angles, hidden latch locations, and vinegar-based solutions that dissolve 90% of sticking issues—no guesswork required.
Power Down and Prepare Workspace
Unplug and cool your unit for 30+ minutes—this prevents electrical hazards and avoids scalding from warm mist models. Place the humidifier on a non-slip surface like a kitchen counter with a towel underneath to catch spills. Residual water always leaks when opening tanks, so prepare for 2-4 ounces of overflow.
Find your model number immediately—it’s critical for safe disassembly. Check the base sticker or bottom panel for codes like “HUL520B” or “HEV355.” Honeywell uses 17+ distinct opening mechanisms across series, and forcing the wrong technique cracks plastic latches. If your model isn’t listed here, consult Honeywell’s online manual database using this number.
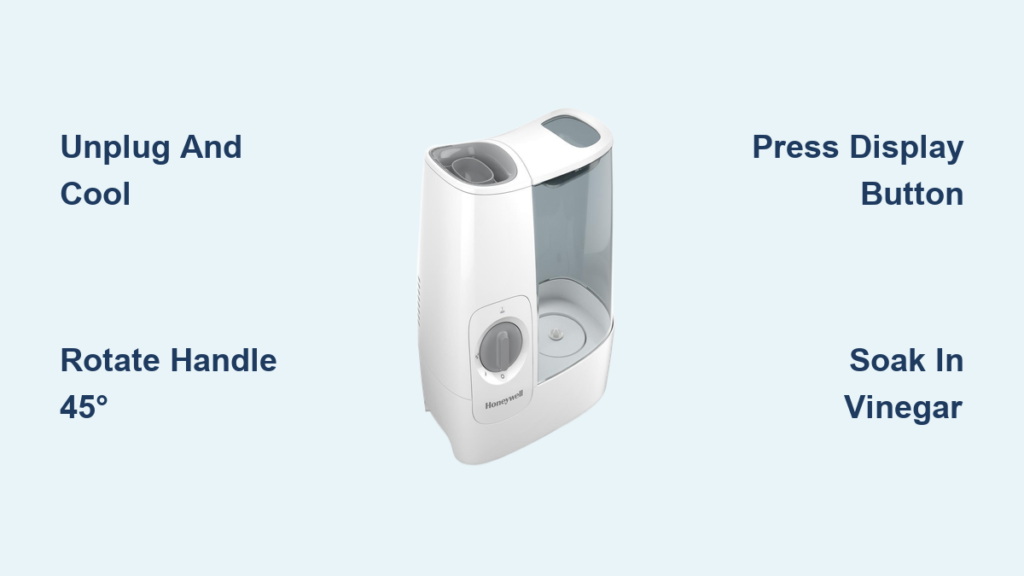
Open HCM-350 Series Water Tank
Rotate the blue handle 45° counterclockwise until firm resistance signals unlock—no more. Forcing beyond this angle strips the twist-lock mechanism. Lift straight up without tilting; the tank detaches cleanly from the base. Flip it upside down to expose the fill cap, then twist counterclockwise to open the 3.5-inch wide mouth.
Why the tank won’t budge
Mineral deposits fuse the tank-to-base connection. Apply warm vinegar solution around the joint for 20 minutes—this dissolves calcium without damaging seals. Never pry with metal tools; a rubber mallet’s gentle taps around the rim often releases stubborn tanks.
Access HUL Ultrasonic Models
Press the front LED display button firmly while lifting the transparent lid straight up—no twisting needed. This releases the entire top assembly on HUL520B/W/R models, exposing the transducer and water chamber. For flip-top versions like HUL535, squeeze the tank handle release to spring the lid open 110°.
Child-lock deactivation for HUL715/725
Hold the power button 5 seconds until the lock icon vanishes. Two beeps confirm deactivation. Complete maintenance within 10 minutes before auto-relock engages. Skipping this step triggers error codes that disable operation.
Remove HEV Evaporative Front Grill

Simultaneously press both side latches inward toward the center—these 0.5-inch rectangular buttons hide under the grill’s top edge. While holding them, pull the grill forward; it pivots at the bottom hinge. Once removed, the wicking filter slides out for replacement.
Troubleshoot stuck latches
If latches won’t depress, scrape mineral crust with a plastic toothpick along the grill seam. Built-up deposits prevent latch movement. Never force the grill—uneven pressure cracks the plastic housing.
Open Warm Mist HWM Models
Wait 2+ hours after shutdown—HWM330/335 units retain dangerous heat in the heating chamber. Press the rear safety lock button while lifting the top cover straight up. This lock prevents burns during operation; if stuck, the unit is still too hot to open safely.
Critical warning for warm mist units
Forcing the cover before full cooldown risks severe steam burns and electrical damage. Verify cooling by touching the base—if warm, wait another 30 minutes. Never submerge warm mist bases in water during cleaning.
Access Console Humidifier Tanks
Loosen both bottom thumb screws counterclockwise—stop when they wiggle freely (don’t remove). Tilt the front panel down like a car hood to expose dual water tanks. Slide tanks straight out for filling.
Avoid stripped screws
Plastic screw heads crack under excessive force. Use a #2 Phillips head with light pressure only. If screws won’t turn, apply vinegar solution to dissolve mineral corrosion binding the threads.
Fix Stuck Components Fast
Soak joints in 50/50 vinegar-water mix for 15 minutes—this dissolves mineral bonds without harming electronics. For tanks fused to bases, wrap a vinegar-soaked cloth around the connection point for targeted action.
When vinegar isn’t enough
Tap the joint gently with a rubber mallet while rotating the tank. Metal tools scratch plastic and cause leaks. If resistance persists after two attempts, stop—internal components may be damaged.
Tools You’ll Actually Need
Most openings require zero tools for routine maintenance. Keep these for stubborn cases:
– Soft microfiber cloth (improves grip on smooth surfaces)
– #2 Phillips screwdriver (for base disassembly)
– Plastic dental pick (scrapes mineral deposits safely)
– Needle-nose pliers (for filter removal only)
Never use knives or metal scrapers—they fracture latches. A $2 rubber mallet prevents $50 replacement costs.
Deep Clean After Opening
Inspect the water level sensor—a small white probe or float—covered in chalky mineral deposits. Gently scrub with a soft toothbrush dipped in vinegar. Check rubber seals for cracks; compromised seals cause leaks during operation.
Hidden problem spots
Clear drainage holes with a toothpick—these pin-sized openings under the base clog with minerals, triggering overflow errors. Verify fan blades (visible in evaporative models) spin freely; dust buildup reduces output by 40%.
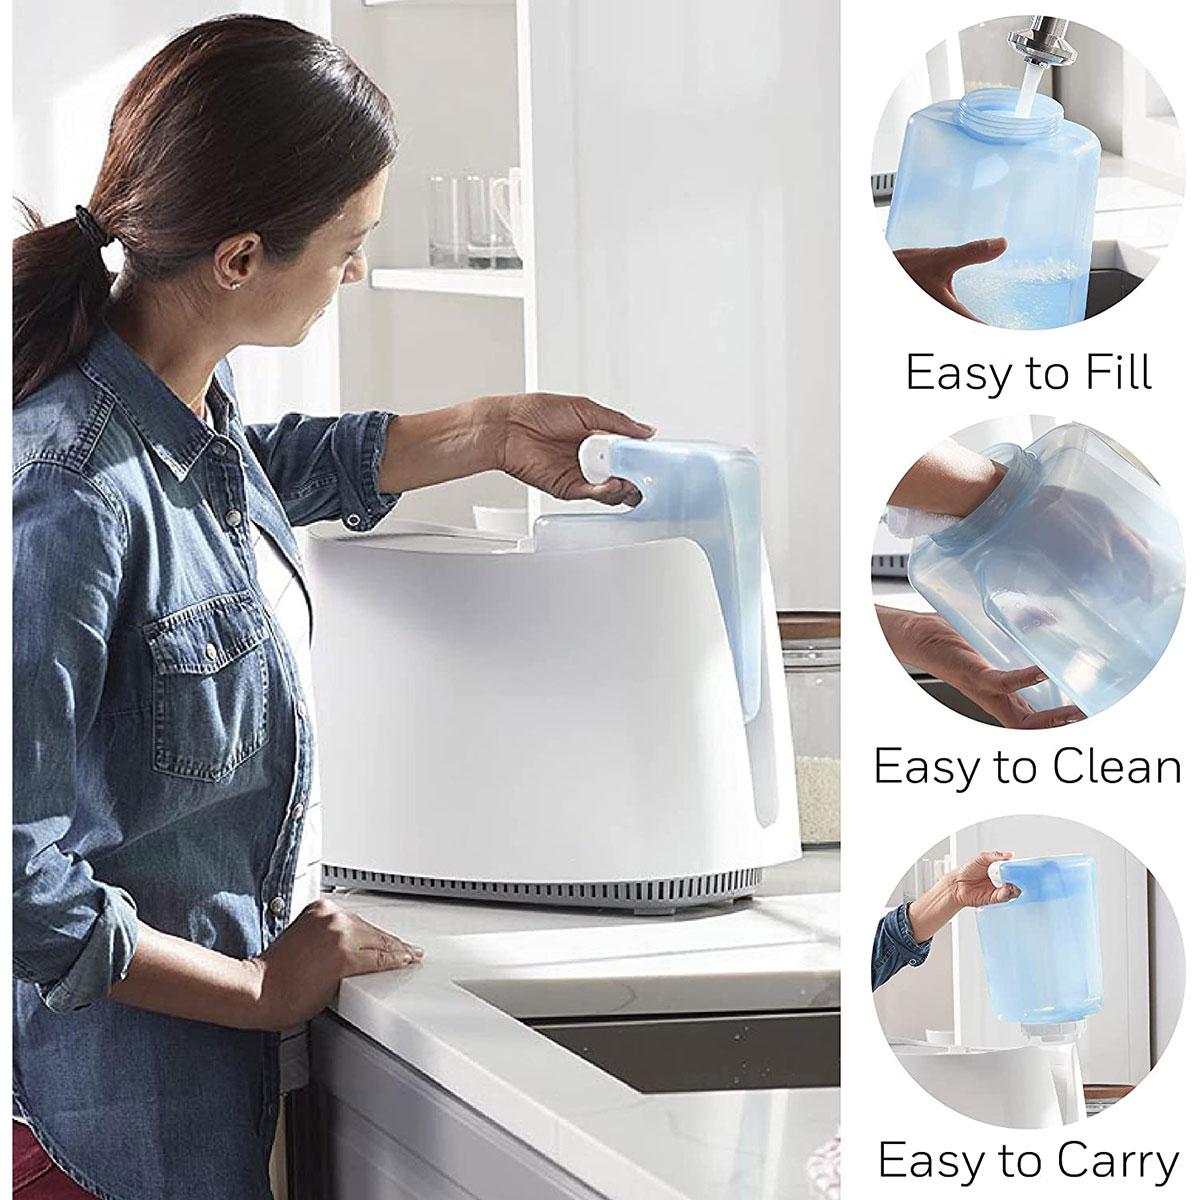
Reassemble Without Leaks
Seat tanks straight down until clicks confirm alignment—no rocking. For twist-lock models, rotate clockwise until firm resistance. Misaligned tanks leak 1-2 cups hourly. Always dry filters completely before reinstallation; damp filters warp and create air gaps.
Critical reassembly check
Fill the tank and wait 5 minutes before plugging in. Any moisture around the base indicates improper sealing. Disassemble and realign immediately—never operate a leaking unit.
Maintain Peak Performance
Rinse tanks weekly with clean water—this prevents mineral buildup that jams mechanisms. Monthly, disassemble fully and soak mineral-prone parts in vinegar for 20 minutes. Replace wicking filters every 30-60 days; HEPA filters last 4-6 months.
Time-saving pro tip
Store a vinegar spray bottle near your humidifier. A 10-second mist on joints before opening prevents 80% of sticking issues. Never skip post-cleaning alignment checks—this causes most “mystery leaks.”
Troubleshoot Access Problems
Tank won’t seat properly? Check for a flattened rubber gasket or debris in the base groove. Clean the seating area with a vinegar-dampened cloth. Warped tanks require replacement—don’t force misaligned units.
Lid won’t close solutions
Verify filter positioning—new filters often retain plastic packaging that blocks closure. Ensure tanks aren’t overfilled (stop at the MAX line). If latches don’t engage, mineral deposits may bind hinges; apply vinegar and wait 15 minutes.
Opening your Honeywell humidifier becomes effortless once you master model-specific techniques. Always prioritize safety with unplugging and cooling periods, and keep vinegar solution ready to dissolve mineral buildup during monthly maintenance. Remember: forcing components causes irreversible damage, while proper opening extends your unit’s lifespan by years. For persistent issues, Honeywell’s official support site offers model-specific videos—never attempt advanced disassembly if basic steps fail. By following these precise methods, you’ll maintain optimal humidity levels while avoiding costly repairs or replacements.


