

Your Honeywell humidifier has been working overtime, but now it’s time to shut it down. Whether you’re heading into summer, noticing condensation on windows, or simply need to perform maintenance, knowing the correct shutdown procedure prevents damage and extends your unit’s life. This guide walks you through every model-specific step to safely turn off your Honeywell humidifier and store it properly until next season.
Universal Power-Off Steps
Every Honeywell humidifier shares basic shutdown fundamentals. Before diving into model-specific instructions, master these universal steps that apply across all units.
Locate Your Power Switch
Find the power control on your unit’s base or control panel. Look for a button marked with the power symbol (⏻) or labeled “ON/OFF.” This primary switch cuts electricity to all components and serves as your first shutdown step. On most models, it’s positioned prominently on the front or top for easy access, but check your specific unit as placement varies by model.
Digital vs. Mechanical Controls
Digital models: Press and hold the power button for 2-3 seconds until the display shows “OFF” or goes dark. Verify all LED indicators have extinguished before proceeding. Some advanced models require you to navigate through menu options to reach the power-off function—always check your specific display prompts.
Mechanical models: Rotate the humidistat dial fully counterclockwise until it clicks into the “OFF” position. You’ll hear an audible click when the internal switch disengages, confirming successful deactivation. If you don’t hear this click, gently rotate the dial further until you feel resistance.
Final Verification
After shutdown, confirm these three indicators to ensure complete deactivation:
– Visual: No LED lights remain illuminated
– Auditory: Fan noise and operational sounds cease completely
– Physical: Mist or vapor production stops within 30 seconds
Turn Off Cool Mist Models (HCM Series)
Cool mist evaporative humidifiers require extra steps due to their wick filter systems. These popular models need specific attention to prevent mold growth during storage.
Immediate Shutdown Sequence
- Switch the power button to “OFF”
- Unplug the unit from the wall outlet
- Empty the water tank completely
- Remove the wick filter for separate drying
Skipping the unplugging step risks accidental reactivation, while leaving water in the tank promotes bacterial growth. Pro tip: Place a towel underneath during emptying to catch drips from the filter housing.
Filter Drying Protocol
- Remove: Slide out the blue wick filter from its housing
- Rinse: Run cool water through the filter to remove mineral buildup
- Dry: Stand the filter upright in a well-ventilated area for 24-48 hours
- Store: Place the completely dry filter in a sealed bag if storing long-term
Never store a damp filter—it will develop mold within days. If your filter shows discoloration or odor after drying, replace it before next use.
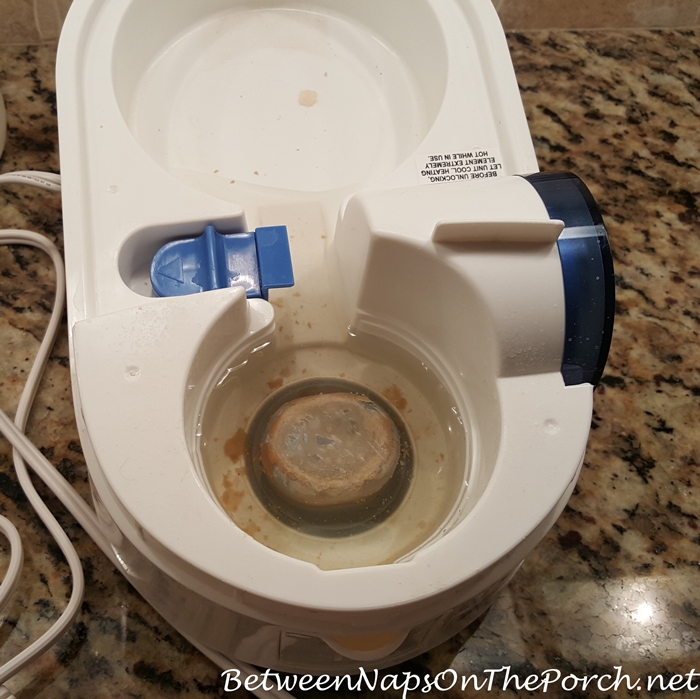
Base Reservoir Care
After shutdown, tip the base over your sink to drain remaining water. Wipe the interior with a clean cloth to remove any film or deposits. This prevents bacterial growth during storage periods. For stubborn buildup, use a vinegar-water solution (1:1 ratio), then rinse thoroughly before storage.
Turn Off Warm Mist Models (HWM Series)
Warm mist humidifiers contain heating elements that require cooling time. Never attempt immediate disassembly—these units need patience for safe shutdown.
Heating Element Cool-Down
- Press the power button to deactivate the heating element
- Wait 15-20 minutes for the boiling chamber to cool
- Unplug only after surfaces are cool to touch
- Drain remaining water through the designated spout
Rushing this process risks burns from residual heat. The unit may continue producing steam for several minutes after shutdown—that’s normal operation as the heating element cools.
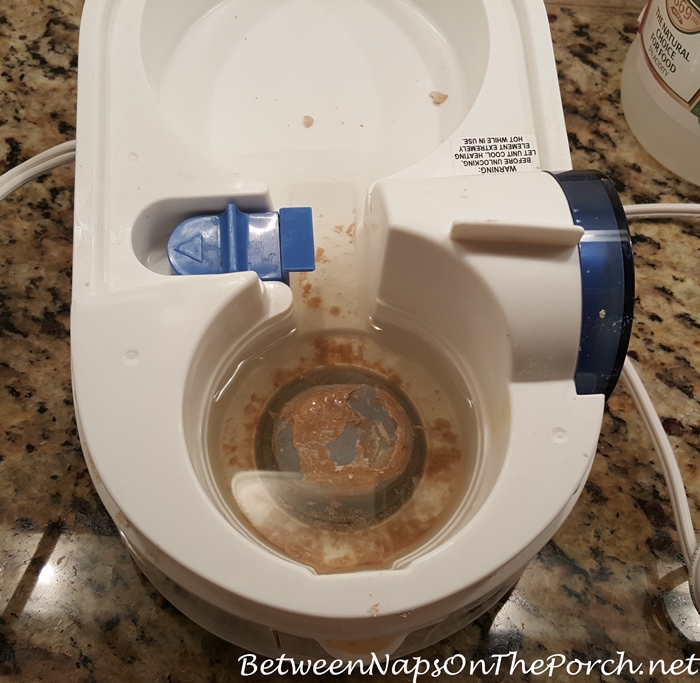
Mineral Deposit Removal
While the unit cools, prepare for post-shutdown cleaning. Warm mist models accumulate mineral deposits on heating elements. After complete cool-down, use a soft brush to remove white buildup before storage. For heavy deposits, soak the heating chamber in white vinegar for 20 minutes, then gently scrub with a soft toothbrush.
Safety Warning
Never attempt to drain or move a warm mist humidifier immediately after shutdown. The heating chamber retains high temperatures that can cause severe burns. Always wait the full cool-down period—touch the top surface to confirm it’s cool before handling.
Turn Off Ultrasonic Models (HUL Series)
Ultrasonic humidifiers use high-frequency vibrations to create mist. These units emit a final burst of mist during shutdown—this is normal operation.
Mist Button Cycling
- Press and hold the power/mist button
- Cycle through low, medium, and high mist settings
- Continue pressing until reaching “OFF”
- Expect a final mist emission as the unit powers down
Some HUL models have separate power and mist controls—check your specific unit to avoid confusion. If mist continues after shutdown, remove the water tank to force complete deactivation.
Transducer Care
Ultrasonic models contain a delicate ceramic transducer disc. After shutdown:
– Empty the water tank
– Gently wipe the transducer surface with a soft cloth
– Remove any white film using diluted white vinegar
– Never use abrasive materials on the ceramic surface
This maintenance prevents mineral buildup that can interfere with future operation and cause shutdown problems.
Water Quality Impact
If you’ve been using tap water, mineral buildup appears as white dust. This affects shutdown efficiency and requires cleaning. Consider switching to distilled water when restarting to reduce maintenance. Hard water users should clean the transducer weekly during operation to prevent persistent shutdown issues.
Turn Off Whole-House Models (HE Series)
Bypass and fan-powered humidifiers connect directly to your HVAC system. These require additional steps beyond simple power-off.
Humidistat Control Location
Find your humidistat first—it might be:
– Wall-mounted: Near your thermostat
– Duct-mounted: On the return air duct
– Integrated: Part of your smart thermostat system
Whole-house models often have multiple control points, so verify you’re adjusting the correct component. Many homeowners mistakenly adjust their thermostat instead of the dedicated humidistat.
Seasonal Shutdown Steps
- Turn the humidistat dial to “OFF” or 0% humidity
- Close the saddle valve water supply line
- Switch off the 24VAC transformer (if dedicated unit exists)
- Drain the supply line in freezing climates
Neglecting the water supply valve risks leaks during storage. For saddle valves, turn the handle clockwise until snug—don’t overtighten as this damages the valve.
Bypass Damper Position
For bypass models, locate the damper handle on the ductwork. Turn it to the “CLOSED” or “SUMMER” position. This redirects air flow around the humidifier during off-seasons. Check that the damper moves freely and seals completely to prevent conditioned air loss.
Emergency Shutdown Procedures

Sometimes you need to stop your humidifier immediately—whether it’s overflowing, making strange noises, or creating excessive moisture.
Rapid Deactivation Method
- Pull the plug directly from the wall outlet
- Keep hands dry—never touch electrical components with wet hands
- Wait 5 minutes before assessing the situation
- Document symptoms for troubleshooting
In overflow situations, unplug first—don’t waste time searching for the power button. Have towels ready to contain spills while you address the leak source.
Power Failure Protocol
When power returns after an outage:
– Units may resume previous settings automatically
– Check humidistat position before power restoration
– Reset any programmed schedules if applicable
– Verify no water overflow occurred during outage
Prevent automatic restart issues by lowering the humidistat setting before anticipated power outages.
Verification Checklist
After shutdown, confirm complete deactivation using these sensory checks.
Visual Confirmation
- [ ] All LED indicators extinguished
- [ ] Display screen completely dark
- [ ] No visible mist or vapor
- [ ] Fan blades stationary
If any lights remain, unplug the unit completely. Residual power in digital displays usually fades within 30 seconds.
Auditory Confirmation
- [ ] Complete absence of operational sounds
- [ ] No humming from electrical components
- [ ] No gurgling or water movement
- [ ] Total silence from ultrasonic transducers
Listen closely for 30 seconds—some units emit subtle sounds during final shutdown sequences.
Long-Term Storage Considerations
Planning to store your humidifier for months? These additional steps ensure it’s ready for next season.
HVAC System Winterization
For whole-house models:
– Close water valve completely
– Drain supply line using drain valve
– Remove evaporator pad for cleaning or replacement
– Seal bypass damper to prevent air leaks
Drain lines completely in freezing climates to prevent burst pipes. Use compressed air to blow residual water from supply lines.
Vacation Mode Alternative
For short absences (1-4 weeks):
– Reduce humidistat to 30-35% instead of full shutdown
– Keep minimal operation to protect wood furnishings
– Use vacation mode if your model includes this feature
This maintains baseline humidity without overworking the unit. Check water levels weekly if leaving it running during absence.
Turning off your Honeywell humidifier correctly prevents damage, extends lifespan, and ensures safe operation. Whether you have a portable bedroom unit or a whole-house system, these model-specific steps protect your investment. Remember: the few extra minutes spent on proper shutdown saves hours of troubleshooting and potential replacement costs. Store this guide with your humidifier for quick reference next season.


