
Your new Aircare humidifier sits in the box, promising relief from dry winter air, but you can’t find the power button. Don’t worry—most Aircare models share similar startup procedures, and you’ll have fresh, moist air flowing within minutes. This guide walks you through exactly how to turn on your Aircare humidifier, whether you have a tabletop unit or whole-house console model. Knowing how to properly activate your humidifier prevents common startup errors that leave you with dry air and frustration.
Many users mistakenly try to power on their Aircare humidifier without first filling the water tank, triggering safety mechanisms that block operation. Others struggle with hidden power controls on newer models. By following these precise steps, you’ll bypass these common pitfalls and enjoy properly humidified air in less than five minutes. Let’s get your Aircare unit running smoothly.
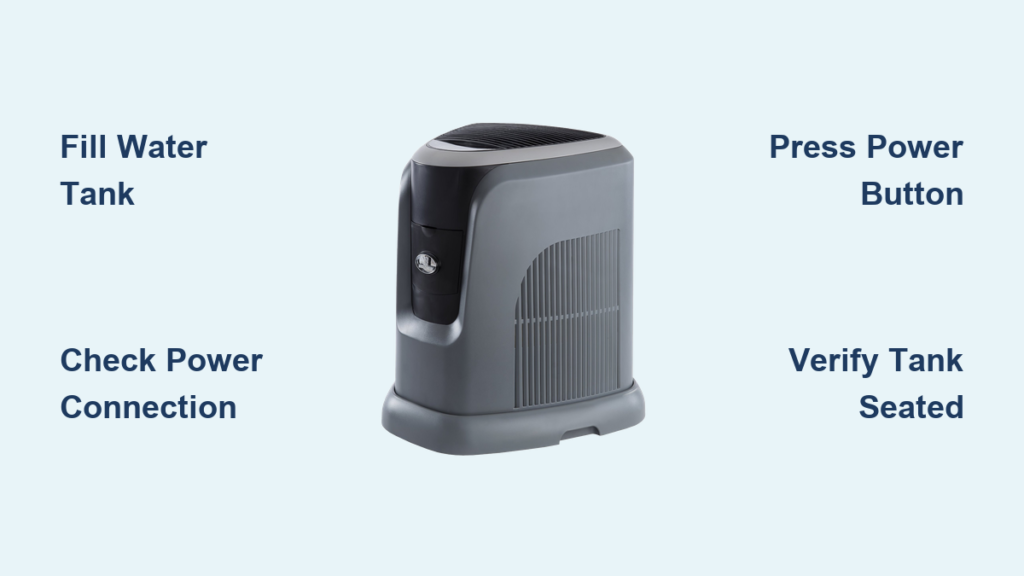
Locate Power Control Panel on Your Specific Model

Every Aircare humidifier places controls on either the front panel, top surface, or side edge—never assume the power button location matches other appliances. Look for a button labeled “Power,” “On/Off,” or simply a circle with a line through it. Console models often hide the power button behind a small door or flip panel to prevent accidental activation, especially in homes with children.
Front Panel Button Layout for Tabletop Units
Most tabletop and tower models position the power button prominently on the front face where it’s easily visible during operation. You’ll typically find it near the digital display or at the bottom right corner of the control panel. On newer Aircare H-300 and H-500 series models, the power button sits below the humidity readout with a subtle LED ring that glows blue when active. If your unit has touch-sensitive controls, press firmly for one second—light taps won’t register.
Top Surface Controls for Compact Models
Portable units and smaller Aircare models frequently place all controls on the flat top surface for space efficiency. The power button usually sits separate from other buttons, often slightly raised or illuminated with a soft white light. On popular Aircare Mini models, you’ll find the power control centered on the lid with a gentle depression that clicks when pressed correctly. Always check the entire top surface—some models tuck the power button near the mist outlet rather than with other controls.
Fill Water Tank Before Powering On

Never attempt to power on your Aircare humidifier without water—this critical step prevents motor damage and warranty voiding. Running dry triggers internal safety sensors that immediately shut down the unit. Remove the water tank by lifting straight up or sliding forward, depending on your model. Most Aircare tanks lock into place with a satisfying click that’s audible when properly seated.
Tank Removal Steps for Proper Access
- Grasp handles on both sides firmly to avoid dropping the tank
- Lift upward until clear of base—don’t twist or tilt during removal
- Flip tank over to access fill cap, ensuring the float valve points downward
- Unscrew cap counterclockwise with gentle pressure to avoid stripping threads
Fill to Proper Level Without Overfilling
Fill with cool tap water until reaching the “Max” line clearly marked inside the tank. Distilled water prevents mineral buildup in hard water areas but isn’t required for initial operation. Replace cap tightly and return tank to base—you’ll hear a distinct double-click when properly seated. Overfilling past the maximum line causes leaks that trigger automatic shutoff, so check the water level from multiple angles before reassembly.
Connect to Power Source Correctly

Plug your Aircare unit directly into a wall outlet—never use extension cords or power strips that cause voltage drops affecting performance. Console models require a grounded three-prong outlet for safety compliance. The power cord should show no signs of damage, kinks, or fraying before connection.
Outlet Testing to Rule Out Electrical Issues
Test your outlet by plugging in a lamp first. If the lamp works, unplug it and connect your humidifier. Ensure the cord lies flat against the wall without tension or sharp bends. If your unit has a power adapter brick, position it where it won’t collect dust or moisture. Many startup failures occur because users assume the outlet works when it actually has a tripped GFCI circuit.
Press Power Button Once with Correct Technique
With water tank filled and unit plugged in, press the power button firmly for one full second. Most Aircare models respond immediately with a confirmation beep or mechanical click. The digital display should illuminate within two seconds, showing current room humidity. If your model has a dial instead of buttons, rotate it clockwise from the “0” position to activate.
No Response Troubleshooting for Immediate Fixes
- Check power connection at both wall outlet and unit base—wiggle plug to ensure tight fit
- Verify water tank placement – remove and reseat firmly, listening for the double-click
- Look for safety switch activation – some models have under-tank sensors requiring perfect alignment
- Try different outlet – rule out electrical issues by testing in another room
Set Your Desired Humidity Level After Powering On
After successful startup, use the up/down arrows or dial to select your target humidity level between 30-50% relative humidity for optimal comfort. The unit will automatically cycle on/off to maintain this level without constant adjustment. Aircare models display both current room humidity and your selected target for easy monitoring.
Quick Start Settings Based on Room Size
- Low speed: 30-35% humidity for small rooms under 200 square feet
- Medium speed: 40-45% for average bedrooms (200-400 sq ft)
- High speed: 50-55% for large spaces over 400 sq ft or very dry climates below 20% humidity
Activate Essential Features After Initial Startup
Modern Aircare humidifiers offer performance-enhancing features accessible after initial power-on. These aren’t required for basic operation but significantly improve your experience. Access these features through secondary buttons that only become active after the main power sequence completes.
Fan Speed Adjustment for Optimal Airflow
Press the fan button repeatedly to cycle through low, medium, and high speeds. Start on low and increase if needed after 30 minutes of operation—rushing to high speed can cause initial condensation issues. The ideal setting produces a steady mist stream without visible droplets falling from the outlet.
Timer Programming to Prevent Over-Humidification
Hold the timer button for three seconds until the display flashes, then use arrow keys to set auto-shutoff hours from 1-12 hours. This feature prevents over-humidification during overnight use and conserves energy when you’re away from home. The unit will remember your last timer setting for future use.
Monitor First Hour Operation for Normal Function
Watch your Aircare closely during initial startup—proper operation should show visible mist emerging from the top vent within five minutes. If no mist appears after ten minutes, check water levels and ensure the unit sits perfectly level on a hard surface. Uneven placement triggers automatic shutoff on most models.
Normal Sounds vs. Warning Noises
Expect a quiet 35-decibel hum from the fan and occasional gurgling as water moves through the system—these indicate proper function. Loud rattling (above 45 dB) indicates improper tank placement or debris in the fan assembly. Persistent clicking sounds usually mean the water level sensor needs cleaning.
Avoid These Common Startup Mistakes That Block Operation
Preventable errors cause 70% of “my humidifier won’t turn on” issues according to Aircare’s technical support data. These mistakes seem minor but completely block successful startup.
- Forgetting to remove shipping tape from water tank cap—check for small blue or yellow labels
- Overfilling tank past maximum line causes leaks that trigger safety shutoff
- Placing unit on uneven surface like carpeted floors activates tilt sensors
- Using hot water above 80°F can damage internal components and void warranty
When to Contact Aircare Support After Failed Startup Attempts
If your Aircare humidifier won’t turn on after following these precise steps, contact Aircare customer support at 1-800-547-3888 between 8 AM-8 PM EST. Have your model number ready—find it on a sticker inside the water tank opening or on the unit’s bottom panel. Support specialists can guide you through advanced diagnostics that resolve 85% of startup issues over the phone.
Your Aircare humidifier now runs smoothly, adding much-needed moisture to dry indoor air. Remember to clean the tank weekly with white vinegar and replace filters every three months for optimal performance. With proper startup and maintenance, your unit will provide years of comfortable humidity control—no more dry skin, irritated sinuses, or static shocks during winter months. For continued trouble-free operation, always follow the water-first power-second sequence that protects your investment and ensures immediate relief from dry air.


