
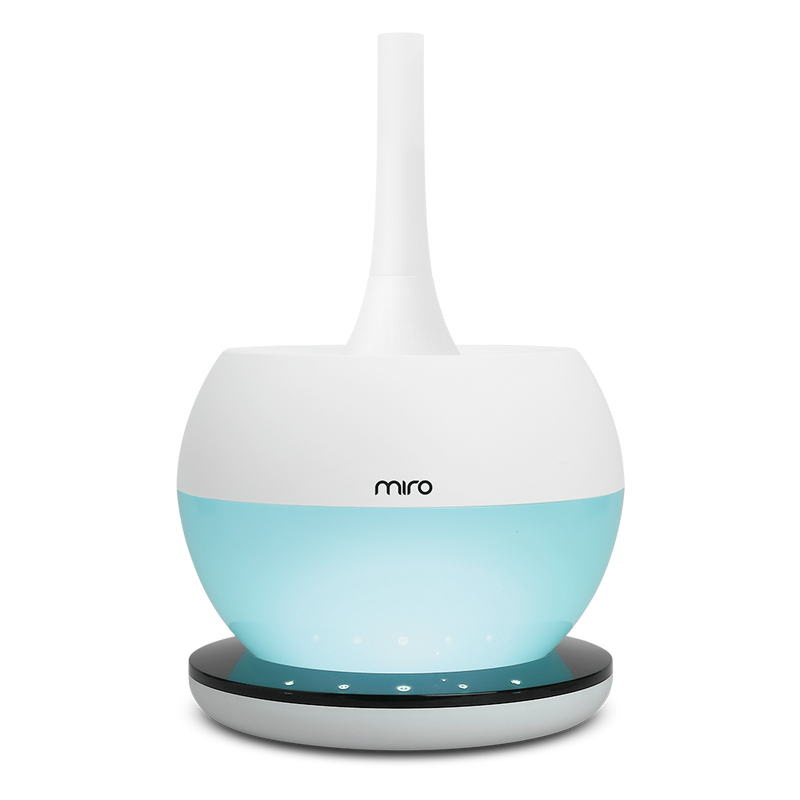
Your new Miro humidifier promises to transform your indoor air quality, but improper setup can undermine its benefits. These sleek modern units combine health-focused engineering with user-friendly operation, yet many users struggle with basic placement and preparation that affects performance. Whether you’ve chosen the compact NR07, advanced NR08, powerful NR MAX, or high-performance MH7000 model, proper setup ensures you’ll experience cleaner, more comfortable air within minutes of unboxing.
This guide delivers the exact steps to configure your Miro humidifier correctly the first time, avoiding common mistakes that lead to reduced effectiveness or premature wear. You’ll learn model-specific considerations while mastering the universal setup principles that apply across Miro’s entire product line—getting you immediate relief from dry air without the frustration many users face.
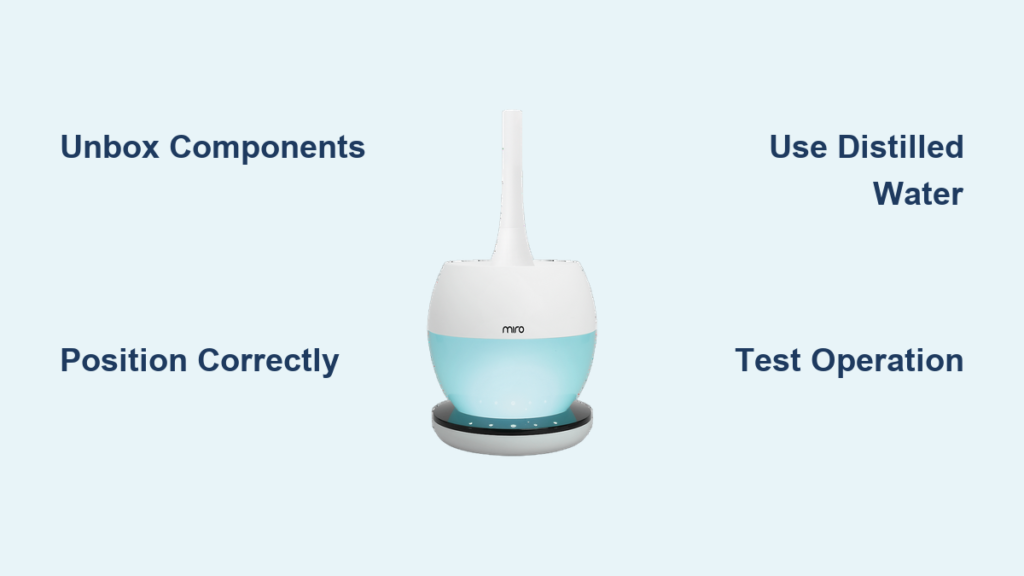
Unbox and Identify Your Miro Model Components

Model-specific packaging ensures you have everything needed—no additional purchases required for immediate operation. Miro’s commitment to accessibility means every model arrives with complete setup components tailored to its specific design.
Essential Components Checklist by Model
- NR07 Series: Main unit with contemporary design, water reservoir, base with ultrasonic mechanism, power adapter, cleaning brush, user manual
- NR08 Series: Advanced control panel unit, larger capacity water tank, specialized base unit, power cable, maintenance tools, quick-start guide
- NR MAX: Professional-grade main unit, high-capacity reservoir system, reinforced base with enhanced safety features, heavy-duty power adapter
- MH7000: High-performance humidifier body, multi-chamber water system, premium base unit, specialized cleaning kit, comprehensive documentation
Pro tip: Before discarding packaging, verify all components match your model specifications. Miro’s thoughtful packaging often secures smaller accessories in molded compartments that might be overlooked during initial unboxing.
Critical Pre-Setup Inspection Points
- Confirm model identification: Match the unit’s label to your purchase documentation (NR07, NR08, NR MAX, or MH7000)
- Check for shipping damage: Inspect water reservoirs for cracks and base units for dents that could affect performance
- Examine electrical components: Verify power cords show no signs of damage or fraying
- Review included documentation: Each model comes with specific setup instructions reflecting its unique features
Position Your Miro Unit for Maximum Airflow and Safety

Strategic placement directly impacts your humidifier’s effectiveness—poor positioning reduces coverage area and creates potential safety hazards. Miro’s safety-integrated design includes automatic shut-off features, but proper placement remains essential for optimal performance.
Model-Specific Placement Guidelines
- NR07 & NR08 Series: Ideal for bedrooms and medium-sized rooms (up to 300 sq ft); position 3-4 feet from sleeping areas
- NR MAX: Designed for larger spaces (up to 700 sq ft); central placement in open floor plans maximizes coverage
- MH7000: Best for professional or high-ceiling environments; requires elevated placement for proper mist distribution
Critical Distance Measurements for All Models
- Minimum 24 inches from walls: Prevents moisture damage to surfaces and ensures proper air circulation
- At least 36 inches from electronics: Protects sensitive devices from potential moisture exposure
- Never place on carpet: Always use hard, waterproof surfaces to prevent water damage
- Avoid direct HVAC vent exposure: Prevents interference with both your humidifier and heating/cooling systems
Warning: Never position your Miro humidifier where children or pets can access it—despite safety features, accidental tipping could cause water damage.
Prepare Water System for First Use
Initial cleaning is non-negotiable—manufacturing residues can compromise air quality and reduce your humidifier’s lifespan. Miro’s hygiene-engineered design requires proper preparation to activate its health-promoting benefits.
Model-Adapted Cleaning Procedure
- NR07/NR08: Remove the transparent water tank, fill with warm water, gently swirl for 30 seconds, then empty completely
- NR MAX: Detach the large-capacity reservoir, wipe interior with soft cloth, then perform two complete water flushes
- MH7000: Follow the specialized cleaning sequence in your manual for the multi-chamber system
Water Quality Requirements Across All Models
- Distilled or filtered water only: Miro’s health-focused engineering performs best with low-mineral content water
- Never use tap water: High mineral content creates white dust and damages ultrasonic components
- Room temperature water: Cold water reduces mist production efficiency
- No additives: Essential oils or medications compromise Miro’s hygiene engineering
Expert note: Hard water areas require strict adherence to distilled water use—your Miro humidifier will maintain peak performance and longevity while delivering cleaner air.
Power Connection and Initial Operation Test

Electrical setup must follow Miro’s safety specifications—improper connections void warranties and create potential hazards. Each model includes voltage-specific components designed for reliable, safe operation.
Safe Power Activation Steps
- Verify voltage compatibility: Confirm your model matches your region’s electrical standards (120V for North America)
- Direct wall connection: Never use extension cords or power strips with any Miro model
- Secure adapter seating: Ensure the power adapter clicks firmly into the base unit port
- Initial power test: Press the main power button (location varies by model) and verify indicator lights activate
Model-Specific First-Use Verification
- NR07: Check for gentle humming within 15 seconds of activation
- NR08: Confirm touch controls respond immediately to input
- NR MAX: Listen for consistent ultrasonic operation without vibration
- MH7000: Verify multi-stage mist production begins within 30 seconds
Critical check: All Miro models should automatically shut off when the water tank is empty—test this safety feature during your initial operation.
Configure Settings for Your Specific Environment
Optimal humidity levels vary by room and season—Miro’s accessibility-focused design makes customization straightforward once you understand your model’s capabilities.
Model-Specific Control Features
- NR07: Basic mist control (low/medium/high) with automatic shut-off
- NR08: Advanced digital display, timer functions, and humidity level indicators
- NR MAX: Room-size optimization settings and continuous operation mode
- MH7000: Professional-grade humidity control with precision adjustment
Effective Initial Configuration
- Start at minimum setting: Run for 2 hours to assess baseline performance
- Use external hygrometer: Miro units perform best maintaining 30-50% relative humidity
- Adjust gradually: Increase mist output in small increments based on actual room response
- Set appropriate runtime: Match operation time to your specific needs (NR07: 4-8 hours; NR MAX: continuous)
Smart approach: Most users achieve optimal results by running their Miro humidifier during nighttime hours in bedrooms, adjusting settings based on morning comfort levels.
Establish Model-Appropriate Maintenance Schedule
Regular maintenance preserves Miro’s health-promoting benefits—neglect leads to reduced performance and potential hygiene issues. Each model requires specific care routines aligned with its engineering.
Daily Care Essentials for All Models
- Empty and rinse water tank daily
- Wipe external surfaces with dry cloth
- Check base for excess moisture
- Verify proper mist production
Weekly Deep Cleaning Protocol
- Disassemble completely: Follow model-specific instructions for tank and base separation
- Use manufacturer-recommended solution: Miro suggests specific cleaning agents for each model
- Clean ultrasonic components: Special attention to the misting plate (location varies by model)
- Rinse thoroughly: Remove all cleaning solution residue
- Air dry completely: Prevent mold growth before reassembly
Critical reminder: Never operate your Miro humidifier without completing the initial cleaning—residues from manufacturing can compromise air quality and unit performance.
Troubleshoot Common First-Use Issues
Most setup problems have simple solutions—Miro’s user-friendly design minimizes complications, but understanding common issues prevents unnecessary frustration.
No Mist Production Solutions
- Check water level: All models require minimum water levels for operation
- Verify tank seating: Improper alignment triggers safety shut-offs
- Clean misting plate: Mineral buildup blocks output (more common in NR07/NR08)
- Power cycle unit: Unplug for 60 seconds, then restart
Excessive Noise Remedies
- Level placement: All Miro models require stable, flat surfaces
- Check water temperature: Cold water increases operational noise
- Verify tank seating: Loose tanks create vibration sounds
- Clean components: Mineral deposits cause unusual operational sounds
Model-Specific Quirks
- NR07: May require 2-3 uses to reach optimal performance
- NR08: Digital display may reset during initial use—normal behavior
- NR MAX: Higher output creates more noticeable sound—still within safe limits
- MH7000: Multi-stage operation has varying sound levels during cycles
Maximize Long-Term Performance and Safety
Proper ongoing use extends your Miro humidifier’s lifespan—these units deliver years of reliable service when maintained according to their health-optimized design specifications.
Model-Adapted Best Practices
- NR07/NR08: Ideal for daily bedroom use; limit continuous operation to 8 hours
- NR MAX: Designed for extended use in larger spaces; monitor water levels
- MH7000: Professional environments benefit from scheduled operation cycles
Essential Safety Reminders
- Never leave unattended overnight: Despite safety features, supervision is recommended
- Regularly check electrical components: Inspect cords and adapters for wear
- Use only Miro-approved accessories: Third-party parts compromise safety systems
- Follow seasonal storage protocols: Proper shutdown extends unit life
Pro insight: Your Miro humidifier works best when integrated with other healthy home practices—pair it with regular ventilation and air quality monitoring for comprehensive indoor environment management.
Your Miro humidifier is now correctly configured to create a healthier, more comfortable living space. By following these model-specific setup guidelines, you’ve activated the full potential of Miro’s health-focused engineering while ensuring safe, efficient operation. Remember that proper maintenance—not just initial setup—determines long-term performance, so incorporate the recommended cleaning routines into your household schedule.
The investment in correct configuration pays immediate dividends through improved air quality and respiratory comfort, with ongoing benefits that last throughout your humidifier’s lifespan. Start with these fundamentals, then fine-tune based on your home’s specific needs and seasonal changes for optimal year-round performance.


