
That first dry cough when you wake up. The static shock when you touch a doorknob. You bought your Carepod humidifier to fix these problems, but now it’s sitting unused because you’re unsure where to start. Many new owners make critical mistakes in the first 48 hours—using tap water that creates white dust clouds, placing it too low causing floor puddles, or skipping the simple alignment step that prevents leaks.
This guide cuts through the confusion with model-specific instructions straight from Carepod’s engineering specs. You’ll discover why distilled water isn’t optional (it prevents internal damage), the exact 2-foot elevation rule that stops floor moisture, and how to activate sanitization cycles that kill 99.9% of bacteria. Whether you own the Cube Plus, One Plus, One, or Mini model, these steps transform your humidifier from a confusing gadget into your most reliable comfort tool within 10 minutes.
Perfect Placement and Assembly Checklist
Why Your Surface Choice Makes or Breaks Performance
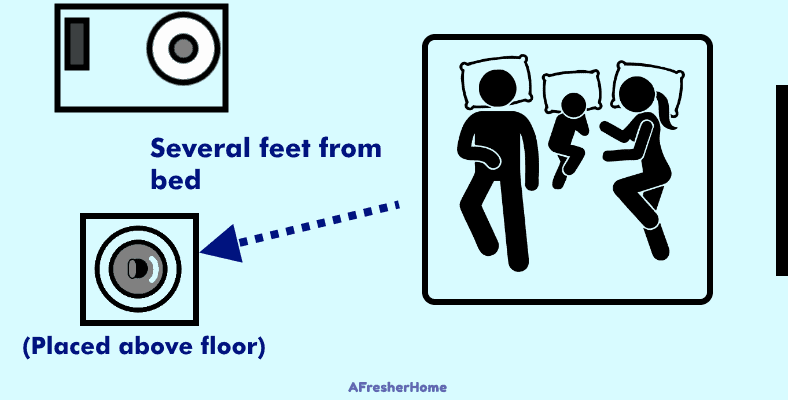
Place your Carepod on any solid surface minimum 24 inches above floor level—nightstands, desks, or kitchen counters work perfectly. This elevation isn’t arbitrary; it leverages natural air currents to distribute mist evenly through your room instead of pooling moisture on floors. Never position it directly on carpeted surfaces or near electronics where condensation could cause damage. The ideal spot has 6 inches of clearance on all sides for unobstructed airflow.
Critical Water Quality Protocol
Tap water will destroy your humidifier within weeks. Minerals in standard tap water crystallize during ultrasonic vibration, creating fine white dust that coats your furniture and clogs internal mechanisms. Always refill with distilled or filtered water only—this extends your device’s lifespan by years and ensures you’re breathing pure moisture. If distilled water isn’t available, use a basic countertop filter pitcher as a minimum standard.
Four-Step Assembly That Prevents 90% of Leaks
Follow this sequence for leak-proof operation:
1. Align tank lips – Match the stainless steel rim precisely with the base unit’s edge
2. Seat inner lid – Press the white center knob firmly until you hear a distinct click
3. Verify silicone seal – Run your finger around the lid’s perimeter ensuring no gaps
4. Insert wand correctly – Place the white oscillating wand vertically into its slot
Model-Specific Operation Secrets
Carepod One Plus: Hidden Settings You’re Not Using
Most users miss these critical features:
– Dark Mode activation: Hold any button for 2 seconds to silence lights while keeping alert sounds
– Optimal mist levels: Start at Level 1—higher settings cause floor moisture in rooms under 300 sq ft
– Timer trick: Set 4-hour cycles during daytime, 8-hour for overnight to prevent over-humidification
The gentle dripping sound you hear? That’s condensation recycling back into the tank—proof your unit operates correctly. Ignore this normal sound; it’s not a leak.
Cube Plus Sanitization Cycle Activation Guide
This premium feature requires precise steps:
1. Press and hold the Heater/Sanitize button until an audible beep confirms activation
2. Watch for solid white left LED and blinking red right LED—this means sanitization is scheduled
3. Cycle automatically triggers when water runs low, heating to 158°F-167°F (70°C-75°C)
4. Never open the tank during sanitization—steam burns are a serious risk
Daily Operation Mistakes That Cause Floor Puddles

The Level 1 Mist Intensity Rule
Starting at higher mist levels is the #1 cause of floor moisture. Always begin with Level 1 output, especially in bedrooms under 200 sq ft. Only increase if:
– You have a room larger than 300 sq ft
– Humidity stays below 40% after 2 hours of operation
– You’ve confirmed elevated placement (2+ feet)
Humidity Balance Technique
Use this sequence for perfect moisture levels:
1. Run unit for 1 hour at Level 1
2. Check room humidity with a $10 hygrometer
3. If below 45%, increase to Level 2 for 30 minutes
4. Never exceed 60% humidity to prevent mold growth
Weekly Cleaning That Takes 5 Minutes
Disassembly Sequence for Damage Prevention
Rushing cleaning causes wand breakage. Instead:
1. Lift tank straight up—no twisting
2. Pull inner lid using the white knob only (never the edges)
3. Grip wand base—only handle the white plastic portion
The Wand Cleaning Danger Zone
Critical warning: Only clean the bottom half of the white wand. The top 1/3 contains sensitive electronics that fail if submerged. Use a soft toothbrush on stubborn mineral deposits, but never scrub near the connection point. For sterilization, dip only the base in boiling water for 1-2 seconds maximum.
Troubleshooting Emergency Fixes
Water Leaking Under Tank: The Alignment Triad
Leak? Immediately check these three points:
1. Tank lip alignment – Must form a seamless seam with the base unit
2. Inner lid seating – Push white knob until you feel resistance
3. Silicone ring position – Should sit flush against the lid’s outer edge
Reassemble in this order: tank → inner lid → wand. Skipping steps causes 80% of leaks.
Colored Spots on White Wand: Mineral Deposit Protocol
Pink or brown spots indicate mineral buildup. Fix with:
– Immediate switch to distilled water
– Weekly wand cleaning with soft toothbrush
– Boiling water dip (base only) for 2 seconds
– Never use vinegar or harsh cleaners—they degrade ultrasonic components
Maintenance Schedule That Doubles Lifespan
The 5-Minute Weekly Ritual
Set a recurring phone reminder for these non-negotiable steps:
– Disassemble entire unit
– Hand-wash tank and lid with mild soap
– Clean wand base with soft sponge
– Sterilize components (tank/lid in boiling water 2-3 min, wand base 1-2 sec)
– Air-dry completely before reassembly
Monthly Inspection Checklist
Grab a flashlight and check:
– Silicone seal for cracks or warping
– Power cord for fraying near plug
– Air vents for dust accumulation
– Wand oscillation smoothness (should move freely)
Warranty Claims That Get Immediate Approval
2-Year Wand Coverage Activation
Your white oscillating wand has extended protection—but only if:
– You register online within 30 days of purchase
– Use distilled/filtered water exclusively
– Provide video proof of proper cleaning
Submit claims with these three required elements:
1. Original order number
2. 15-second video showing the issue
3. Photo of your water source (must show distilled/filtered label)
Your 3-Step Routine for Flawless Operation
Master these habits to avoid 95% of Carepod problems:
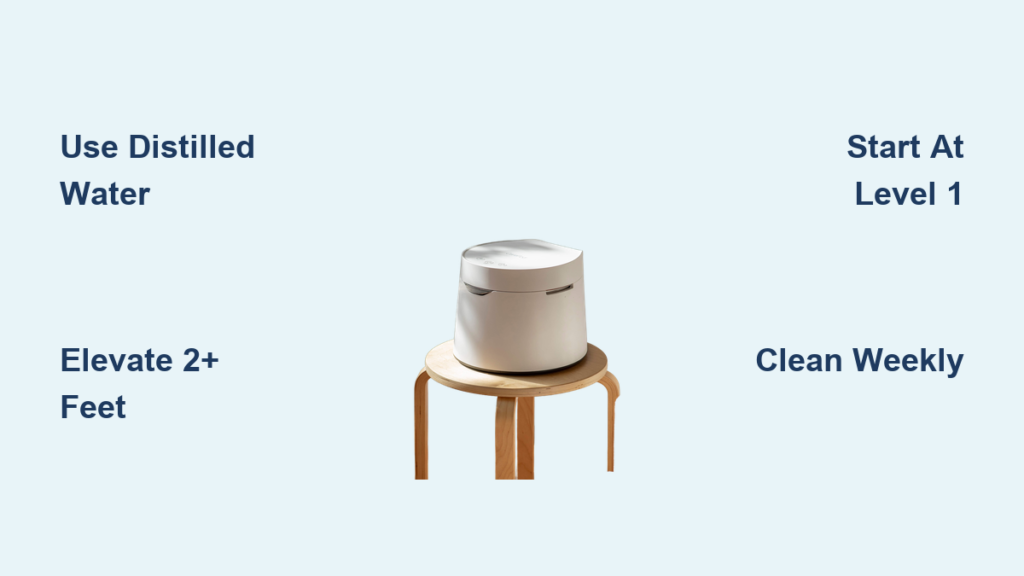
1. Elevate and distill – Always place 2+ feet high with distilled water
2. Start low, go slow – Use Level 1 mist intensity and 4-hour timer cycles
3. Clean weekly, not monthly – Dedicate 5 minutes every Sunday for sterilization
This routine prevents the white dust that plagues competitors and eliminates floor moisture issues. Within 48 hours of implementing these steps, you’ll wake up without dry throat or static shocks—proof your humidifier finally works as designed. Bookmark Carepod’s official video library for model-specific tutorials, and check your warranty status monthly to ensure coverage. Your perfectly humidified home isn’t just possible—it’s effortless when you know how to use your Carepod humidifier correctly.


