
Is your Blueair air purifier’s filter indicator light glowing orange or red? That’s your unit’s urgent signal that it’s time for a Blueair air purifier filter change. When filters become saturated with dust, pollen, and other airborne particles, your air purifier can’t effectively clean your indoor air—leaving you breathing pollutants that trigger allergies and respiratory issues. Most Blueair filters need replacement every 6-12 months depending on usage, but the filter indicator light provides the most accurate timing for your specific environment. This comprehensive guide delivers model-specific instructions for completing your Blueair filter change correctly the first time, whether you own a Classic series, Blue Pure model, or the newer 311 Auto.
Knowing exactly how to perform a Blueair air purifier filter change prevents common mistakes that compromise air quality and damage your unit. Many homeowners waste money on third-party filters that don’t fit properly or skip the critical reset step, causing the filter indicator to remain lit despite having a fresh filter. Understanding your specific model’s requirements—and following the precise replacement sequence—ensures your air purifier continues delivering hospital-grade air filtration. You’ll learn not just when and how to change your filter, but how to select the right replacement type and troubleshoot common post-replacement issues.
Why Your Blueair Filter Light Turns Orange and What It Means
That glowing orange light on your Blueair unit isn’t just a suggestion—it’s your air purifier’s urgent alert that filter replacement is needed immediately. Blueair’s smart sensors track actual runtime and airflow resistance, triggering the orange indicator when filtration efficiency drops below optimal levels. Ignoring this warning means your unit works harder while cleaning your air less effectively, potentially circulating trapped particles back into your breathing space.
You’ll notice additional signs that confirm your filter needs changing beyond the indicator light. Reduced airflow even at maximum fan speed, increased dust accumulation on surfaces, and worsening allergy symptoms all signal a saturated filter. Some Blueair models also send app notifications when replacement time arrives—don’t ignore these digital reminders. Never wait for the light to turn red, as this indicates the filter has completely lost effectiveness and your air quality is significantly compromised.
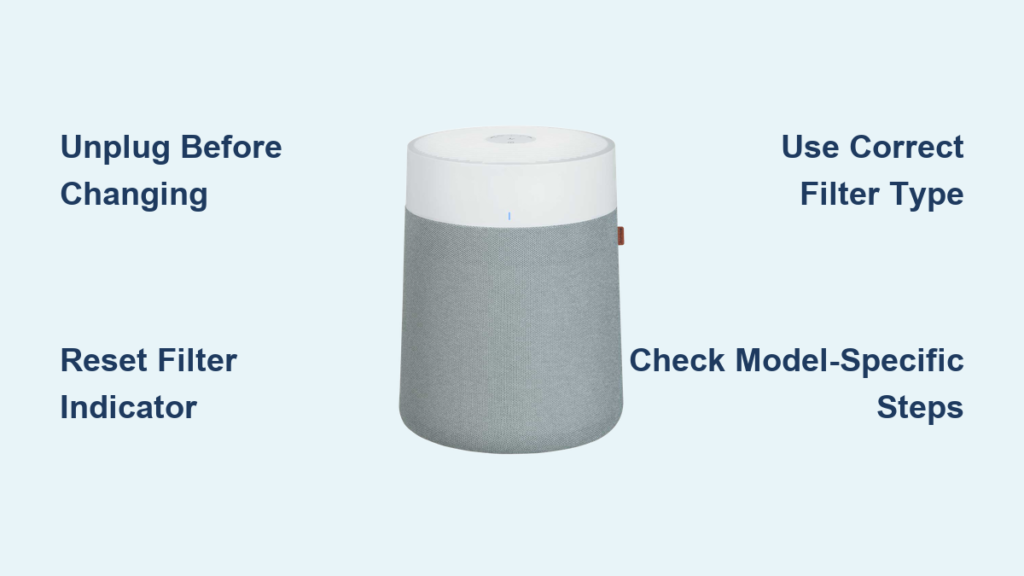
Critical Safety Steps Before Starting Your Blueair Filter Replacement
Always unplug your Blueair air purifier before beginning any filter replacement procedure. This non-negotiable safety step prevents electrical shock and protects you from moving internal components. Never attempt a Blueair filter change while the unit remains connected to power—this risks severe electrical hazards and could release trapped pollutants directly into your breathing space.
When removing the old filter, handle it carefully over a trash can or outside to avoid dispersing accumulated dust and allergens. Consider wearing a mask during filter replacement if you have respiratory sensitivities, as disturbed particles can trigger immediate reactions. Remember that Blueair filters are not washable or reusable—proper disposal in a sealed plastic bag prevents recirculation of captured contaminants. Never use compressed air to “clean” a used filter, as this damages the filtration media and releases fine particles into your environment.
How to Identify Your Exact Blueair Model for Correct Filter Selection

Your Blueair model number determines the precise filter type you need—using the wrong filter compromises performance and may damage your unit. Locate your model number on the bottom or back label of your air purifier (not just the series name like “Classic” or “Blue Pure”). For example, “Blue Pure 211+” requires different filters than “Blue Pure 211i Max” despite similar naming.
Check Blueair’s official filter compatibility chart before purchasing replacements. Particle + Carbon filters ($23.99-$69.99 depending on model) work for general use, while AllergenBlock ($37.99-$89.99) targets pollen and pet dander, and SmokeBlock ($31.99-$84.99) handles wildfire smoke and cooking odors. Pre-filters (available in various colors for $7.99-$14.99) serve as the first defense against large particles but don’t replace the main filter. Never use third-party filters, as they often lack proper certification and can void your warranty.
Classic 200/400 Series Filter Change: Simple Back Door Access Method
Replacing filters in Classic 200 and 400 series models takes just 3 minutes with the right technique. First, press the release latch on the back door and swing it open to access the filter compartment. Pull out the used filter while noting its orientation—filters have specific “out/up” markings that must face correctly during installation.
Before inserting the new filter, use a soft brush vacuum attachment to clean dust from the compartment walls. Insert the replacement filter with the label facing outward, ensuring it seats fully with no gaps. Close the back door until it clicks securely. The orange filter light remains on until you complete the reset: press and hold the filter indicator button for exactly 5 seconds until the light turns off. Common mistake: Forgetting to reset the indicator leaves the light illuminated even with a new filter.
Classic 500/600 Series Filter Change: Replacing All Three Filters Correctly
The Classic 500 and 600 series require replacing three separate filters—a top filter plus two side filters—making correct orientation critical. Start by releasing the latches on both sides and lifting off the entire top lid. Remove the top filter first, then carefully extract both side filters while noting their positioning.
Insert the two side replacement filters with the “out/up” labels facing outward toward the unit’s sides. Place the third filter in the top slot with its “out/up” marking facing upward. Snap the lid back into place, ensuring both latches engage fully. After powering on, reset the filter indicator by holding the button for 5 seconds. Critical tip: Installing any filter backward restricts airflow and reduces filtration efficiency by up to 40%.
Blueair 311 Auto Filter Replacement: Rear Panel Access Technique
The 311 Auto model’s rear-mounted filter compartment requires specific handling to avoid damage. With the unit unplugged, locate the rear panel and gently slide or lift it according to your specific model’s design. Carefully pull out the used filter while noting its exact position—these filters have a specific orientation that affects airflow.
Align the new filter with the compartment slot and slide it in firmly until it clicks into place. Reattach the rear panel securely, ensuring it locks completely to maintain proper airflow paths. Power on the unit and verify the filter life counter resets via the Blueair app. Warning: Forcing the panel closed can crack the housing—apply gentle, even pressure until it snaps securely.
How to Reset Filter Indicator Lights After Blueair Filter Change
Different Blueair models require specific reset procedures after your filter change. For Classic series units (200, 400, 500, 600), press and hold the filter indicator button for exactly 5 seconds until the light turns off. Blue Pure series models need a 15-second press of the Fan Speed button instead. WiFi-connected models also allow app-based resets through the device settings menu.
If the light remains orange after resetting, unplug the unit for 5 minutes to perform a soft reset, then repeat the indicator reset process. Key insight: The reset must happen immediately after filter installation—delaying resets confuses the unit’s internal timer and gives inaccurate replacement alerts.
Troubleshooting: Red Filter Light Won’t Reset After Replacement

A persistent red filter light after replacement indicates either improper reset technique or unrecognized filter installation. First, confirm you’re holding the correct button for the full duration—15 seconds for Fan button on most models. If unsuccessful, perform a full restart: unplug for 5 minutes, plug back in, set to standby mode, then attempt the 15-second reset again.
When standard methods fail, execute a factory reset by holding the power button for 15-30 seconds until LEDs blink four times. After the second blink sequence, the filter indicator should clear. Important: Factory reset disconnects WiFi—reconnect through the Blueair app afterward. Never ignore a red light, as it means your unit operates with compromised filtration.
Choosing the Right Blueair Replacement Filter for Your Specific Needs
Selecting the appropriate filter type transforms your air purification results. Particle + Carbon filters capture general dust and odors through dual-layer filtration. AllergenBlock filters add anti-allergen treatment that traps pollen and pet dander more effectively. SmokeBlock filters contain enhanced carbon for wildfire smoke and cooking odors.
Match filter type to your primary air quality concern: choose AllergenBlock if someone in your household has allergies, SmokeBlock for wildfire season or heavy cooking, and Particle + Carbon for general household use. Pro tip: Blueair’s Subscribe & Save program offers 15% off automatic filter deliveries, ensuring you never miss a replacement while saving money.
Blueair Filter Change Schedule: When Exactly to Replace (Not 6 Months)
While Blueair suggests 6-12 month replacements, your actual schedule depends on specific factors. Homes with pets, smokers, or high pollen exposure may need changes every 3-4 months. Units running continuously in polluted environments require more frequent changes than those used occasionally in clean spaces.
The filter indicator light provides the most accurate replacement timing based on actual usage. Critical insight: Resetting the indicator after each change calibrates the timer to your specific environment—never ignore or disable this feature. Track your actual replacement frequency for one year to establish your personalized schedule, as manufacturer estimates often don’t match real-world conditions.
Final Note: Consistent Blueair air purifier filter changes maintain optimal indoor air quality and extend your unit’s lifespan. Always use genuine Blueair filters for proper fit and certification, reset the indicator immediately after installation, and consider the Subscribe & Save program for automatic deliveries at 15% off. When performed correctly, your Blueair filter change takes less than 5 minutes but ensures months of cleaner, healthier air for you and your family.


