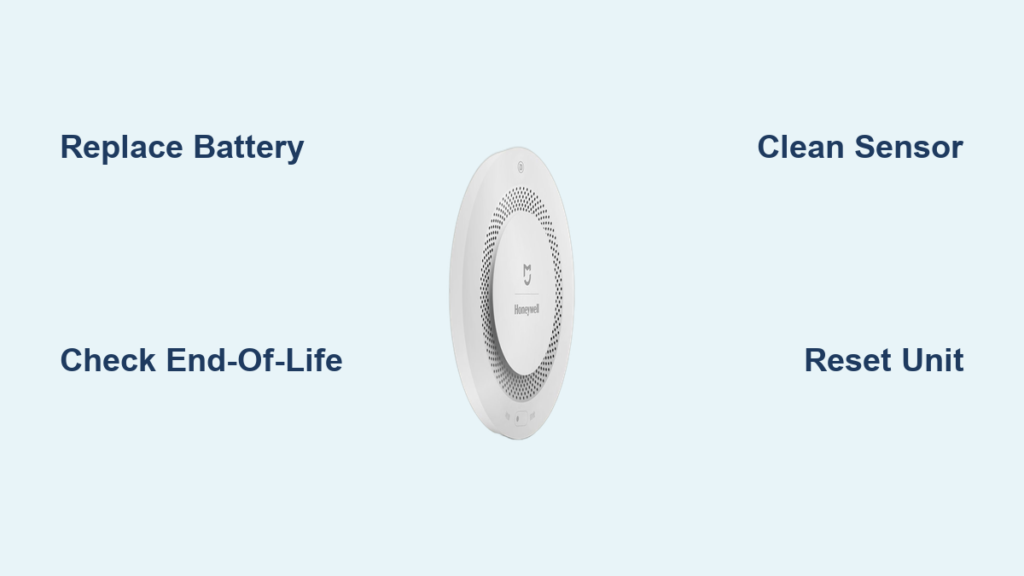
Your Honeywell smoke detector beeping can be more than just a nuisance. It can signal a serious safety issue or a simple maintenance need. Whether it is chirping once every 30 to 40 seconds or sounding a continuous alarm, understanding why your unit is beeping is crucial for home safety. Most beeping comes from low batteries, dust buildup, end-of-life warnings, or interference from other devices. The good news is that you can diagnose and fix the problem in under 15 minutes with basic tools.
This guide walks you through every possible cause of a beeping Honeywell smoke detector, how to identify which one applies to your unit, and step-by-step solutions to stop the noise for good. You will also learn how to reset your detector, replace batteries correctly, and know when it is time to install a new unit.
Low Battery Warning Signs
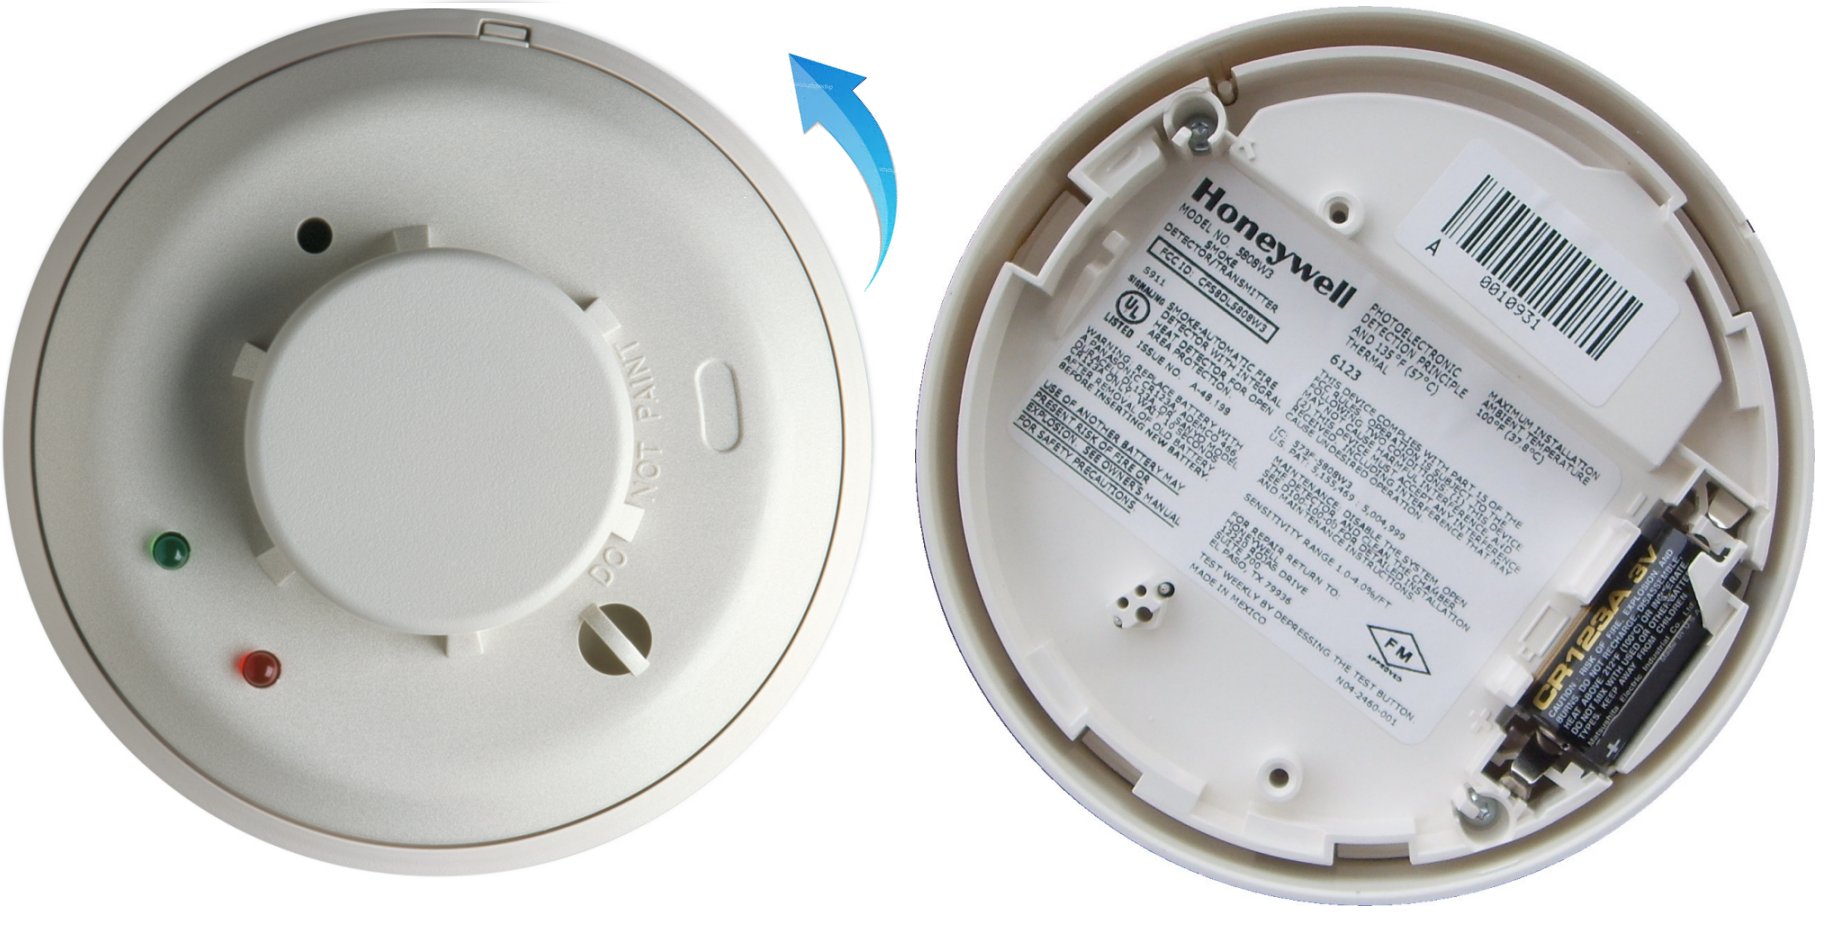
A beeping Honeywell smoke detector often means the battery is running low. This is the most common cause and usually easy to fix.
How to Identify Low Battery Beeps
Honeywell detectors emit a single chirp every 30 to 40 seconds when the battery is weak. This pattern continues until the battery is replaced. The chirp is loud enough to grab attention but spaced out to conserve remaining power. If your detector is hardwired with a battery backup, the same chirping occurs when the backup battery fails.
Visual clue: Some models, like the Honeywell 3900 series, have a yellow or amber LED that flashes with each chirp. Check your unit’s status light. If it blinks once per chirp, low battery is likely the culprit.
Replace the Battery Correctly
- Turn off power for hardwired models by switching off the circuit breaker to avoid accidental alarms.
- Remove the detector from its mounting bracket by twisting it counterclockwise.
- Take out the old battery, typically a 9V or AA depending on model.
- Insert a fresh battery with correct polarity (+/-). Use a name-brand alkaline battery for longer life.
- Reattach the unit and restore power.
- Test the detector by pressing the test button for 5 seconds.
Pro tip: Even if the battery is less than a year old, temperature changes or humidity can shorten its life. Always replace with a new, unused battery instead of testing with old spares.
Common mistake: Reversing battery polarity can prevent the unit from powering on. Double-check the battery orientation before closing the compartment.
End-of-Life Alert
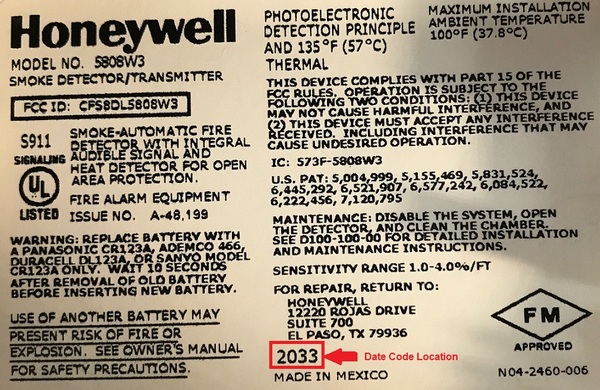
If your Honeywell smoke detector is over 10 years old, the beeping may mean it is time to replace the entire unit.
Recognize End-of-Life Chirping
When a Honeywell smoke detector reaches the end of its service life (typically 10 years), it will chirp once every minute. This is a built-in safety feature and cannot be silenced by battery replacement or resetting.
Look for the manufacture date: Check the back of the unit. The date code is usually printed in MM/YY format or as a 10-digit serial number with the first four digits indicating week and year (e.g., 1523 = week 15 of 2023). If the unit is older than 10 years, replacement is required.
Replace the Entire Unit
- Turn off power at the breaker for hardwired models.
- Unscrew the mounting bracket from the wall or ceiling.
- Disconnect wiring if hardwired, noting the black (hot), white (neutral), and yellow (interconnect) wires.
- Install the new Honeywell detector by connecting matching wires with wire nuts.
- Secure the new base and snap the detector into place.
- Insert fresh battery and restore power.
- Test the unit using the test button.
Note: Interconnected alarms will chirp together when one unit reaches end-of-life. Replace the oldest unit first, then test the others.
False Alarms from Dust or Debris
Dust, insects, or cooking fumes can trigger false beeping or intermittent alarms in Honeywell detectors.
Clean the Smoke Chamber
Dirt inside the sensing chamber can mimic smoke particles, causing false alerts.
What you’ll need: Soft brush, compressed air, vacuum with brush attachment.
Steps to Clean Safely
- Remove the detector from its mount.
- Use compressed air to blow out vents. Hold the can 6 inches away and spray in short bursts.
- Gently brush vents with a soft toothbrush to dislodge stubborn debris.
- Vacuum around openings to remove loosened particles.
- Wipe exterior with a dry cloth. Never use cleaners or water.
Warning: Do not open the internal chamber. Tampering voids the warranty and may damage sensors.
Prevention tip: Clean detectors every 6 months, especially in kitchens or dusty environments.
Power Interruptions and Surges
Hardwired Honeywell detectors may beep after a power outage or electrical surge.
Restore Stable Power
After a blackout, the unit may chirp due to interrupted power or a low backup battery.
Reset After Power Loss
- Check the circuit breaker to ensure power is restored to the detector’s circuit.
- Press and hold the test/silence button for 10 to 15 seconds to reset.
- Wait 30 seconds. The unit should stop beeping and resume normal operation.
- Replace backup battery if chirping continues.
Note: Some models, like the Honeywell 3910, chirp briefly after power returns. This is normal and should stop within 5 minutes.
Interference from Other Devices
Beeping can occur when your Honeywell detector picks up interference from nearby electronics or other alarms.
Diagnose Signal Conflicts
Microwaves, fluorescent lights, or poorly shielded wiring can emit electromagnetic noise that affects detectors.
Isolate the Problem
- Turn off nearby electronics one at a time to see if beeping stops.
- Check for flickering lights, which may indicate electrical noise.
- Relocate or shield devices causing interference.
Pro tip: Install detectors at least 3 feet away from appliances, vents, or ceiling fans to reduce false triggers.
Improper Installation Issues

A beeping detector may result from incorrect mounting or wiring.
Verify Mounting and Wiring
Check Physical Installation
- Ensure the unit is fully seated on the mounting bracket.
- Confirm it twists securely. A loose fit can interrupt power or trigger fault alerts.
- Make sure it is not installed in a dead air space, such as corners or peaks of vaulted ceilings.
Inspect Wiring (Hardwired Models)
- Black wire = hot (should be connected)
- White wire = neutral
- Yellow wire = interconnect (links multiple alarms)
Common mistake: Disconnecting the yellow wire during replacement can disable interconnected alarms. Always reconnect unless replacing all units.
Fix: If wires are loose, turn off power, reconnect with wire nuts, and secure in the electrical box.
How to Silence the Beep Temporarily
Sometimes you need to stop the beeping fast, even before fixing the root cause.
Use the Silence Button
Most Honeywell models have a silence or test button that can temporarily mute alarms.
- Press and hold the button for 5 to 10 seconds.
- The unit will chirp once and stop for up to 7 minutes.
- This gives time to address smoke, clean the unit, or replace the battery.
Note: This does not fix low battery or end-of-life chirps permanently. Only a replacement will silence those permanently.
Remove Battery as Last Resort
If the beeping is unbearable and you cannot fix it immediately:
- Remove the battery only if safe to do so.
- Never leave a detector disabled overnight, as this creates a serious fire risk.
Warning: Disabling smoke alarms violates safety codes in many areas. Replace or repair within 24 hours.
Test and Maintain Your Detector
Regular testing prevents unexpected beeping and ensures reliable protection.
Monthly Testing Routine
- Press and hold the test button for 5 seconds.
- The alarm should sound loud and clear.
- If it is weak or silent, check battery, power, and connections.
Tip: Schedule tests on the first of each month. Pair it with bill payments or calendar alerts to stay consistent.
Replace Batteries Proactively
- Change 9V or AA batteries every 6 to 12 months.
- Use lithium batteries for longer life in extreme temperatures.
- Mark replacement dates on the unit with a permanent marker.
When to Call a Professional
Some issues require expert help. Do not risk DIY fixes on complex electrical systems.
Electrical Wiring Problems
If you notice any of the following, call a licensed electrician:
- Flickering detector lights
- Burning smell near the unit
- Tripped breakers when detector is connected
These signs suggest faulty wiring. Turn off power immediately and contact a professional.
Persistent Beeping After Fixes
If you have replaced the battery, cleaned the unit, reset the detector, and checked for end-of-life, and it still beeps, the internal circuitry may be damaged. Replace the unit immediately.
Frequently Asked Questions About Honeywell Smoke Detector Beeping
Why is my Honeywell smoke detector beeping every 30 seconds?
A single chirp every 30 to 40 seconds typically indicates a low battery. Replace the battery with a fresh, name-brand alkaline unit to stop the beeping. For hardwired models, this also signals a failing backup battery.
How do I stop my Honeywell smoke detector from chirping at night?
Nighttime temperature drops can trigger low-battery chirps. Replace the battery immediately, even if the unit is hardwired. Press and hold the test button for 10 to 15 seconds to reset the unit after replacement.
What does it mean when a Honeywell smoke detector beeps every minute?
A chirp every minute signals end-of-life. The unit has reached the 10-year service limit and must be replaced. Battery changes or resets will not stop this chirp.
Can dust cause a Honeywell smoke detector to beep?
Yes. Dust, insects, and debris inside the sensing chamber can cause false alerts and intermittent beeping. Clean the vents with compressed air and a soft brush every 6 months to prevent buildup.
How long do Honeywell smoke detectors last?
Honeywell smoke detectors have a service life of 10 years. After that, the sensors lose reliability, and the unit will chirp to signal end-of-life. Replace the entire unit rather than just the battery at this point.
Key Takeaways for Fixing Your Honeywell Smoke Detector
A beeping Honeywell smoke detector is never something to ignore. Most issues can be resolved quickly with battery replacement, cleaning, or resetting. However, when the unit is over 10 years old or shows signs of damage, replacement is the only safe option.
Start by identifying the beep pattern. A chirp every 30 to 40 seconds points to a low battery, while a chirp every minute signals end-of-life. If the unit is clean and has a fresh battery but still beeps, check for power interruptions or wiring issues.
Test your detector monthly, replace batteries annually, and install new units every decade. Taking these small steps keeps your alarms functional, your home safe, and your peace of mind intact.