
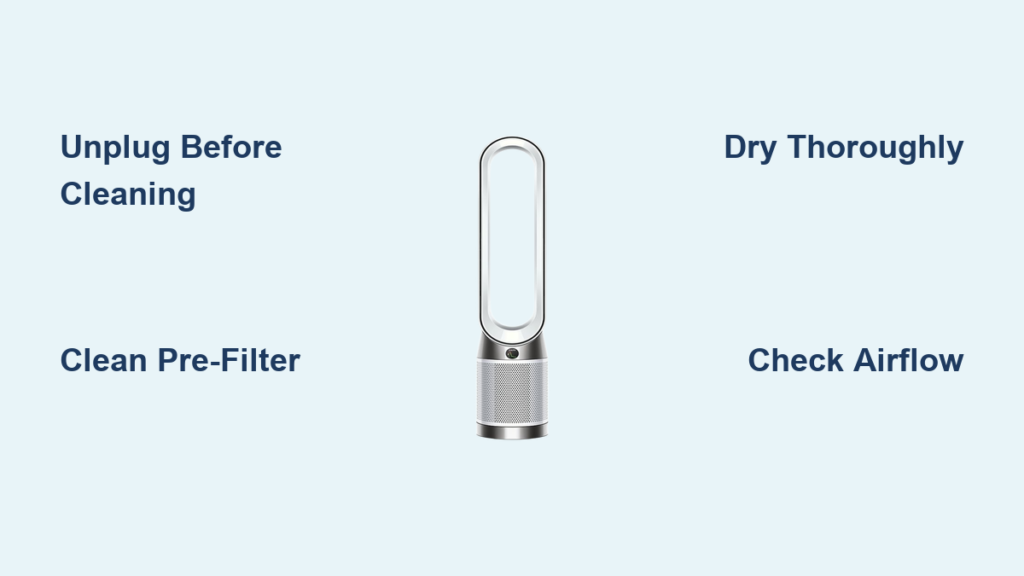
Your Dyson air purifier fan works tirelessly to remove pollutants from your home’s air, but dust, pet dander, and airborne particles gradually build up on both external surfaces and internal components. Without regular maintenance, this accumulation forces your machine to work harder while delivering less effective air cleaning. A neglected purifier can actually become a source of recontamination as trapped particles get redistributed into your living space. Proper cleaning restores optimal airflow, maintains filtration efficiency, and extends the lifespan of your investment—keeping your family breathing cleaner air day after day.
If you’ve noticed reduced airflow, louder operation, or inconsistent air quality readings, these are clear signals your Dyson needs attention. This comprehensive guide provides step-by-step instructions for safely cleaning every aspect of your air purifier fan, from routine surface maintenance to deep cleaning internal components. You’ll learn model-specific techniques that preserve your machine’s performance without risking damage during the cleaning process. Whether you’re a new Dyson owner establishing maintenance habits or troubleshooting performance issues with an existing unit, these procedures will help you maximize your purifier’s effectiveness.
Prepare Your Cleaning Toolkit Before Starting
Gather essential cleaning supplies before disassembling your Dyson air purifier to ensure a smooth, efficient process. Having everything ready prevents mid-cleaning interruptions and protects sensitive components from accidental damage. A soft microfiber cloth is essential for wiping exterior surfaces without scratching the sleek finishes Dyson is known for—never use paper towels or abrasive materials that could leave micro-scratches.
Include a small brush with soft bristles, such as a clean makeup or artist’s brush, to dislodge dust from vents, crevices, and hard-to-reach areas. For washable components, prepare a bowl of lukewarm water with a small amount of mild dish soap—avoid harsh chemicals that could degrade plastics or leave odors. Keep a dry towel nearby for immediate drying of components, and consider using a vacuum cleaner with a soft brush attachment for initial dust removal from exterior surfaces. Always have your model-specific user manual accessible, as disassembly steps vary between Dyson models and consulting the manual prevents mistakes during reassembly.
What Not to Use on Your Dyson Purifier
Avoid common cleaning mistakes that could damage your air purifier. Never spray cleaning solutions directly onto the unit, as liquid can seep into electrical components through vents and seams. Steer clear of alcohol-based cleaners, ammonia products, or abrasive polishes that can cloud or etch plastic surfaces over time. Don’t use compressed air to blow dust out of internal components, as this can force particles deeper into the unit or damage delicate sensors. Most importantly, never operate your purifier while any components are damp—thorough drying is essential before reassembly to prevent electrical issues or mold growth.
Power Down and Create a Safe Work Area
Before touching any part of your Dyson air purifier, completely unplug it from the electrical outlet—never work on a plugged-in appliance, even if it appears powered off. This critical safety step eliminates electrical shock risks and prevents accidental activation during cleaning. Allow the unit to sit unplugged for 10-15 minutes to ensure internal components have cooled completely and any stored electrical charge has dissipated.
Move your purifier to a well-ventilated workspace like a garage, patio, or over a hard floor that’s easy to clean. Lay down newspapers or old towels beneath your work area to catch falling dust and simplify cleanup. If your model includes a remote control, remove its batteries to prevent accidental activation during disassembly. Take time to examine how your specific model is constructed before removing any components—note visible seams, clips, or fasteners that will need attention during disassembly. This preliminary inspection makes reassembly significantly easier and reduces the risk of breaking fragile plastic tabs.
Remove Surface Dust from Exterior Components
Begin cleaning with the most accessible areas—the outer shell and front grille where dust accumulates visibly. Start by using a dry microfiber cloth to remove loose particles from all exterior surfaces, paying special attention to the front grille where dust tends to collect in noticeable layers. For stubborn spots or fingerprint marks, lightly dampen your cloth with water (never spray directly onto the unit) and wipe gently before following with a dry cloth.
Use your soft-bristled brush to clean between grille slats and in corners where the cloth can’t reach effectively. For models with electronic displays or touch controls, clean these areas last using a barely-damp cloth and avoiding any openings where moisture could enter. If your Dyson includes a washable pre-filter on the exterior, carefully remove it according to your manual’s instructions—many can be gently rinsed under lukewarm water, air-dried completely, and reinstalled. Never use soap on pre-filters unless explicitly approved in your user manual, as residues can affect filtration performance.
Deep Clean Internal Filters and Components

Accessing internal components requires careful disassembly but delivers the most significant performance improvements. Most Dyson air purifier fans feature a front grille that releases with a simple twist or press of release buttons—consult your manual for model-specific instructions. Work slowly when removing clipped components to avoid breaking plastic fasteners, and consider taking photos during disassembly to reference during reassembly.
Once internal components are exposed, carefully remove the filter cartridge(s) following your model’s specific instructions. Many Dyson purifiers use a combination of washable pre-filters and non-washable HEPA filters—never attempt to wash sealed HEPA filters as this damages their micro-filtration structure. For washable filters, gently rinse under lukewarm running water without scrubbing, then allow to air-dry completely for at least 24 hours before reinstalling. While filters are out, use your soft brush to remove dust from internal surfaces, being careful around electrical components and sensors.
Critical Drying Requirements
Never reassemble your purifier with damp components—this is the most common mistake that leads to electrical issues or mold growth. After cleaning washable parts, place them in a well-ventilated area away from direct sunlight. HEPA filters should never be washed, but pre-filters require thorough drying before reinstallation. A useful trick is to gently shake excess water from pre-filters before laying them flat to dry—avoid wringing or twisting which can damage the mesh structure. When in doubt about dryness, wait an extra day rather than risk moisture damage to your expensive appliance.
Clean Air Output Components and Oscillation Mechanism
The air output blades and oscillation mechanism often get overlooked but significantly impact performance. Locate the air output section—typically the central core where clean air exits the unit—and carefully remove any access panels needed to reach the blades directly. On many models, this requires additional disassembly steps beyond filter access.
Use a dry microfiber cloth to wipe each output blade individually, paying attention to both sides where dust accumulates. For stubborn buildup, lightly dampen the cloth with water (never spray directly) and wipe carefully, following immediately with a dry cloth. Never bend or force the blades during cleaning—they’re precision-engineered for optimal airflow. Clean around the oscillator pivot point where dust can accumulate and cause jerky movement or unusual noises during operation. If the oscillation feels stiff after cleaning, this may indicate internal wear rather than dirt buildup—consult Dyson support before attempting lubrication.
Reassemble and Verify Proper Operation
Reassemble your Dyson air purifier fan in reverse order of disassembly, referring to any photos you took during the process. Begin by reinstalling filters with proper orientation (look for airflow arrows), ensuring they seat completely in their housings. Replace all internal covers and panels, verifying that latches engage fully and fasteners are secure. Finally, reattach the outer shell or grille, confirming it locks into place on all sides before proceeding.
Plug in your unit and perform a thorough operational test before returning it to regular service. Run the purifier at multiple speed settings to verify normal airflow and listen for unusual noises that might indicate improper assembly. Test the oscillation function to ensure smooth rotation without resistance. If your model includes air quality monitoring, observe the sensor readings to confirm they respond appropriately to your environment. Any issues detected during testing should be addressed immediately before regular use to prevent potential damage from improper operation.
Establish a Maintenance Schedule for Peak Performance
Create a cleaning routine tailored to your home environment to maintain consistent performance. Wipe exterior surfaces weekly with a dry cloth to prevent heavy dust accumulation. Check pre-filters monthly, cleaning or replacing them as needed—homes with pets or allergy sufferers may require more frequent attention. Deep clean internal components and washable filters every three months for typical households, though high-dust environments may need monthly maintenance.
Keep a simple maintenance log tracking cleaning dates and filter replacements—this helps identify patterns in wear and signals when components may need professional service. When replacing filters, purchase genuine Dyson parts to ensure proper fit and maintained filtration efficiency. Remember that even with diligent cleaning, HEPA filters have a finite lifespan and should be replaced according to manufacturer recommendations, typically every 12-18 months depending on usage.
Regular maintenance transforms your Dyson air purifier from a passive appliance into an actively managed air quality solution. By investing just 30-45 minutes quarterly for thorough cleaning, you preserve the machine’s original performance, avoid premature replacement costs, and most importantly, ensure your family continues breathing the cleanest possible air. The simple procedures outlined in this guide empower you to take control of your indoor air quality while protecting your investment for years of reliable service.


