
That pink slime creeping into your baby’s humidifier isn’t just gross—it’s breathing trouble for your little one. When mineral deposits and mold infiltrate the mist stream, your infant inhales every particle with each breath. The Centers for Disease Control specifically warns that contaminated humidifiers can trigger asthma attacks and respiratory infections in babies. But here’s the good news: following this precise how to clean Frida baby humidifier routine takes less time than your morning coffee run. In just minutes daily and 20 minutes weekly, you’ll eliminate 99% of contamination risks. Let me show you exactly how to keep that mist pure and safe for your baby’s developing lungs.
Frida Humidifier Parts That Demand Cleaning Attention

Your Frida Baby humidifier isn’t one single piece—it’s five critical components working together, each requiring specific cleaning approaches. Skip any part, and contaminants hide in plain sight.
Water tank/reservoir – This clear chamber holds standing water that breeds bacteria overnight. Mineral deposits cling to its walls like stubborn glitter, especially near the base where evaporation concentrates impurities. You’ll spot cloudy residue even after rinsing if buildup’s advanced.
Base unit – That sleek white base houses the ultrasonic transducer—the vibrating metal plate creating the mist. White chalky deposits here directly reduce mist output. Never submerge this electrical component—water contact here means permanent damage.
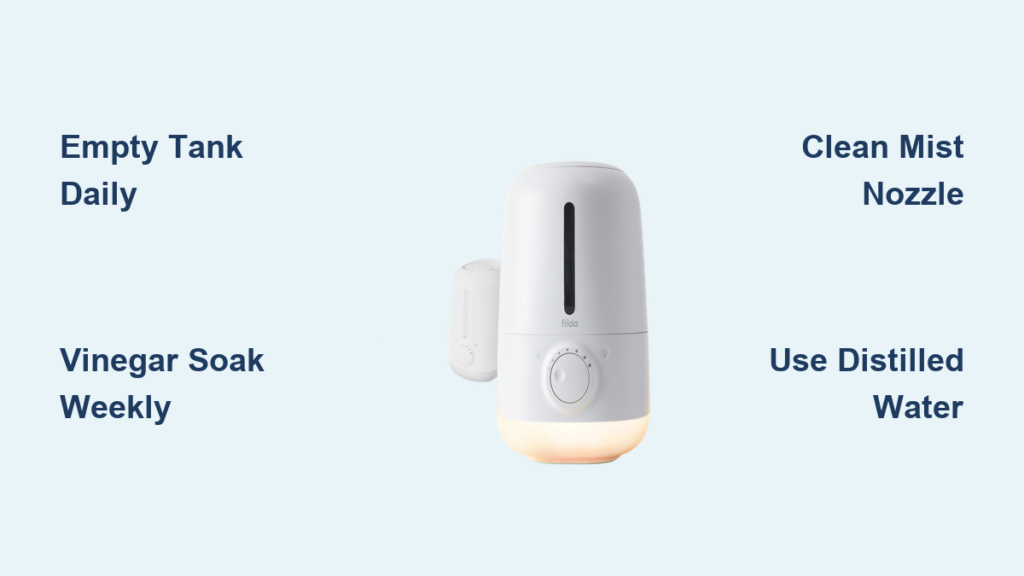
Mist nozzle – That tiny silver disc where vapor exits collects invisible biofilm. Run your finger over it after cleaning—you’ll feel gritty residue even when it looks clean. This is where pink slime starts when neglected.
Filter basket – Whether you use replaceable cartridges or reusable filters, this hidden compartment traps minerals. If yours has visible brown staining, replace it immediately—filters lose effectiveness after 3 months.
Cap and gasket – That rubber seal preventing leaks hides mold in its grooves. Check for black specks along the cap threads—this is where moisture gets trapped between uses.
Daily 2-Minute Frida Humidifier Cleaning Protocol
Empty Tank Before Residue Sets In
Before your baby’s bedtime, unplug the unit and dump all remaining water—even if it looks clear. That “clean” water contains dissolved minerals ready to crystallize overnight. Hold the tank upside down over the sink for 30 seconds to drain every drop. Skip this, and you’ll battle stubborn deposits during deep cleaning.
Rinse While Components Are Warm
While the nursery’s still warm, swirl warm (not hot) water through the tank and base unit. Warm water dissolves early-stage mineral deposits better than cold. Swish for 15 seconds, then pour out. Never use soap—residue could aerosolize into mist. This step prevents the vinegar-soak time from 30 to 10 minutes during weekly cleaning.
Air-Dry Upside Down Overnight
Place the tank inverted on a clean dish towel with the cap off. Prop the base unit on its side—not flat—to drain the transducer chamber. Moisture trapped overnight creates perfect mold conditions. Check at dawn: if any dampness remains, wipe with a microfiber cloth before refilling. You’ll know drying’s complete when plastic feels room-temperature cool.
Weekly Deep Cleaning: 20-Minute Frida Humidifier Refresh
Gather These Exact Supplies
- White vinegar (5% acidity—not apple cider or cleaning vinegar)
- Soft bottle brush (the kind for baby bottles works perfectly)
- Cotton swabs (for nozzle holes smaller than 1mm)
- Microfiber cloths (paper towels leave lint in crevices)
Skip baking soda pastes or commercial cleaners—they scratch plastic and leave inhalable residues. Vinegar’s acid safely dissolves minerals without toxic fumes.
Step 1: Disassemble With Photo Backup
Unplug first—always. Lift the tank straight up (don’t twist). Unscrew the cap and remove filters. Snap a phone photo of each part’s position before removing the mist nozzle. Frida’s tiny gaskets pop out easily; losing one means $15 replacement part orders.
Step 2: Vinegar Soak With Timing Precision
Mix equal parts vinegar and warm water in a bowl. Pour into the tank until halfway full, cap it, and shake for 30 seconds. Set timer for exactly 25 minutes—any longer risks plastic clouding. Meanwhile, pour solution into the base just deep enough to cover the transducer plate. Never submerge the base—it’s not waterproof.
Step 3: Scrub Critical Zones Only
After soaking, use your bottle brush only on these spots:
– Tank bottom (where 80% of deposits accumulate)
– Cap threads (mold hides in screw grooves)
– Transducer plate edges (scrape gently with cotton swab)
Avoid scrubbing tank walls—vinegar dissolves deposits; aggressive brushing creates micro-scratches that trap future buildup. Rinse until water runs clear and vinegar smell disappears completely.
Step 4: Nozzle & Filter Deep Clean
Soak the mist nozzle in vinegar solution for 15 minutes. Use a dry cotton swab to wipe its center hole—this is where pink slime clogs output. For filters:
– Replaceable: Swap if discolored (max 90 days)
– Reusable: Soak 15 minutes, rinse until water runs clear, air-dry 24 hours
Never force a damp filter back in—moisture breeds bacteria in the cartridge housing.
Monthly Sanitizing: Kill Hidden Bacteria in 30 Minutes

Hydrogen Peroxide Method (Safe for Babies)
Mix 1 teaspoon 3% hydrogen peroxide per cup of water. Fill tank and base, set timer for 30 minutes exactly. Any longer degrades plastic. Rinse three times with distilled water—tap water reintroduces minerals. This kills 99.9% of bacteria vinegar misses, including antibiotic-resistant strains.
Emergency Bleach Protocol (For Pink Slime Only)
Only use when you see pink residue:
1. Mix 1 tsp bleach per gallon of water (never stronger)
2. Soak parts 5 minutes max—bleach degrades rubber gaskets
3. Rinse five times under running water
4. Air-dry 24 hours before reuse
Critical warning: Never mix bleach with vinegar—it creates chlorine gas that damages baby’s lungs. If you accidentally mix them, leave the house immediately.
Troubleshooting Post-Cleaning Problems

Why Mist Output Decreased After Cleaning
You likely left vinegar residue on the transducer plate. Re-soak the base for 10 minutes, then rinse under gentle faucet flow (not direct spray). Test with distilled water—if output’s still low, check the nozzle: hold it to light and blow through. If air doesn’t pass freely, soak in vinegar overnight.
Pink Slime Returned in 48 Hours
This means incomplete sanitizing. Repeat the bleach protocol, but also replace the filter immediately—bacteria nests there. Then switch to distilled water exclusively. Hard water users must clean twice weekly to prevent recurrence.
White Dust on Furniture After Use
Mineral deposits escaped the filter. Clean the tank with vinegar again, but this time add 1 tablespoon vinegar to the fresh water each use. Or better—switch to distilled water. Tap water leaves invisible calcium particles that settle as white powder.
Water Quality Rules That Prevent 90% of Cleaning Issues
Use Only These Water Types
- Distilled water: Zero minerals = monthly cleaning instead of weekly
- Filtered water (Brita-style): Reduces but doesn’t eliminate deposits—clean weekly
- Tap water: Only if your local hardness is under 3 grains/gallon (check water report)
Water That Ruins Your Frida Humidifier
- Well water: High iron content stains plastic permanently
- Softened water: Salt residue corrodes the transducer plate
- Essential oil water: Oils gum up the mist mechanism in 3 uses
Hard water users: Place a silica gel packet in your water storage container—it absorbs 30% of minerals before filling.
Reassembly Checklist Before Baby’s Next Nap
Dryness Verification Test
Press a tissue against the tank interior and transducer plate. If it sticks or darkens, wait 15 more minutes. Hidden moisture causes electrical shorts. Gaskets must feel room-temperature—not cool—to the touch.
Mist Output Test Procedure
- Fill with distilled water to “MAX” line
- Place unit on table away from baby’s room
- Run for 10 minutes while checking:
– Steady mist stream (no sputtering)
– No leaks at base-tank connection
– Quiet operation (grinding = misaligned parts)
If issues persist, disassemble and reseat the gasket—this fixes 80% of post-cleaning problems.
When Cleaning Isn’t Enough: Replacement Signs
Replace your Frida humidifier immediately if you see:
– Cracks in the tank (even hairline fractures harbor bacteria)
– Persistent mold after 2 bleach cleanings (spores penetrate plastic)
– Transducer plate corrosion (pitting or dark spots won’t clean off)
Most units last 18-24 months with proper care. Pushing beyond this risks exposing baby to unsafe contaminants.
Stick to this how to clean Frida baby humidifier schedule, and you’ll breathe easier knowing every mist puff is pure. Daily 2-minute rinses prevent 80% of buildup, while the 20-minute weekly vinegar soak eliminates hidden threats. Remember: distilled water users only need monthly sanitizing, but hard water demands twice-weekly cleaning. Your baby’s respiratory system is still developing—that pink slime or white dust isn’t just unsightly; it’s actively harmful. In just minutes a week, you’ve turned a potential health risk into safe, soothing moisture for restful sleep. Now refill that tank with confidence—the cleanest air is the air you control.


