
Water pooling around your humidifier base or that unmistakable musty smell? A clogged drain hose is likely sabotaging your unit’s performance. When mineral deposits and mold build up inside this critical component, water backs up into the reservoir, creating leaks, odors, and potential damage to your floors. The good news is how to clean humidifier drain hose effectively takes under 30 minutes with common household items—no special skills required. Ignoring this simple maintenance task risks costly repairs or premature replacement, while regular cleaning ensures your humidifier delivers clean, comfortable air all season.
Most homeowners don’t realize their humidifier’s drain hose requires seasonal attention until problems strike. That damp basement odor isn’t just unpleasant—it means mold spores are circulating through your home’s air supply. Water overflow creates slip hazards and warps flooring, while mineral buildup strains the pump system. By learning how to clean humidifier drain hose properly, you’ll prevent these headaches and extend your appliance’s lifespan. This guide gives you actionable steps to diagnose blockages, remove stubborn deposits, and implement foolproof prevention strategies—so your humidifier operates silently and efficiently.
Signs Your Drain Hose Needs Cleaning
Water Pooling Around Unit
Spot puddles forming near your humidifier within hours of operation? This immediate red flag means your drain hose can’t handle the water volume. Proper drainage should carry moisture away without leaving standing water. If towels are constantly needed under your unit, mineral deposits or mold have created a partial or complete blockage. Don’t wait for water damage—address this within 24 hours to protect your floors and prevent electrical hazards.
Musty Odors During Operation
That persistent earthy smell signals decomposing organic matter trapped inside your hose. Stagnant water breeds mold and bacteria that release spores into your living space. Unlike tank odors that clear after initial use, drain-related smells intensify during operation as airflow pushes contaminants through your system. This isn’t just unpleasant—it’s a health risk for allergy sufferers. Immediate cleaning is essential when you detect this odor during humidifier use.
Reduced Water Flow Rate
Check the drainage endpoint while your humidifier runs: healthy flow should resemble a steady stream, not a slow drip. Restricted flow creates back pressure that overworks the pump motor, increasing energy use and wear. You’ll notice longer runtime to achieve desired humidity levels as the system struggles against the blockage. This symptom often precedes complete failure, so act at the first sign of reduced flow to avoid emergency repairs.
Required Cleaning Supplies
Basic Household Items
- White vinegar (undiluted for severe buildup)
- Warm water (not hot to prevent hose warping)
- Small funnel or turkey baster for targeted solution delivery
- Microfiber cloths for leak checks and drying
- Bucket or large bowl for soaking sections
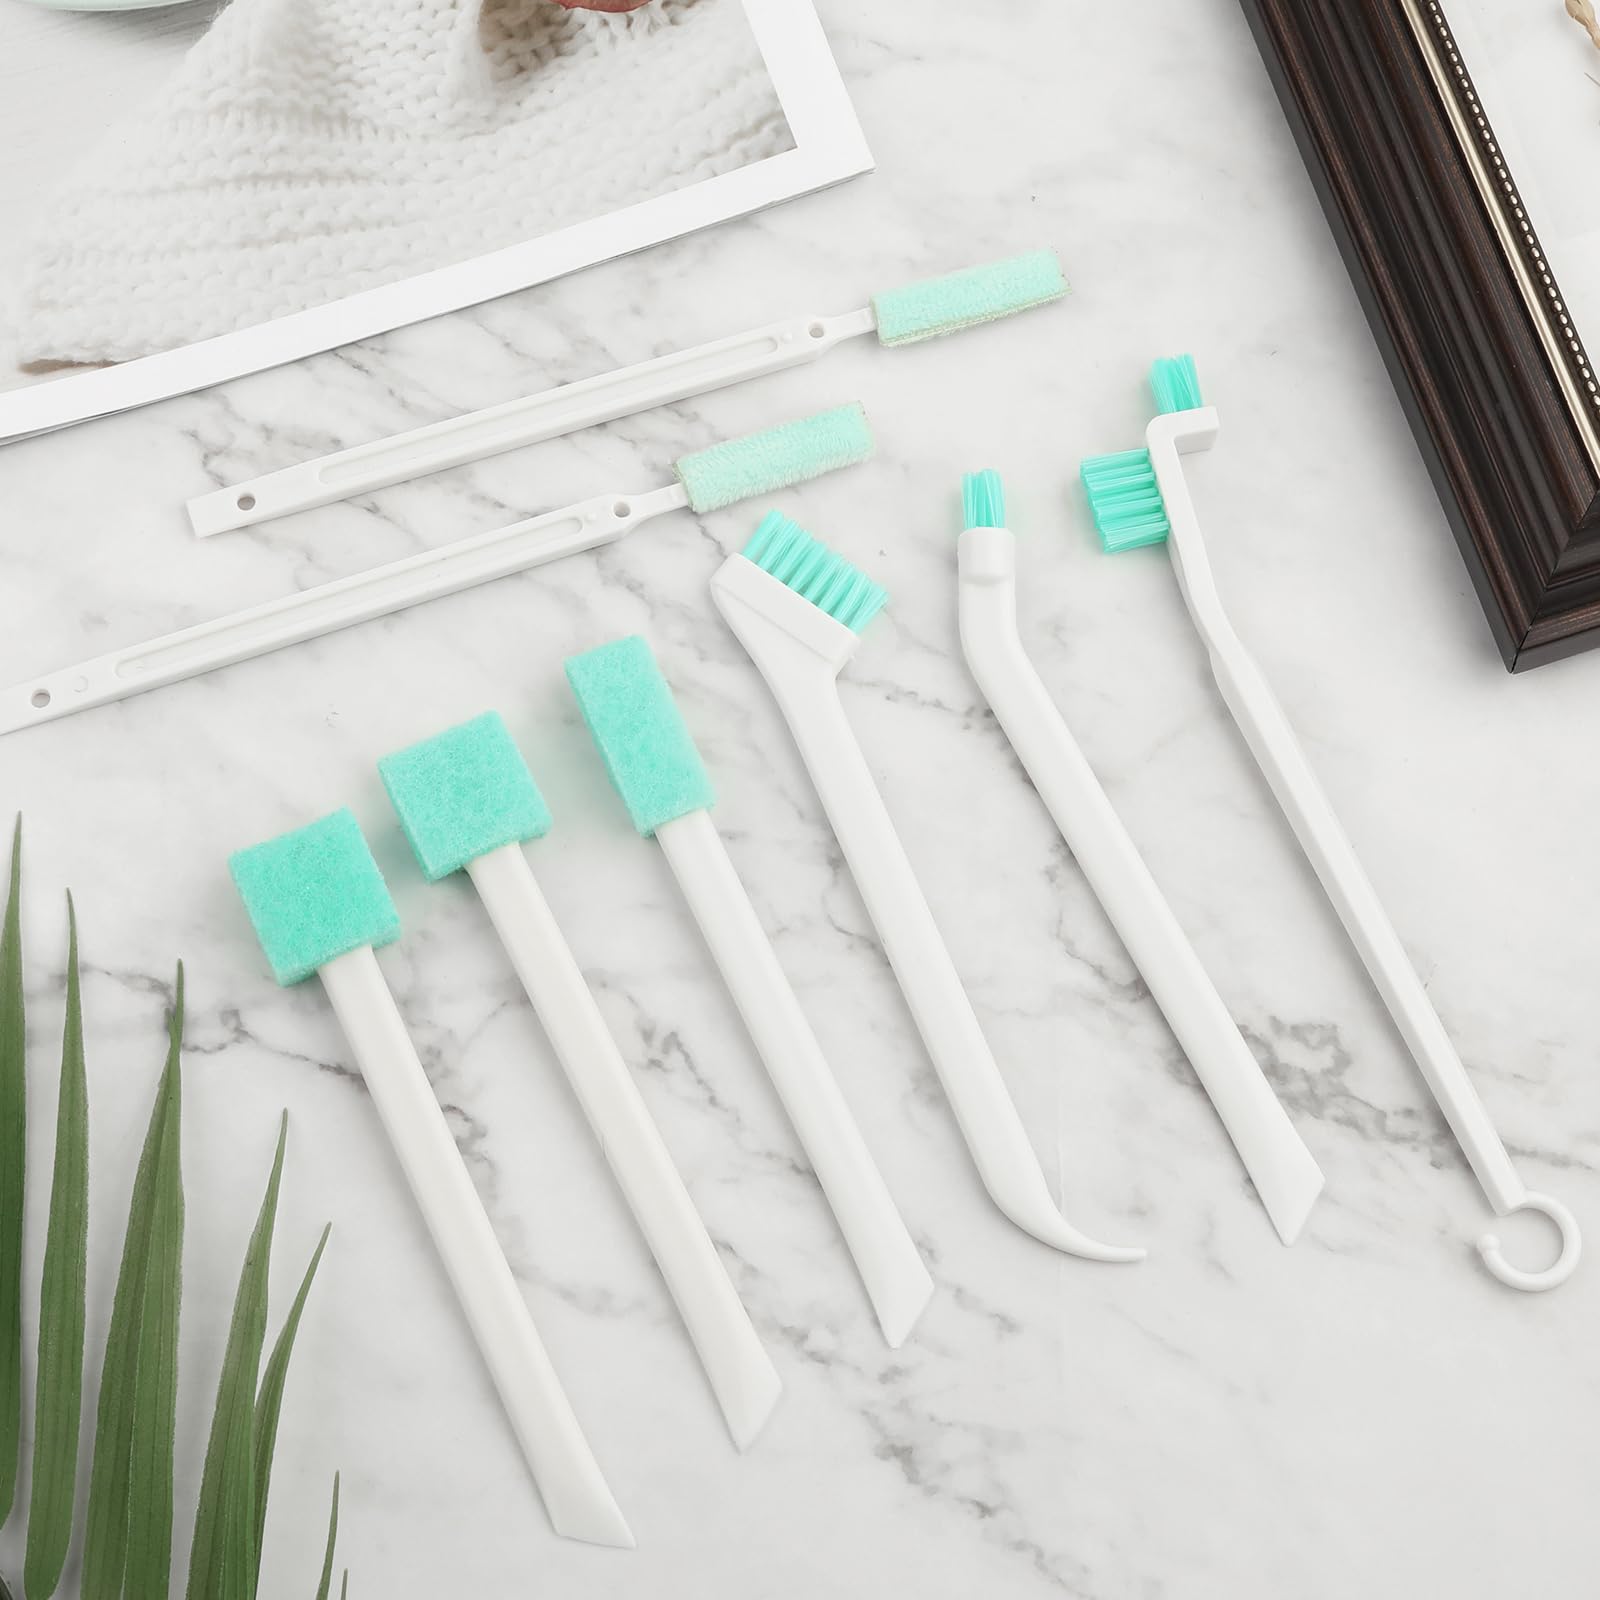
Specialized Tools
- Flexible bottle brush (12-18 inches, matching hose diameter)
- Pipe cleaners for tight bends in narrow hoses
- Flashlight to inspect interior blockages
- Rubber gloves to protect hands from mold and vinegar
Optional Equipment
- Wet/dry vacuum for stubborn debris removal
- Compressed air canister to dislodge compacted deposits
- Replacement hose clamps if originals are corroded
Essential Safety Steps Before Starting
Power Down System
Unplug your humidifier immediately—never work on connected units. Water and electricity create severe shock risks, especially when handling drainage components. Verify power disconnection by checking indicator lights before proceeding. This non-negotiable step prevents life-threatening accidents during cleaning.
Drain Remaining Water
Remove the water tank and place towels beneath connection points. Tilt the unit slightly to encourage residual water evacuation into a bucket. This “dry run” prevents messy spills during disconnection and ensures no standing water remains to react with cleaning solutions.
Identify Hose Connection Type
Examine both ends: push-fit connectors release with a squeeze-and-pull motion, while screw clamps require a flathead screwdriver. For push-fit types, locate the release ring near the connection collar. With clamped hoses, note the screw orientation for easier reassembly. Mistaking connection types can cause damage—take 30 seconds to verify before applying force.
Disconnect Drain Hose Safely

Locate Connection Points
Trace the hose from the humidifier base to its endpoint (floor drain, condensate pump, or bucket). Most systems have two critical junctions: the appliance outlet and the drainage termination. Mark these with tape if needed to avoid reconnection errors later. Never pull on the hose mid-section—always grip near fittings.
Release Pressure Fittings
For push-fit connectors, press the release ring firmly while gently wiggling the hose side-to-side. Apply steady backward pressure until the fitting disengages—never twist or yank. If stuck, wrap a microfiber cloth around the connection for better grip. Forcing it risks cracking plastic housings or tearing rubber seals.
Remove Clamp-Style Hoses
Loosen clamps 2-3 full turns counterclockwise with a screwdriver. Slide the clamp assembly 1 inch away from the connection point before pulling the hose free. Keep screws secured in a container—these tiny parts easily vanish into floor vents. Inspect rubber washers for tears during removal; replace damaged ones immediately.
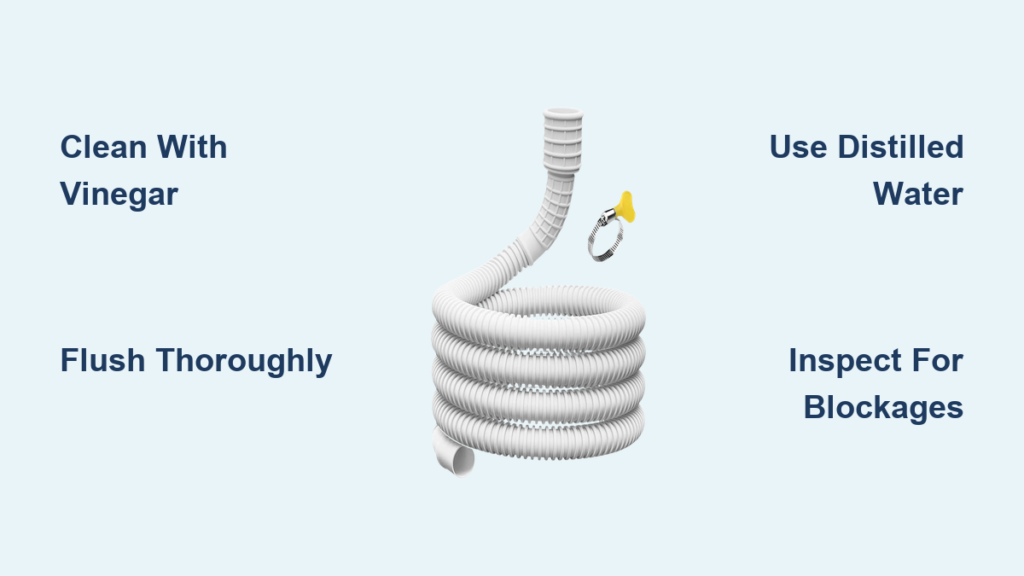
Vinegar Soak Method for Deep Cleaning
Prepare Cleaning Solution
Mix equal parts warm water and white vinegar in a bucket for light buildup. For severe mineral deposits (white crusty residue), use undiluted vinegar—its acetic acid dissolves calcium without harming rubber or plastic. Never substitute harsh chemicals like bleach, which degrade hose materials and leave toxic residues.
Submerge Entire Hose
Coil the hose completely underwater, using a weighted mug to prevent floating. Ensure both ends are submerged for full coverage. Soak 30 minutes for early-stage blockages or 2-4 hours for heavy deposits. You’ll see cloudy particles as minerals dissolve—this visual confirms the solution is working.
Agitate Periodically
Every 30 minutes, lift the hose and shake vigorously to dislodge loosened debris. Change the solution if it turns milky white, as saturated vinegar loses effectiveness. For long hoses, work in 2-foot sections to maintain solution potency throughout the cleaning process.
Brush Cleaning Technique for Stubborn Buildup
Select Correct Brush Size
Choose a bottle brush ¼ inch smaller than your hose interior. Oversized brushes stretch and thin the hose walls, while undersized ones miss perimeter deposits. Test fit the brush in a dry section first—it should glide with light resistance, not force. Pipe cleaners work best for curves under 90 degrees.
Insert Brush Carefully
Push the brush slowly through one end using gentle, rotating motions. Stop immediately if you hit resistance—forcing it punctures thin-walled hoses. For kinked sections, work from both ends toward the blockage. Apply vinegar solution directly to the brush tip for extra cleaning power on contact.
Scrub Interior Walls
Work in 6-inch increments, scrubbing each section 10-15 times before advancing. Focus on areas with visible discoloration or texture changes. Rinse the brush frequently in clean water to remove dislodged debris. Pay special attention to bends where deposits accumulate fastest.
Flush and Reconnect System
Clean Water Rinse
Run warm tap water through the hose for 3 full minutes, holding both ends elevated. Watch for consistent flow without sputtering—intermittent streams indicate remaining blockages. If water exits cloudy, repeat the vinegar soak before proceeding. Never skip this step, as residual vinegar affects humidifier performance.
Final Vinegar Rinse
Pour 1 cup of fresh vinegar through the hose to neutralize alkaline minerals, followed by another clean water flush. This critical step prevents immediate re-deposition of dissolved particles. Skip this, and you’ll face repeat clogs within weeks.
Dry Thoroughly
Shake out excess water and hang the hose vertically for 3+ hours. Use a hairdryer on cool setting to dry interior bends—trapped moisture reignites mold growth. Never reinstall a damp hose; verify dryness by feeling interior walls through flexible sections.
Prevent Future Blockages Proactively
Monthly Maintenance Routine
Flush with vinegar solution every 30 days during peak usage months. This dissolves early-stage deposits before they harden. Set phone reminders—consistency beats deep cleaning emergencies. For whole-house systems, reduce to quarterly flushes in low-humidity seasons.
Use Distilled Water Exclusively
Switching to distilled water cuts mineral buildup by 90%. Though slightly more expensive, it eliminates $100+ repair bills from pump damage. For console humidifiers, this single change may eliminate deep cleaning needs entirely. Store extra jugs near your unit for easy refills.
Install Inline Filters
Add a $15 sediment filter between your water source and humidifier. These capture minerals before they enter your system, extending hose life significantly. Replace filters every 4 months—check manufacturer guidelines for your water hardness level.
Persistent clogs or recurring musty smells mean your drain hose needs professional attention. Implement these monthly maintenance habits to avoid water damage and ensure your humidifier delivers clean, healthy air all season. Mark your calendar for the next vinegar flush—it takes less time than your morning coffee and protects your home’s biggest investment: your indoor air quality.


