
That faint musty smell from your humidifier isn’t just unpleasant—it’s your first warning sign that dangerous mold colonies are thriving inside. When mold takes over your humidifier, every mist cycle pumps toxic spores directly into your breathing space, turning a health aid into a serious respiratory hazard. Learning how to clean humidifier mold properly isn’t optional maintenance; it’s essential protection for your family’s lungs. The good news is you can eliminate existing mold and prevent future outbreaks using simple household items and a consistent cleaning routine that takes less time than your morning coffee.
Ignoring mold in your humidifier creates a perfect storm for health problems. Medical professionals warn that neglected units become breeding grounds for mold spores that trigger allergic reactions, worsen asthma symptoms, and can even cause humidifier lung—a serious condition known as hypersensitivity pneumonitis. This isn’t just about unpleasant odors; it’s about protecting your respiratory system from invisible invaders that multiply rapidly in stagnant water. By following these proven cleaning methods reviewed by medical experts, you’ll transform your humidifier from a health risk back into the wellness tool it was designed to be.
Why Moldy Humidifiers Trigger Serious Health Problems
Your humidifier’s mist spreads mold spores throughout your entire home with every use. Unlike visible mold on shower tiles, the microscopic spores released by contaminated humidifiers travel deep into your respiratory system, where they can trigger severe reactions even in healthy individuals. Medical experts like Dr. Sanny Chan confirm that prolonged exposure to mold-contaminated mist can lead to humidifier lung—a serious inflammatory condition requiring medical treatment.
Who’s Most Vulnerable to Humidifier Mold Exposure
- Children and elderly: Weaker immune systems magnify mold’s impact
- Allergy sufferers: Mold exposure intensifies reactions to other allergens
- Asthma patients: Spores can trigger life-threatening respiratory attacks
- Immunocompromised individuals: Face highest risk of developing serious complications
Daily Cleaning Habits That Prevent 90% of Mold Problems
Never let water sit stagnant in your humidifier overnight. This single habit prevents mold growth before it starts and takes just two minutes of your morning routine. The American Academy of Allergy Asthma & Immunology emphasizes that daily maintenance is the most effective strategy for keeping mold at bay, especially for allergy sufferers who rely on humidifiers for symptom relief.
Essential Daily Cleaning Routine
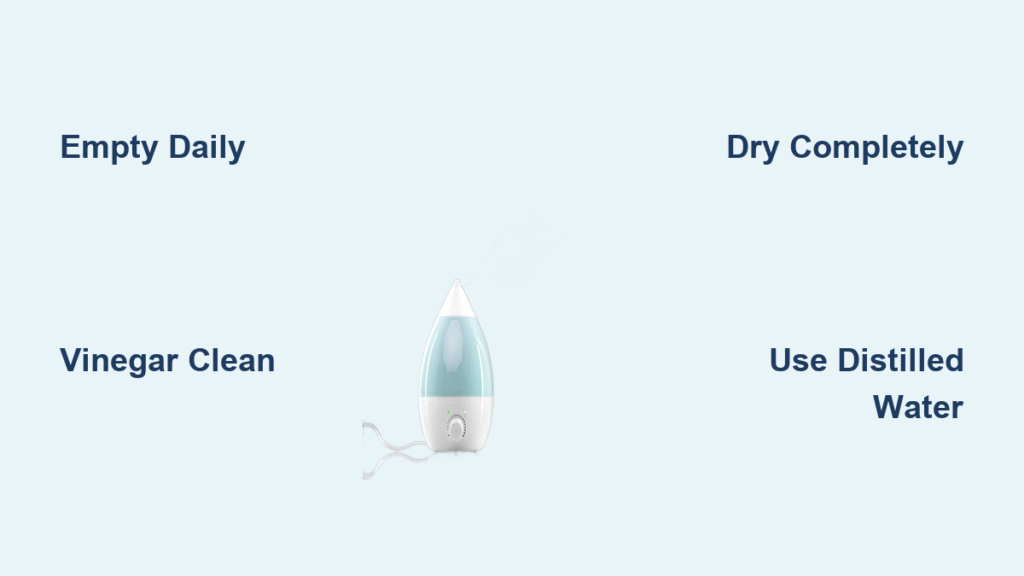
- Empty completely – Pour out every drop of water, never just top off existing water
- Wash with hot soapy water – Use dish soap and a clean sponge, avoiding the motor unit
- Rinse thoroughly – Run water until all soap residue disappears, checking for film
- Refill with distilled water – Reduces mineral buildup that feeds mold growth
Pro tip: Keep your humidifier in the kitchen or bathroom where daily maintenance becomes part of your existing routine rather than an extra chore. Distilled water is worth the small investment—it prevents the mineral deposits that create mold-friendly surfaces.
Weekly Deep Cleaning Protocol That Eliminates Hidden Mold
Schedule your weekly cleaning when sensitive individuals aren’t home. Even thorough cleaning releases some spores into the air, so timing matters for those with respiratory conditions. Consumer Reports experts recommend this vinegar-based method because it’s effective without damaging your humidifier’s components.
Equipment You’ll Need for Deep Cleaning
- White distilled vinegar (1-2 cups)
- Soft toothbrush or cotton swabs
- Clean towels for drying
- Measuring cup
- Fresh water for rinsing
Base Unit Cleaning Process
- Unplug and separate tank from base unit
- Pour cleaning solution into base well (1 cup vinegar OR ½ cup vinegar mixed with ½ cup water)
- Scrub all crevices using toothbrush to reach tight spaces where mold hides
- Rinse completely until vinegar smell disappears—this ensures no residue remains
- Towel-dry thoroughly – Any moisture left behind invites immediate mold return
Water Tank Deep Clean Method
- Mix solution of 1 cup vinegar + 1 cup water in tank
- Cap and shake to coat all interior surfaces evenly
- Soak for exactly 20 minutes – Set a timer (longer soaking doesn’t improve results)
- Agitate periodically during soaking to loosen stubborn mold colonies
- Rinse until clear – No vinegar smell means it’s properly cleaned
- Air-dry completely – Leave cap off and store disassembled for faster drying
Vinegar vs. Bleach: Why Vinegar Is the Safer Mold Killer

White vinegar eliminates mold effectively without damaging your humidifier’s components. Its mild acidity breaks down mold colonies while being gentle on plastic seals and housing. The distinctive vinegar smell actually works in your favor—you know your humidifier is completely clean when the odor disappears after rinsing.
Why Vinegar Works Better Than Bleach
- Safe for all humidifier types – Won’t degrade critical seals or plastics
- Non-toxic residue – Safe if trace amounts remain after rinsing
- Dual-action cleaning – Works as both mold killer and descaler for mineral deposits
- Built-in indicator – Smell confirms thorough rinsing is complete
Critical Bleach Warning
Never mix vinegar and bleach – This creates toxic chlorine gas that can be deadly. While some manufacturers recommend bleach for sanitization, Consumer Reports’ former chief scientific officer James Dickerson, PhD, warns that bleach degrades the plastic seals that keep your humidifier watertight. Stick with vinegar for regular maintenance to protect both your health and your appliance.
Preparing Your Humidifier for Long-Term Storage
Mold grows fastest in dark, damp storage areas. Proper end-of-season cleaning prevents the unpleasant surprise of finding a science experiment inside your humidifier when you retrieve it next winter. The Mayo Clinic confirms that proper storage protocols are essential for maintaining your humidifier’s health benefits.
Pre-Storage Cleaning Checklist
- Complete deep clean using the vinegar method described above
- Dry completely – Leave disassembled for 24-48 hours in a well-ventilated area
- Inspect filters – Replace if discolored, stiff, or showing any signs of contamination
- Store disassembled – Keeps air circulating to prevent moisture buildup
Getting Ready for Next Season
After months in storage:
– Inspect thoroughly for any mold spots before first use
– Perform quick vinegar rinse even if unit appears clean
– Fill only when ready – Never pre-fill days in advance
Spotting Hidden Mold in Hard-to-See Areas

Mold doesn’t always look fuzzy or black. Pink or orange slime, white film, or persistent musty odors all signal contamination. Many users miss these commonly overlooked problem zones where mold hides:
- Tank corners where water pools and evaporates slowly
- Base crevices under removable parts and around the motor housing
- Filter housing if your unit has one (replace filters regularly)
- Mist outlet where moisture exits and can accumulate
Maintenance Schedule That Keeps Mold Away Year-Round
Consistency beats intensity when preventing mold growth. This simple schedule keeps your humidifier healthy without becoming overwhelming:
Daily (2 minutes): Empty, rinse, refill with distilled water
Weekly (15 minutes): Deep clean with vinegar solution
Monthly (5 minutes): Inspect filters, check for scale buildup
Seasonally (30 minutes): Complete disassembly, deep clean, and storage prep
Troubleshooting Persistent Mold Problems
Mold Returns Within Days of Cleaning
- Cause: Incomplete drying or using tap water with high mineral content
- Solution: Switch exclusively to distilled water, extend drying time between uses
Musty Smell Persists After Cleaning
- Cause: Mold in hard-to-reach areas or contaminated filters
- Solution: Replace filters immediately, use cotton swabs for detailed crevice cleaning
White Scale Buildup Alongside Mold
- Cause: Mineral deposits from hard water creating mold-friendly surfaces
- Solution: Increase vinegar concentration in weekly cleaning (use 2:1 vinegar to water ratio)
When Cleaning Isn’t Enough: Time to Replace Your Humidifier
Some mold situations require replacement, not cleaning. Consider investing in a new unit if:
– Mold has penetrated sealed areas you can’t access
– Plastic components show permanent staining or structural damage
– Musty odor persists after multiple thorough cleanings
– Unit is over 5 years old with recurring mold issues
Final Tip: Make your humidifier cleaning routine as automatic as brushing your teeth. Empty and rinse daily, perform weekly vinegar treatments, and store properly between seasons. Your lungs will thank you, and your humidifier will provide healthy moisture instead of harmful spores. Remember—properly maintained humidifiers prevent dry skin, reduce sinus problems, and make winter air more comfortable. But a moldy humidifier does exactly the opposite, turning your health aid into a respiratory hazard. Take control today by implementing these simple cleaning steps that medical experts confirm will keep your air clean and your family breathing easy.


