
That burning dryness in your nose after 20 minutes of oxygen therapy isn’t normal—and it’s completely preventable. When your oxygen concentrator strips moisture from the air, it delivers bone-dry oxygen that irritates sensitive nasal passages, causes crusty discomfort, and may even trigger nosebleeds. Adding a humidifier transforms this harsh airflow into soothing, moisture-rich oxygen that matches your body’s natural needs. This guide gives you the exact steps to safely connect any humidifier to your oxygen concentrator, so you can eliminate dryness discomfort in under 10 minutes. Follow these medically validated procedures to ensure optimal moisture delivery while preventing dangerous leaks or contamination.
Why Your Oxygen Therapy Needs Humidification Now
Ignoring dryness during oxygen therapy isn’t just uncomfortable—it compromises treatment effectiveness. Your concentrator removes ambient moisture during the nitrogen filtration process, delivering oxygen at near-zero humidity. This creates a desert-like environment in your nasal passages, directly causing:
- Crusty, bloody nasal discharge within 30 minutes of use
- Persistent throat irritation that disrupts sleep
- Thickened mucus that’s difficult to clear
- Reduced therapy compliance (studies show 42% of patients skip sessions due to dryness)
You need humidification if: You experience nosebleeds during therapy, use oxygen above 4 L/min, require 16+ hours of daily oxygen, or live in arid climates. Don’t wait—dryness damages delicate respiratory tissues within days.
Select Your Humidifier Type for Maximum Comfort

Not all humidifiers work equally with oxygen concentrators. Choosing the wrong type causes inadequate moisture or dangerous backflow. Match your device to your prescription:
Bubble humidifiers (most common): Oxygen bubbles through water in a 350-500ml bottle, creating gentle moisture. Ideal for flow rates of 1-6 L/min. Critical tip: Only use with concentrators rated for bubble systems—never force-fit.
Passover humidifiers: Oxygen flows over water without bubbling, providing consistent humidity for sensitive airways. Best for flow rates above 4 L/min or patients with chronic sinus issues. Requires concentrator compatibility—check your model manual.
Heated humidifiers: Uses warming elements to boost moisture output for high-flow therapy (6+ L/min). Warning: Only use with concentrators explicitly designed for heated systems—improper pairing risks electrical hazards.
Gather These Critical Supplies Before Starting
Skipping proper supplies risks infection or equipment damage. You’ll need:
- Medical-grade humidifier bottle (350-500ml capacity, clear for level monitoring)
- Distilled water ONLY—never tap, spring, or filtered water (minerals cause bacterial growth)
- Oxygen tubing matching your concentrator’s outlet size (typically ⅛” inner diameter)
- Backup O-rings (hardened seals cause 70% of leaks)
- Clean microfiber towel (lint-free to prevent clogs)
Pro move: Keep two pre-filled humidifier bottles ready. Swap them during cleaning to avoid therapy interruptions.
Critical Safety Steps Before Connection
Never skip these:
- Power down completely: Unplug concentrator and wait 30 seconds for internal pressure release.
- Wash hands thoroughly: Use antimicrobial soap—respiratory infections spread through contaminated equipment.
- Clear workspace: Ensure 6+ inches of clearance around concentrator vents.
- Inspect components: Reject bottles with cracks, cloudiness, or mineral deposits (replace immediately).
Red flag: If your concentrator lacks an “O2 OUT” port labeled for humidifiers, consult your provider—some travel models require adapters.
Connect Your Humidifier in 5 Minutes Flat
Position Equipment Correctly
Place concentrator on a level surface away from water sources. Ensure humidifier hangs vertically—tilting causes leaks or water siphoning into tubing.
Prepare the Humidifier Bottle
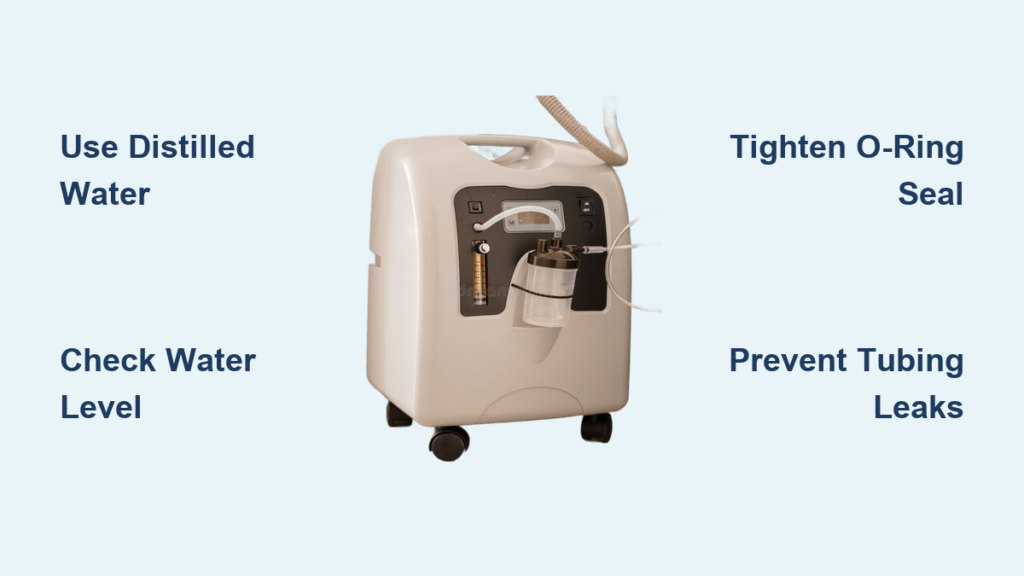
Remove cap counterclockwise. Fill with room-temperature distilled water between MIN (125ml) and MAX (350ml) lines. Critical: Overfilling floods your tubing; underfilling causes dry operation. Screw cap on hand-tight (overtightening cracks seals). Verify O-ring sits flush in its groove—this tiny component prevents 90% of leaks.
Secure to Concentrator Outlet
Align bottle threads with “O2 OUT” port. Screw clockwise until snug (do not force). Tug gently—bottle should not rotate. Listen for hissing: any leak requires immediate disconnection and O-ring replacement.
Route Tubing Without Condensation
Attach tubing to bottle outlet, then to your nasal cannula. Key technique: Create a slight downward slope from bottle to concentrator—this prevents water pooling. Avoid loops or kinks that trap moisture.
Verify Safe Operation
Power on concentrator. At your prescribed flow rate:
– Gentle bubbling confirms proper humidification
– Moisture at cannula tip indicates effective delivery
– Zero water in tubing—if present, disconnect and drain immediately
Prevent Infections: Humidifier Water Management

Distilled water is non-negotiable. Tap water’s minerals breed bacteria like Pseudomonas in 24 hours—causing pneumonia in oxygen users. Follow this protocol:
- Refill every 24 hours—bacteria double every 20 minutes in stagnant water
- Check levels every 4 hours during continuous use
- Store distilled water in original sealed containers (discard opened bottles after 7 days)
- Never top off—always empty, rinse, and refill with fresh water
Warning: Cloudy water or slimy residue means dangerous biofilm—sanitize immediately with vinegar solution (1 part vinegar to 3 parts water).
Maintenance That Prevents Emergency Repairs

Daily 60-Second Check
- Confirm water level between MIN/MAX lines
- Wipe exterior with damp cloth (no chemicals)
- Listen for unusual gurgling (indicates condensation)
Weekly Deep Clean
- Power down and disconnect bottle
- Soak cap/O-ring in vinegar solution 30 minutes
- Scrub interior with soft brush (no abrasives)
- Rinse 3x with distilled water
- Air-dry upside down for 2+ hours
Replace bottles every 3 months—cracks or discoloration hide microscopic damage. O-rings lose elasticity in 6 months; replace if they don’t “snap” back when stretched.
Fix These 3 Emergencies Immediately
Stop Leaks in 10 Seconds
Hissing sound? Reduced flow? Tighten bottle connection first. If leaking persists:
1. Power off concentrator
2. Replace O-ring with backup
3. Reconnect and test at lowest flow rate
Never use tape—it contaminates oxygen flow.
Drain Tubing Condensation
Water gurgling in tubing blocks oxygen delivery. Disconnect tubing, drain water back into bottle, then reattach. For recurring issues:
– Wrap tubing in insulating sleeves
– Lower room temperature by 5°F
– Install a water trap below bottle level
Restore Low Humidity
If oxygen feels dry:
1. Check water level (most common fix)
2. Clean bottle ports with pipe cleaner
3. Verify flow rate doesn’t exceed bottle capacity (6 L/min max for standard bottles)
High-Flow and Travel Setup Hacks
For flow rates above 6 L/min: Use heated humidifiers with concentrators rated for high-flow therapy (e.g., Philips Respironics SimplyGo). Never force higher flows through standard bottles—this causes dangerous pressure spikes.
When traveling:
– Pre-fill bottles with distilled water in sealed bags
– Pack backup bottles in carry-on (checked luggage pressure changes crack glass)
– Confirm airline approval for humidifiers (most require physician note)
Daily Safety Checklist Before Use
Verify these every single session:
– [ ] Water level between MIN/MAX lines
– [ ] Zero leaks at bottle-concentrator connection
– [ ] Tubing free of kinks or water pools
– [ ] Flow rate matches prescription exactly
– [ ] Cannula delivers moist (not wet) oxygen
Critical: If dryness persists after correct setup, contact your provider—your flow rate may need adjustment. Never modify equipment without professional guidance. Proper humidification transforms oxygen therapy from a painful chore into comfortable, effective treatment. By following these precise steps, you’ll breathe easier within minutes while protecting your respiratory health long-term.


