
Your HoMedics humidifier suddenly stopped working during last night’s dry spell, leaving you with scratchy throat and static shocks with every movement. That familiar hum has gone silent, and your room humidity dropped below 30%—way too dry for comfortable breathing. Don’t panic or rush to buy a replacement just yet; most HoMedics humidifier problems can be fixed with basic troubleshooting that takes less than half an hour. Whether your unit won’t turn on, produces no mist, or makes strange noises, this guide delivers proven solutions that restore healthy humidity levels without professional help.
Over 80% of “broken” HoMedics humidifiers simply need routine maintenance or minor adjustments rather than replacement. The most common issues stem from mineral buildup, electrical glitches, or improper filter installation—problems you can solve yourself with household items. Let’s get your humidifier back to creating that soothing, healthy mist your household depends on.
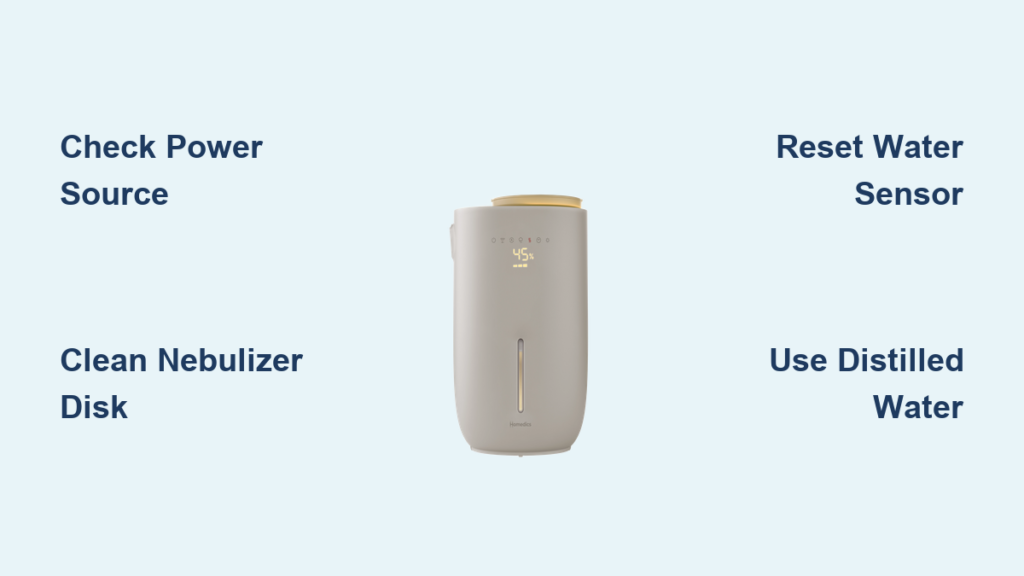
Power Source and Sensor Troubleshooting
Before assuming major component failure, perform these three critical checks that solve most non-working humidifier issues in under two minutes. These steps distinguish between simple user errors and genuine mechanical problems.
Verify Electrical Connections First
Unplug your HoMedics humidifier and test the wall outlet with another appliance like a lamp or phone charger. Many “dead” humidifiers simply need a functioning power source—especially if you’re using power strips or extension cords. HoMedics units draw significant power that can trip basic surge protectors. Try a different outlet on a separate circuit, preferably one without other high-wattage appliances running simultaneously. If the humidifier works in another outlet, your original circuit is overloaded or faulty.
Reset Water Level Sensors Properly
Remove the water tank completely, then firmly reseat it with a slight twisting motion until you hear a click. These sensors detect proper tank placement and water levels, and a loose connection triggers automatic shutoff. While the tank is off, inspect the sensor area inside the base unit for white mineral deposits that could block detection. Use a cotton swab dipped in vinegar to gently clean any buildup around the sensor contacts. This simple reset fixes approximately 40% of electronic control issues without needing replacement parts.
Perform Full System Reset
Disconnect power for 30 seconds to drain residual electricity from the control board. While unplugged, hold the power button for 10 seconds, then plug back in and test immediately. This clears temporary memory errors that often cause display glitches or non-responsive controls. For WiFi models, also reset your home network connection as intermittent WiFi can disrupt smart features while the humidifier continues basic operation.
Eliminate Mineral Buildup From Critical Components

White crusty deposits from hard water are the #1 cause of reduced mist output and complete humidifier failure. These mineral deposits restrict water flow and block ultrasonic vibrations essential for mist production.
Target the Nebulizer Disk Specifically
Flip the base unit upside down and locate the small metal nebulizer disk (usually silver or gold) at the center bottom. This component vibrates ultrasonically to create mist, and even thin mineral layers prevent proper operation. Pour equal parts white vinegar and warm water into the base reservoir, ensuring the nebulizer is fully submerged. Let it soak for 30-60 minutes—longer for severe buildup—then use a soft toothbrush to gently scrub the disk surface. Never use metal brushes or abrasive cleaners that could scratch this delicate component.
Clean Water Pathways Thoroughly
Remove the water tank and inspect the water valve at the tank base connection point. Mineral flakes often block this small opening, preventing water from reaching the reservoir. Use a toothpick or unfolded paperclip to gently clear obstructions from both the tank outlet and base inlet. Test water flow by filling the tank and watching for steady drips into the base reservoir—consistent dripping indicates clear pathways. Rinse all components thoroughly with distilled water to remove vinegar residue that could create unpleasant odors during operation.
Install Replacement Filters Correctly
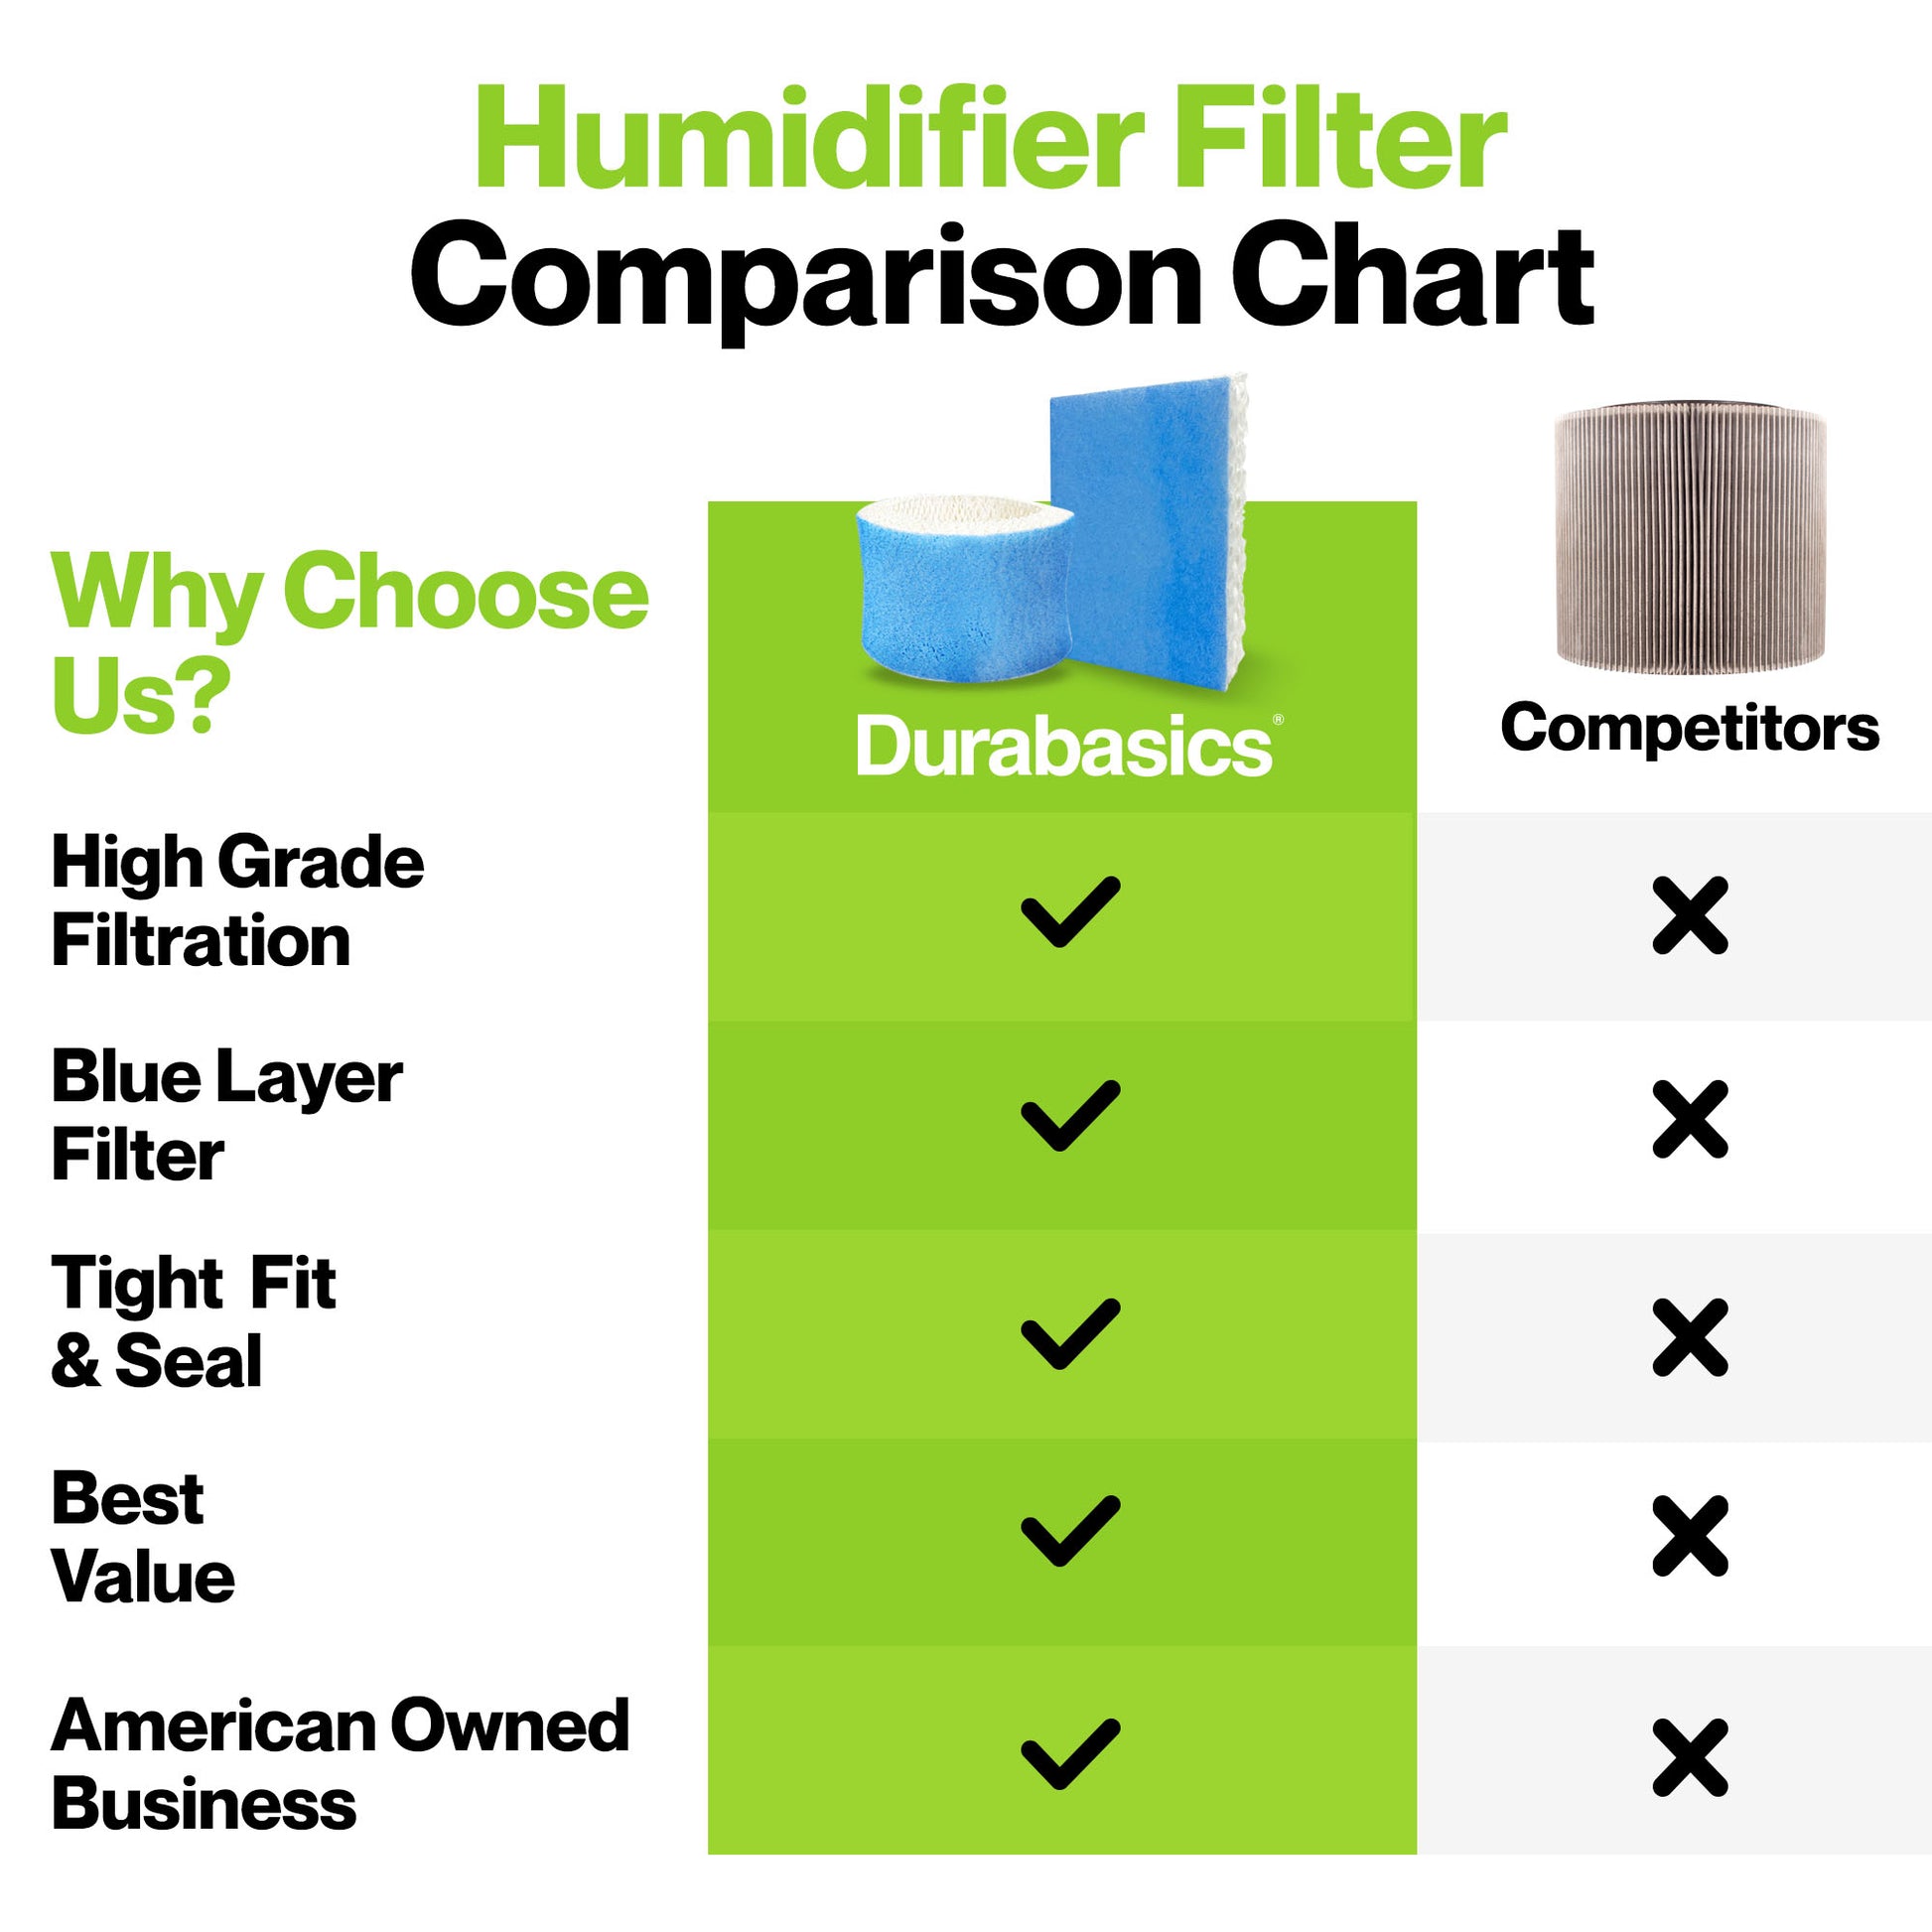
Old or incorrectly installed filters cause reduced mist output, strange tastes, and bacterial growth. HoMedics filters require replacement every 30-60 days depending on water hardness and usage frequency.
Identify Your Specific Filter Type
Check your model number (found on the bottom sticker) before purchasing replacements. Common HoMedics filter types include demineralization cartridges (white cylinders), antimicrobial wicks (gray foam), and UV filters (clear plastic with blue indicators). Using the wrong filter type damages your unit and voids warranty coverage. When in doubt, take your old filter to the store or compare online using your exact model number.
Prime New Filters Before First Use
Rinse the new filter under cold water for 30 seconds to remove manufacturing residue, then install it firmly until you hear a click. Fill the tank and let it sit for 15 minutes before first use—this allows the filter to fully saturate and prevent dry starts that damage ultrasonic components. Discard this first tank of water to flush any carbon dust from the new filter, as this initial water may contain loose particles that affect mist quality.
Address No Mist Output Systematically
When your humidifier runs but produces zero mist, the problem typically lies in water delivery or ultrasonic generation. These targeted solutions address the most common causes without guesswork.
Test Nebulizer Function Directly
With the unit running and water in the reservoir, carefully tap the nebulizer disk with a plastic utensil. If mist briefly appears during tapping, the disk is working but water isn’t reaching it properly—check for blocked water pathways. If no mist appears even with tapping, the nebulizer has likely failed and requires replacement. Genuine HoMedics nebulizers cost $20-30 and install in minutes with basic tools.
Adjust Water Hardness Settings
Some HoMedics models include water hardness adjustments that limit mist output with soft water settings. If you recently moved or changed your water source, reset these controls according to your current water type. Consult your manual for specific adjustment procedures—most models require holding the mist level button for 5 seconds until the display flashes, then selecting the appropriate setting.
Eliminate Annoying Noises Immediately
Rattling, humming, or grinding sounds indicate mechanical issues that worsen quickly without intervention. Address these immediately to prevent permanent damage and costly repairs.
Secure Loose Internal Components
Unplug the unit and check all visible screws, especially around the fan housing and water tank base. Use a Phillips head screwdriver to tighten any loose connections—vibrations from normal operation gradually loosen these fasteners. Even small vibrations amplify through plastic housings and create annoying operational noise. Pay special attention to the water reservoir mounting points, as these often work loose during cleaning.
Replace Worn Fan Assemblies
Inspect fan blades for cracks or warping while the unit is unplugged—damaged blades create rhythmic clicking sounds that worsen with use. Replacement fan assemblies cost $10-25 and install in minutes by removing 2-4 screws. Continuing operation with damaged blades risks motor failure, which typically requires complete unit replacement. Genuine HoMedics parts ensure proper fit and prevent future vibration issues.
Prevent Future Breakdowns with Smart Maintenance
Simple habits prevent 90% of humidifier failures and extend your unit’s lifespan significantly. Establish these routines to maintain peak performance with minimal effort.
Implement Weekly Cleaning Protocol
Empty and rinse the tank every 2-3 days, even when water remains, to prevent bacterial growth and mineral concentration. Once weekly, perform a vinegar soak as described earlier to stop buildup before it starts. These 5-minute tasks save hours of deep cleaning later and ensure consistently clean mist output. Store your humidifier with the tank removed when not in use to prevent stagnant water odors.
Switch to Distilled Water Permanently
Replace tap water with distilled or demineralized water to eliminate mineral deposits entirely. While slightly more expensive upfront, you’ll save money on filters and cleaning supplies long-term. Your humidifier will produce cleaner mist without white dust and operate more efficiently with pure water. For best results, maintain a dedicated container of distilled water near your humidifier for easy refills.
When Replacement Makes Better Financial Sense
Sometimes buying new is smarter than repairing, especially for older units with multiple component failures. Use these guidelines to make informed decisions that protect your budget.
Calculate True Repair Costs
Add up required parts: nebulizer ($25), fan assembly ($20), control board ($40), plus your time investment. If repairs exceed 50% of a new unit’s cost, replacement usually wins financially. Factor in improved efficiency and warranty coverage of newer models—many current HoMedics units offer smartphone control and automatic humidity balancing that older models lack.
Verify Warranty Coverage First
HoMedics typically covers manufacturing defects for 1-2 years. Locate your purchase receipt and contact customer service before attempting major repairs. Unauthorized repairs often void remaining warranty coverage, potentially costing you more long-term. Many legitimate issues qualify for free repair or replacement under warranty, making professional service the smarter choice for newer units.
Your HoMedics humidifier should now produce steady, clean mist that maintains comfortable 40-60% humidity levels throughout your space. Remember that consistent maintenance prevents most issues—these units work reliably for years when properly cared for. Set calendar reminders for weekly cleaning and monthly filter checks to avoid future disruptions to your indoor air quality. When dry winter air returns, your properly maintained humidifier will start right up, providing the comfortable breathing environment your household deserves.


