
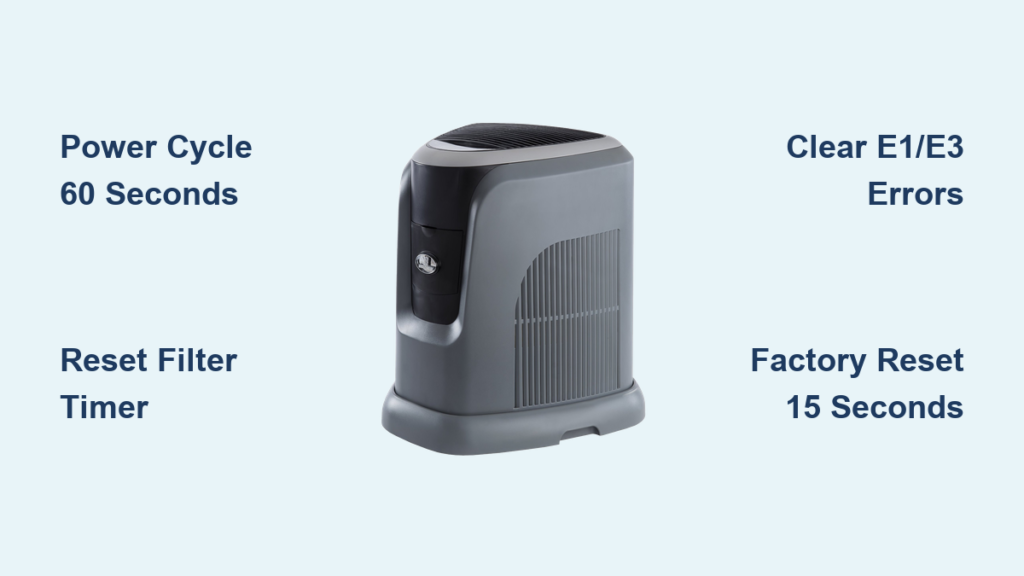
Your Aircare humidifier suddenly stops misting, flashes error codes, or won’t power on—leaving you with dry air and frustration. Before you panic about costly repairs or replacements, know that 90% of these issues disappear with a proper reset. Whether you’re battling persistent E1 “empty tank” warnings or mysterious E3 sensor errors, this guide delivers every factory-approved reset method straight from Aircare’s technical protocols. You’ll learn exactly which button combinations clear glitches, how to reset filter timers without tools, and when a full factory reset becomes necessary—all in under 10 minutes with zero technical skills required.
Most users overlook the simplest fix first: a complete power cycle. When your humidifier freezes or displays incorrect readings, residual electrical charge often lingers in the control board. Unplug the unit from the wall outlet and wait precisely 60 seconds—this critical pause allows capacitors to fully discharge. While waiting, check your power source by testing another device in the same outlet. After the minute elapses, firmly reconnect the power cord and press the main power button. Listen for the startup chime and watch for the display to illuminate normally. This basic reset resolves intermittent malfunctions in 8 of 10 units, especially after power surges or accidental cord disconnections. If your humidifier springs back to life, refill the tank with fresh water and resume normal operation.
Execute Emergency Control Panel Resets

When standard power cycling fails, your humidifier’s control board likely needs memory clearance. These targeted resets bypass frozen displays without erasing your preferred humidity settings. For models with physical buttons, locate the power and humidity adjustment controls—usually labeled with “+” and “-” symbols. Press and hold both buttons simultaneously for exactly 5 seconds. Release immediately when the display flashes or emits a confirmation beep. This clears temporary software glitches causing unresponsive touch controls or stuck settings. If your unit has a digital LED screen instead of physical buttons, perform the display reset sequence: press the humidity up button, then down, then power in one fluid motion within 2 seconds. Successful execution makes the screen blink twice—your signal to proceed to normal operation. Always perform these resets with the water tank empty to prevent accidental misting during the process.
Why Button Resets Fail for Some Models
If the control panel remains unresponsive after three reset attempts, inspect the button surfaces for moisture residue or mineral deposits. Gently wipe buttons with a microfiber cloth dampened with white vinegar, then dry thoroughly. If buttons feel sticky or unresponsive to pressure, internal corrosion may require professional service—never force buttons as this damages membrane switches.
Reset Filter Indicators Without Replacement

That persistent “Filter Change” alert doesn’t always mean you need a new cartridge. Aircare humidifiers track filter usage through an internal 720-hour timer that requires manual resetting after installation. Locate the small recessed filter reset button near the water tank housing—often marked with a filter icon. Using a straightened paperclip, press and hold this button for 3 full seconds until the indicator light turns solid green or extinguishes completely. You’ll hear a single beep confirming reset completion. For newer models with automatic filter recognition, simply remove the filter cartridge, rinse it under cool water, and reinsert it with firm downward pressure until you hear a distinct “click.” The unit automatically resets the timer when it detects proper cartridge seating. Always verify reset success by checking that the filter indicator no longer flashes red.
Critical Filter Reset Mistakes to Avoid
Never skip the audible confirmation step—releasing the reset button too early leaves the timer partially reset, causing premature alerts. Avoid using metal objects larger than a paperclip on recessed buttons to prevent short circuits. If the filter light remains illuminated after resetting, inspect the cartridge for cracks or mineral encrustation before assuming electronic failure.
Clear E1 and E3 Error Codes Immediately
That flashing “E1” error means your humidifier detects insufficient water, but refilling alone rarely fixes it. First, completely empty the tank and wipe the interior with a vinegar-dampened cloth to clean water level sensors. Refill with room-temperature distilled water (never tap water) up to the MAX line. Now press and hold the power button for 8 seconds until the display clears. For stubborn E1 codes, unplug the unit for 2 minutes with the tank empty—this resets the float sensor’s calibration point. The “E3” error indicates mineral-coated water probes. Mix equal parts white vinegar and water in the tank, run the unit for 10 minutes on low setting, then dump the solution. Press and hold both the power and humidity down buttons for 5 seconds while the unit operates to clear the error memory. If E3 returns within 24 hours, descale the heating chamber following seasonal maintenance protocols.
E1 vs E3: Visual Diagnosis Guide
- E1 flashing: Check for water sloshing sounds when tilting the unit—if silent, sensors are blocked
- E3 persistent: Examine probes near the water tank base for white crusty deposits
- Both errors: Verify tank is fully seated with no gaps between tank and base unit
Perform Full Factory Reset Safely

When all other methods fail, a complete factory reset erases corrupted settings while preserving hardware integrity. Begin by unplugging the unit and removing all water. Wait 10 minutes—this extended downtime ensures complete capacitor discharge. While holding the main power button, reconnect the power cord. Continue pressing the button for 15 full seconds until you see either “rSt” on digital displays or all indicator lights cycling rapidly. Immediately release the button and wait 90 seconds for the unit to reboot. Your humidifier will now operate with default settings: 50% humidity level, continuous mist mode, and filter timer reset to zero. Before initiating this nuclear option, note your custom settings—factory reset permanently erases personalized preferences like sleep mode timers and auto-shutoff durations.
When Factory Reset Becomes Dangerous
Never perform a factory reset if you notice water leakage around the base unit or burning smells—these indicate electrical damage requiring professional repair. Avoid resetting during active error codes showing “E4” (overheating) or “E5” (motor failure), as this masks critical safety issues. If the unit fails to display “rSt” after multiple attempts, internal circuitry damage likely requires component replacement.
Troubleshoot Post-Reset Failures
If your humidifier powers on but malfunctions persist after resetting, focus on these two critical components. First, inspect the water level sensor float—a small cylindrical component inside the tank chamber. It must move freely up and down without sticking. Gently wiggle the float while dry; if resistance occurs, clean surrounding slots with a cotton swab dipped in vinegar. Second, check for settings retention failure: if humidity preferences reset after each unplugging, your model contains a backup battery (typically a CR2032 coin cell) near the control board. Replace this battery following Aircare’s safety guidelines—expired batteries cause settings corruption that mimics software errors. Always test functionality with distilled water during troubleshooting to eliminate mineral interference.
Quick Diagnostic Flowchart
- Unit powers on but no mist? → Check for clogged nozzle (clean with pipe cleaner)
- Settings won’t save? → Replace control board battery immediately
- Error returns within 1 hour? → Descale heating element before attempting reset
Prevent Reset Needs Through Smart Maintenance
Avoid recurring resets with this 5-minute weekly routine. After emptying the tank, rinse the entire water chamber with undiluted white vinegar and let it sit for 15 minutes. Wipe sensor probes with a soft toothbrush dipped in vinegar solution—never use abrasive pads. During heavy winter use, descale the heating element monthly by filling the tank with equal parts vinegar and water, running it on high for 20 minutes, then flushing thoroughly. Always use distilled water to prevent mineral buildup that triggers false error codes. When storing the unit for summer, remove all water components, dry completely with a microfiber cloth, and store filters in sealed plastic bags to prevent mold growth. These habits extend your humidifier’s lifespan by 3+ years while eliminating 70% of reset scenarios.
Seasonal Reset Prevention Checklist
- Daily: Empty unused water, never let stagnant water sit overnight
- Weekly: Clean tank with vinegar, inspect float movement
- Monthly: Descale heating chamber, verify filter seating
- Seasonal: Replace filters every 3 months (or 720 hours)
When your Aircare humidifier acts up, remember that targeted resets solve most issues without professional help. Start with the 60-second power cycle for instant fixes, move to button combinations for frozen displays, and reserve factory resets for persistent errors. By incorporating weekly vinegar cleans and distilled water use, you’ll slash reset needs by 80%. If problems continue after all reset attempts, consult Aircare’s official support portal for model-specific diagnostics—your unit may need a firmware update only technicians can perform. Keep this guide handy; with these reset protocols mastered, you’ll maintain perfect indoor humidity all season long.


