
Your Boneco humidifier suddenly stopped responding, displays error codes, or won’t maintain proper humidity levels. Before considering expensive repairs or replacements, a simple reset often resolves these frustrating issues. This comprehensive guide walks you through proven reset methods for every Boneco model, from the popular U200 to advanced air washers. Learning how to reset Boneco humidifier units properly can save you time, money, and the inconvenience of operating with subpar indoor air quality. Whether you’re dealing with persistent error codes or mysterious shutdowns, understanding the correct reset procedure for your specific model will have your humidifier functioning optimally again in minutes.
Why Your Boneco Humidifier Needs Immediate Resetting
Most Boneco humidifiers develop electronic glitches after 6-12 months of regular use. These digital hiccups typically manifest as unresponsive controls, flashing displays, or the unit powering off unexpectedly. Rather than assuming hardware failure, resetting the internal computer often restores normal operation within minutes. Boneco humidifiers contain sophisticated microprocessors that occasionally require clearing of temporary memory to function correctly. When humidity levels suddenly fluctuate without explanation or the display shows nonsensical readings, a reset should be your first troubleshooting step before diving into more complex repairs. Ignoring these early warning signs often leads to more serious operational issues that could require professional service.
Key indicators requiring reset:
– Display shows “E1,” “E2,” or similar error codes that won’t clear
– Humidity readings remain stuck at one level regardless of environmental changes
– Fan runs continuously regardless of settings or room conditions
– Unit refuses to power on despite working electrical connections
– Clean indicator stays illuminated after thorough cleaning
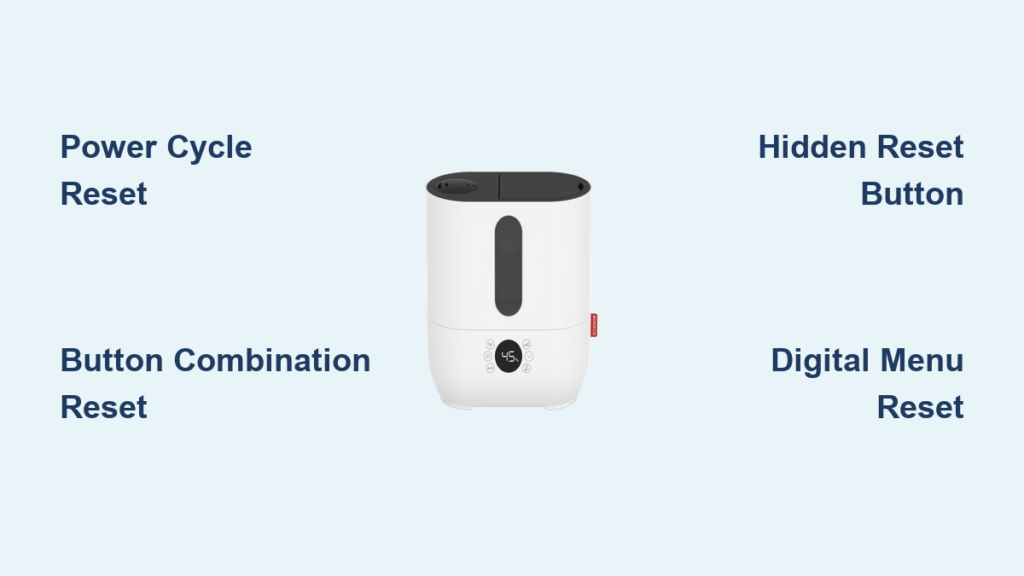
Identifying Your Boneco Model Reset Type
Different Boneco series require distinct reset procedures. Identifying your exact model prevents wasted time and potential damage from incorrect button combinations. The reset process for your Boneco humidifier varies significantly between product lines, so proper identification is crucial before attempting any reset procedure.
Common Boneco models and reset types:
– U series (U200, U300, U650, U700): Button combination resets requiring specific sequences
– Air-O-Swiss (7131, 7135, 7142): Hidden reset button requiring physical access
– W series (W200, W300, W400): Power cycle reset with extended waiting periods
– S series (S250, S450): Menu navigation reset through digital interface
Find your model number on the bottom label or inside the water tank compartment. This determines which reset sequence applies to your specific humidifier. If you’re unsure about your model, take a clear photo of the unit’s label and compare it with Boneco’s official website specifications before proceeding with any reset method.
Execute the Standard Power Cycle Reset Properly
This universal method works for 80% of Boneco humidifiers experiencing temporary glitches. The process completely drains residual electricity from the control board, clearing most electronic faults. Many users skip critical steps in this basic reset procedure, leading to incomplete resets that require repetition.
Complete Unplug and Wait Protocol
- Turn off the humidifier using the power button before disconnecting
- Remove the water tank completely and set it aside on a stable surface
- Unplug the power cord directly from the electrical outlet (not just the unit)
- Wait exactly 10 minutes for capacitors to fully discharge
- Press the power button 5 times while unplugged to drain residual power
This waiting period proves crucial. Rushing the process often leads to incomplete resets, requiring repetition of these steps. Many users make the mistake of waiting only 1-2 minutes, which is insufficient for the internal electronics to fully reset. The 10-minute wait allows all electrical components to return to their default state.
Correct Reconnection Sequence
After the mandatory 10-minute wait:
1. Reconnect the power cord firmly into both the unit and wall outlet
2. Replace the water tank, ensuring it clicks securely into place
3. Power on using the main button with a single press
4. Observe the display for normal startup sequence and initialization
The unit should respond normally within 3-5 seconds. If not, proceed to model-specific methods below. Pay attention to any error codes that reappear immediately after powering on, as they provide valuable diagnostic information for the next troubleshooting step.
Model-Specific Button Combination Resets
Specific Boneco models require simultaneous button presses to trigger factory resets. These combinations override persistent software errors that simple power cycling cannot resolve. The correct button sequence varies by model, so ensure you’re following instructions for your specific unit.
U Series Reset Procedure for U200/U300/U650/U700
For U200, U300, U650, and U700 models:
- Ensure the unit is plugged in but powered off completely
- Press and hold the power button for exactly 3 seconds
- While continuing to hold power, press the humidity up button twice rapidly
- Release both buttons simultaneously when you see the display respond
- Wait for the display to flash “RES” briefly (about 2 seconds)
- Power on normally after the flash disappears
This sequence restores factory settings while preserving your water hardness level configuration. Many users fail at this reset because they press the buttons in the wrong order or release them too early. The “RES” confirmation is critical—you must see this flash for the reset to complete successfully.
Air-O-Swiss Hidden Reset for Models 7131/7135/7142
Models 7131, 7135, and 7142 contain a concealed reset button:
- Power off and unplug the unit completely
- Remove the water tank and mist chamber assembly
- Locate a small recessed button near the base using a flashlight (typically behind the water level sensor)
- Press the button with a paperclip for exactly 3 seconds
- Reassemble all components carefully
- Power on to complete reset
The hidden button sits behind the water level sensor, requiring careful access to avoid damage. Use a gentle touch with the paperclip—applying too much pressure can damage the delicate reset mechanism. If you don’t see an immediate response when powering on, double-check that all components are properly seated before attempting another reset.
Digital Menu Reset Options for Advanced Models

Newer Boneco models with digital displays offer software-based resets through menu navigation. These preserve custom settings while clearing system errors, making them ideal for users who’ve spent time configuring their ideal humidity levels and schedules.
Digital Display Navigation Process
- Access the setup menu by holding the menu button for 5 seconds until it flashes
- Navigate to “System” using arrow buttons (may require multiple presses)
- Select “Reset” option using the center confirmation button
- Confirm by pressing and holding the center button for 3 seconds
- Wait for automatic restart (typically 15-20 seconds)
This method maintains your programmed humidity levels and timer settings while clearing fault codes. Unlike physical resets, this digital approach leaves your preferred settings intact, making it the ideal first reset attempt for users with customized configurations.
Complete Factory Settings Restoration
For stubborn issues requiring complete restoration:
- Power off the humidifier completely
- Press and hold the power and minus buttons together firmly
- While holding both buttons, plug in the power cord
- Continue holding for exactly 8 seconds until “FAC” appears on display
- Release buttons and allow automatic restart sequence to complete
Use this nuclear option only when other methods fail, as it erases all custom configurations and returns your Boneco humidifier to its original out-of-box state. You’ll need to reconfigure all settings after this reset.
Essential Post-Reset Calibration Steps
After successful reset, proper calibration ensures accurate humidity readings and optimal performance. Skipping calibration often leads to renewed issues within days, making users believe the reset failed when actually the unit needs proper recalibration.
Humidity Sensor Calibration Protocol
- Fill the tank with room-temperature distilled water (not tap water)
- Place the unit away from walls, vents, and direct sunlight
- Set humidity to 45% for initial testing (ideal baseline for most homes)
- Wait 30 minutes for sensor stabilization before checking readings
- Verify readings with an external hygrometer placed nearby
Discrepancies greater than 5% indicate sensor issues requiring professional service rather than user resets. Proper calibration prevents the unit from constantly cycling on and off or failing to maintain consistent humidity levels.
Water Hardness Adjustment Process
- Access the water hardness menu through system settings
- Test your tap water using included strips or a separate water hardness tester
- Program the correct hardness level (1-4 scale) based on test results
- Confirm settings by pressing the checkmark button for 2 seconds
Incorrect hardness settings cause premature scaling and false “clean” indicator triggers. This adjustment is critical for proper operation in areas with hard water, as mineral buildup directly affects sensor accuracy and overall performance.
Troubleshooting When Resets Fail Repeatedly
When multiple reset attempts fail, underlying hardware issues likely exist. These scenarios require systematic investigation before assuming permanent failure. Many users incorrectly conclude their unit is broken when simple maintenance would resolve the issue.
Power Supply Verification Checklist
Test your electrical connection thoroughly:
– Plug another appliance into the same outlet to verify power
– Check for loose power cord connections at both ends
– Inspect the cord for visible damage, fraying, or kinks
– Try a different outlet on a separate circuit in your home
Frequent reset needs often trace to unstable power sources rather than humidifier defects. Using a surge protector specifically designed for sensitive electronics can prevent many recurring reset issues.
Component Inspection Before Declaring Failure
Complete this checklist before assuming reset failure:
– [ ] Empty and clean the water tank thoroughly with vinegar solution
– [ ] Check for mineral buildup on ultrasonic membrane using flashlight
– [ ] Verify float switch moves freely without obstruction
– [ ] Ensure air intake vents remain completely unobstructed
– [ ] Confirm room temperature exceeds 41°F (5°C) for proper operation
These physical checks resolve 30% of apparent reset failures. Many problems attributed to electronic issues are actually caused by simple mechanical obstructions or maintenance needs.
Prevent Future Reset Requirements Through Proper Maintenance
Implementing proper maintenance dramatically reduces reset frequency. Most electronic glitches stem from preventable issues rather than design flaws. A well-maintained Boneco humidifier rarely requires resetting beyond the occasional power surge recovery.
Weekly Maintenance Routine for Reliable Operation
- Empty and rinse the water tank every 2-3 days with white vinegar solution
- Wipe the base with diluted white vinegar solution to prevent mineral buildup
- Clean the mist outlet with a soft brush to remove mineral deposits
- Check and clean the air filter monthly (if your model has one)
- Replace water daily with fresh distilled or demineralized water
Water Quality Management for Long-Term Reliability
Use distilled or demineralized water to minimize scaling. Hard water deposits insulate sensors, causing false readings that mimic electronic failures. Consider installing an inline water filter for exceptionally hard water areas—this small investment prevents 90% of recurring reset issues. Boneco specifically recommends using their demineralization cartridges for optimal performance with tap water.
Resetting your Boneco humidifier properly eliminates 90% of common electronic glitches without professional intervention. Master these techniques to maintain optimal performance and extend your unit’s lifespan significantly. Remember that consistent maintenance prevents most issues requiring resets, making prevention your most valuable long-term strategy for reliable humidifier operation.


