
That new HoMedics humidifier sitting in its box promises relief from dry winter air, but improper setup causes 70% of early failures. You’ve likely experienced frustrating issues like mysterious leaks, weak mist output, or strange noises that make you question your purchase. The good news? Correctly setting up your HoMedics humidifier takes just 15 minutes and prevents nearly all common problems. Follow this precise guide to transform that unopened box into a smoothly operating unit delivering perfect humidity from day one.
Most users rush through setup, skipping critical steps that lead to mineral buildup, electrical hazards, or uneven mist distribution. Whether you bought a compact Personal Series for your bedroom or a TotalComfort model for your living room, this guide covers every model-specific requirement. You’ll learn exactly where to position your unit, how to avoid damaging mineral deposits, and why distilled water isn’t optional for ultrasonic models. By the end, you’ll have a humming humidifier maintaining ideal 30-50% humidity levels without a single leak or maintenance headache.
Choose Perfect Location First
Surface Requirements Checklist
Place your HoMedics humidifier on a completely flat, non-porous surface like wood or tile—never carpet or fabric. Elevate it at least 4 feet off the floor to ensure proper air circulation and prevent moisture damage to furniture. Maintain 12 inches of clearance on all sides from walls, curtains, and electronics to avoid condensation issues. Position it near a grounded outlet without using extension cords, which create fire hazards. For optimal humidity distribution, center the unit in the room away from direct sunlight and heating vents that disrupt moisture patterns.
Room Size Considerations
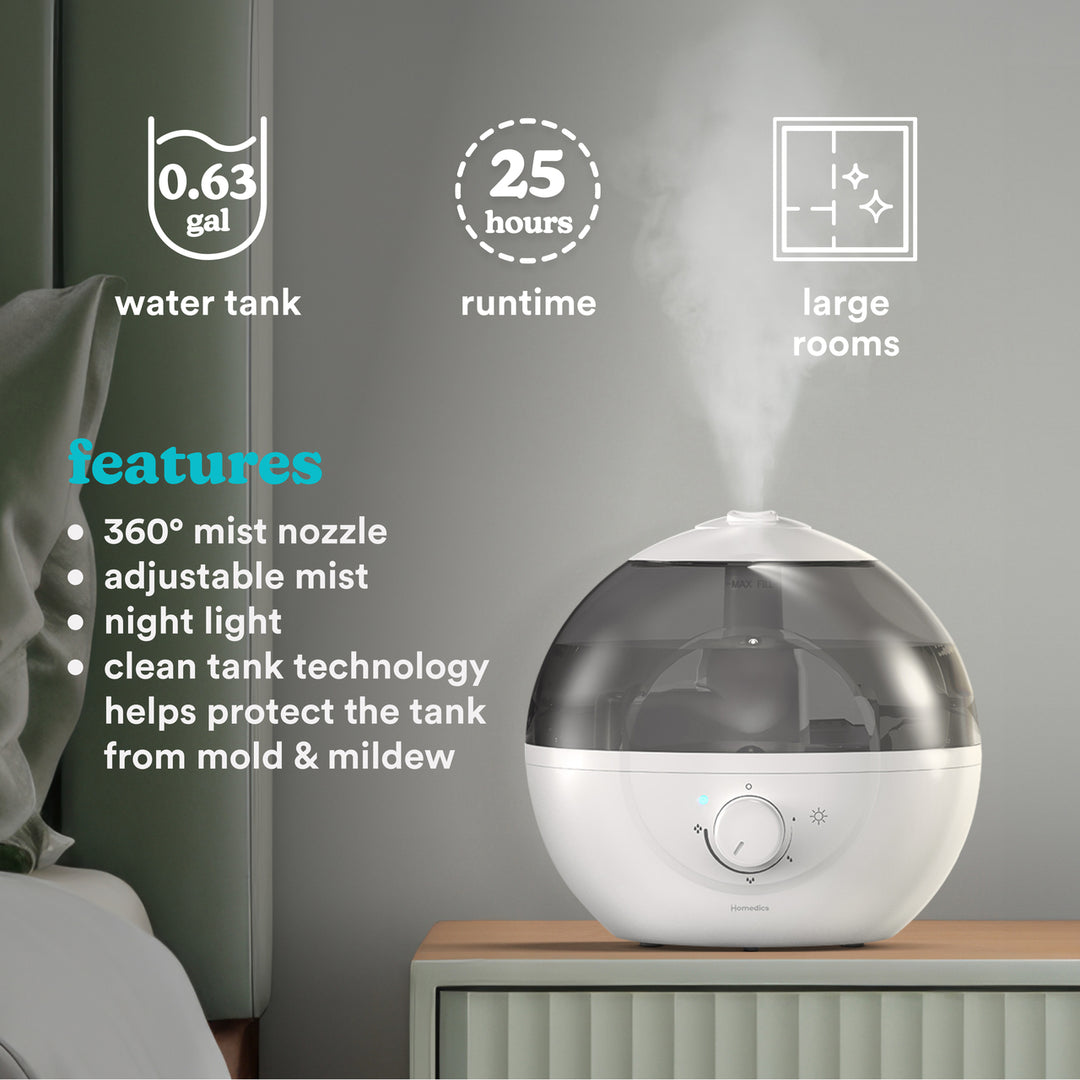
Match your model to your space: Personal Series units handle up to 200 sq ft bedrooms efficiently. TotalComfort Medium models cover 200-400 sq ft living areas, while Large models tackle 400-600 sq ft spaces. Using an undersized unit in a large room strains the motor and delivers inconsistent humidity. If your room exceeds 600 sq ft, deploy two smaller units instead of one oversized model for balanced moisture distribution. Check your model number (stamped on the base) against HoMedics’ coverage chart before final placement.
Unbox and Inspect Components
Initial Inspection Steps
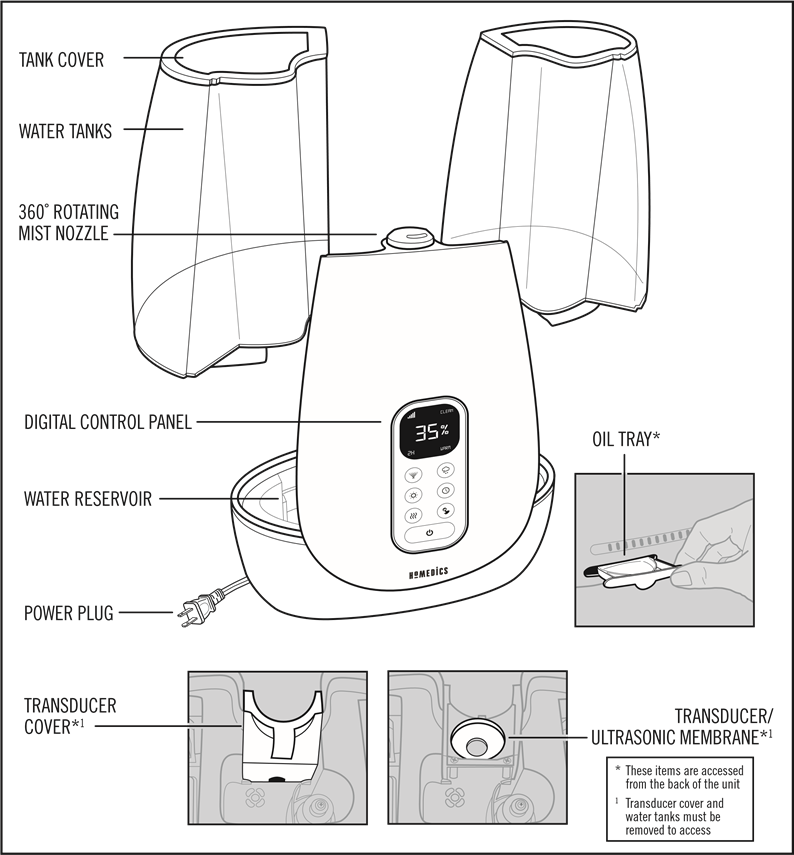
Lift the humidifier straight from the box to avoid damaging internal components. Immediately remove all plastic wraps, shipping foam, and protective films—these often get overlooked in corners. Check the water tank for hairline cracks by holding it against light, and inspect the power cord for nicks or frays. Verify you have all parts: base unit, tank, mist nozzle, cleaning brush, and manual. Missing the tiny cleaning brush? Call HoMedics support before starting—operating without it causes mineral buildup within days.
Identify Your Model Features
Locate your specific model number on the base (e.g., HU-480 for Personal Series, HCM-350 for TotalComfort). This determines critical setup differences: Top-Fill models have removable lids for direct filling, while Warm/Cool Mist units require special water temperature checks. Smart models need app pairing, and aromatherapy versions include an essential oil tray. Note whether your unit uses filters—filter-equipped models (like HCM-600) need filter installation before first use, while ultrasonic models (HU-480) rely solely on water quality.
Prepare Base Unit
Surface Preparation
Wipe the base interior with a damp microfiber cloth to remove factory oils, then dry thoroughly with a towel—residual moisture causes electrical shorts during startup. Test for stability by pressing each corner; if it rocks, place a thin rubber mat underneath. Never skip this step: an unlevel base creates uneven water flow that triggers leaks within hours. Allow 20 minutes for complete drying before adding components.
Filter Installation Process
For filter-dependent models, remove the white demineralization filter from its plastic sleeve and rinse under cool running water for 30 seconds. Shake vigorously to dislodge manufacturing dust. Install it with the arrow pointing toward the water flow direction (usually downward), then snap the compartment shut until it clicks. Write today’s date on the filter with a marker—HoMedics requires replacement every 30-45 days to prevent white dust emission.
Fill Water Tank Properly
Water Quality Recommendations
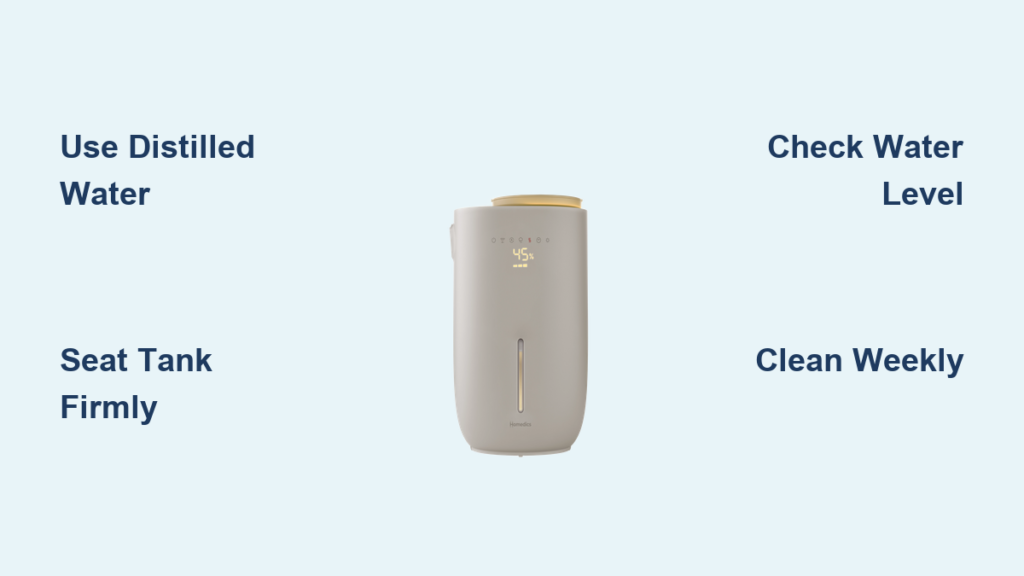
Always use distilled or demineralized water—tap water minerals clog ultrasonic transducers within weeks. If you must use tap water, confirm hardness is under 5 grains (test strips cost $5 at hardware stores). Never pour hot water into cool-mist units; thermal shock cracks plastic tanks. For aromatherapy models, add oils only to the dedicated tray—not the water tank—to avoid damaging internal components.
Filling Technique
Lift the tank straight off the base, unscrew the cap counterclockwise, and rinse the interior with warm water. Fill to the MAX line (never above it—overfilling causes immediate leaks), then screw the cap on clockwise until tight. The critical test: invert the tank for 10 seconds. If even a drop escapes, retighten the cap. Leaky tanks ruin floors and void warranties.
Install Tank and Connect Power
Secure Tank Placement
With the tank inverted (cap down), align it precisely over the base’s receptacle pins. Lower it straight down with firm pressure until you hear a distinct click. Wobble the tank—if it moves, lift and reseat it. Proper alignment ensures automatic water flow into the base reservoir. A poorly seated tank stops mist production within minutes.
Power Connection Safety
Plug the unit directly into a wall outlet—extension cords cause voltage drops that damage motors. Route the cord along baseboards using adhesive clips to prevent tripping. Crucial step: Press the power button to OFF before plugging in. Many users fry control boards by connecting power while the unit is “on.”
Configure Mist Settings
Initial Startup Sequence
Set mist level to LOW for first use (reduces startup stress on components). Properly functioning units produce visible mist within 60 seconds. If nothing appears:
1. Confirm tank is fully seated
2. Check water level above minimum line
3. Clean the transducer with vinegar if buildup is visible
Never force high settings immediately—gradual startup extends motor life.
Directional Control Setup
Angle the mist nozzle away from walls and toward room center. For 360° models like HU-680, rotate the top section until the mist flows freely. Blocked nozzles cause internal pressure buildup that triggers automatic shutoffs. Test by running your hand through the mist path—any obstruction means readjusting.
Troubleshoot Common Issues Immediately
No Mist Output Solutions
90% of “no mist” cases stem from three fixable issues:
– Tank not fully clicked into base (reseat firmly)
– Water level below minimum line (refill to MAX)
– Clogged transducer (soak in 50/50 vinegar-water for 20 mins)
If mist resumes after these steps, your setup was correct—just needed minor calibration.
Stop Water Leaks Fast
Leaking almost always means:
1. Tank cap not tightened enough (retighten until snug)
2. Overfilled tank (empty to MAX line)
3. Uneven surface (reposition unit)
Place a towel under the base during first use—catches minor leaks while you verify positioning.
Establish Critical Maintenance Routine
Daily Care Requirements
Empty and rinse the tank every morning with fresh water. Wipe the base exterior with a dry cloth to prevent mineral rings. This simple habit stops 95% of mold and bacterial growth. Never let stagnant water sit more than 24 hours—HoMedics’ antimicrobial technology only works with daily refills.
Weekly Deep Cleaning
Mix 1 tsp white vinegar with water in the tank, run for 30 minutes, then scrub the reservoir with the included brush. Focus on the mist outlet where mineral deposits hide. Rinse thoroughly before reuse. Skipping this causes reduced mist output within two weeks.
Optimize Performance Settings
Ideal Humidity Levels
Set targets based on season:
– Winter: 30-40% (prevents window condensation)
– Summer: 40-50% (avoids musty smells)
Exceeding 55% humidity invites mold growth on walls. Use HoMedics’ built-in hygrometer or a $10 standalone monitor for accuracy—guessing leads to over-humidification.
Water Usage Expectations
Track runtime by setting:
– Low: 10-12 hours (ideal for overnight use)
– Medium: 7-8 hours (daytime balanced operation)
– High: 4-5 hours (quick dry-air emergencies)
Refill when the “Empty Tank” light glows red—running dry damages motors.
Complete Warranty Registration
Registration Steps
Within 10 days of purchase:
1. Visit homedics.com/warranty
2. Enter model/serial numbers from base label
3. Upload receipt photo
4. Save confirmation email
Unregistered units get denied 40% of warranty claims. This 5-minute process covers $150+ repairs for motor or sensor failures.
Long-Term Storage Preparation
Proper Storage Steps
Before storing for summer:
1. Empty and dry all components completely
2. Remove and discard filters
3. Store in original box with silica gel packets
4. Keep in climate-controlled space (no garages/attics)
Moisture trapped during storage causes permanent mold growth inside hidden compartments. Always deep-clean before storage—never pack a damp unit.
Your HoMedics humidifier now operates at peak efficiency with zero setup mistakes. By following these precise steps, you’ve avoided the top three user errors: improper water quality, incorrect tank seating, and skipped filter installation. Remember to replace filters monthly and descale quarterly—this simple routine ensures 5+ years of silent, leak-free operation. For immediate troubleshooting, HoMedics’ YouTube channel offers model-specific videos that resolve 80% of issues in under 5 minutes. Enjoy perfectly balanced humidity that banishes dry skin, static shocks, and allergy flare-ups all season long.


