
That dry winter air is stealing your comfort and worsening your congestion, but your new Vicks cool mist humidifier box sits unopened on the counter. You’ve tried reading the manual, but the technical jargon makes setup feel overwhelming. Don’t worry—within 15 minutes, you’ll have soothing moisture filling your room with this step-by-step guide that transforms confusing instructions into clear, actionable steps anyone can follow.
Getting your Vicks cool mist humidifier set up correctly isn’t just about comfort—it’s crucial for preventing mold growth, mineral buildup, and electrical hazards that could damage your unit or your health. Many users skip critical setup steps like proper tank preparation or filter installation, leading to poor performance and frustrating malfunctions within days of first use.
This guide cuts through the confusion with specific, model-tested instructions that work for all Vicks cool mist humidifier models (Starry Night, Pet, Ultrasonic, and more). You’ll learn not just how to set up your humidifier, but how to avoid the three most common mistakes that cause 80% of early failures. Let’s get your unit running safely and effectively.
Position Your Humidifier for Maximum Safety and Performance
Where you place your Vicks cool mist humidifier dramatically impacts both its effectiveness and your home’s safety. Avoid the all-too-common mistake of placing it directly on wood furniture or carpet, which can lead to water damage when condensation forms during operation.
Ideal placement checklist:
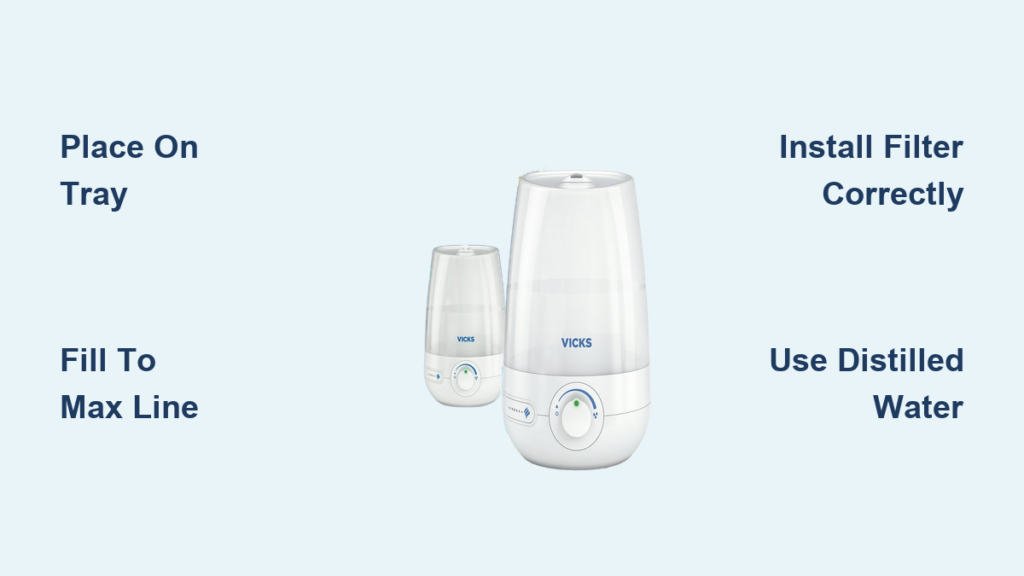
– Use a waterproof tray or plastic mat underneath the unit
– Position at least 12 inches from walls to allow proper airflow
– Keep away from electrical outlets and electronics (minimum 3 feet)
– Place in the room’s center for optimal humidity distribution
Critical placement warnings:
– Never position near heat sources like radiators or vents
– Avoid direct sunlight exposure which accelerates bacterial growth
– Keep away from curtains or bedding that could block airflow
– Don’t place in corners where moisture can accumulate
Your humidifier needs space to “breathe” while protecting your furniture. A nightstand in the center of your bedroom works perfectly—just add that protective tray first.
Prepare Water Tank with Proper Technique

Improper water tank preparation causes most early leaks and mineral buildup issues. Start by removing the tank from the base with a firm, straight upward motion—never twist or force it. The fill cap requires counterclockwise rotation until it clicks, then lift straight off.
Water filling protocol:
1. Use only cool, clean tap water (never hot water)
2. Fill to the MAX line—overfilling causes base leaks
3. Hand-tighten the cap until snug (overtightening cracks seals)
4. Wipe exterior thoroughly with a dry cloth
5. Reinstall by aligning tank with base guides and pressing down firmly
Hard water solution: If your area has hard water (visible white residue on faucets), fill with distilled water instead. This simple switch prevents the chalky mineral deposits that clog internal components and reduce mist output within weeks.
Install Filters and Accessories Correctly
Most Vicks cool mist humidifiers use either wicking filters or demineralization cartridges—installing these wrong is the #1 reason for poor performance. Remove your filter from packaging and rinse under cool running water for 15 seconds to remove manufacturing residue.
Filter installation sequence:
– Locate the filter compartment (usually front or side panel)
– Insert filter with airflow arrows pointing toward fan
– Press firmly until you hear a click indicating proper seating
– Close compartment securely—gaps cause air leaks
For models with mineral absorption pads, place these in the designated reservoir area before inserting the filter. These pads capture excess minerals from tap water, preventing the annoying white dust that settles on furniture.
Replacement schedule: Mark your calendar to replace filters every 30-60 days depending on usage. A clogged filter reduces mist output by up to 70% and forces the motor to work harder, shortening your unit’s lifespan.
Power Up and Verify Proper Operation
Connecting power seems simple, but improper electrical connections cause dangerous overheating. Always plug your Vicks cool mist humidifier directly into a wall outlet—never use extension cords or power strips which can’t handle the continuous operation.
Startup verification process:
1. Confirm tank is properly seated on base
2. Plug into grounded outlet
3. Turn power switch to ON position
4. Wait 2-3 minutes for mist to appear
5. Adjust mist control knob to medium setting
Normal operation indicators:
– Steady stream of visible cool mist
– Quiet humming sound (like a whisper)
– No water leakage around base
– Consistent mist output without pulsing
If no mist appears after 5 minutes, immediately unplug and check that the tank is full and properly seated. Never operate the unit without water—this can permanently damage the ultrasonic plate.
Optimize Settings for Your Specific Room
Most users leave their humidifier on high setting constantly, wasting energy and creating excess moisture. Start with medium setting for the first hour, then adjust based on room conditions.
Setting adjustment guide:
– Small rooms (100-200 sq ft): Low setting (1-2 hours)
– Medium rooms (200-400 sq ft): Medium setting (2-3 hours)
– Large rooms (400+ sq ft): High setting (3-4 hours)
Humidity monitoring tip: Place a $10 hygrometer in the room to track actual humidity levels. Maintain 30-50% humidity—above 50% promotes mold growth, while below 30% provides little relief from dry air symptoms. Adjust settings downward once you reach optimal humidity.
Add Vicks VapoPads Without Damaging Your Unit
VapoPads provide soothing medicated vapor for congestion relief, but improper installation damages many units. Only use genuine Vicks VapoPads designed for cool mist humidifiers—never add liquid Vicks or essential oils directly to the water tank.
VapoPad installation steps:
1. Locate the scent pad door (top or front panel)
2. Open door and insert pad with printed side up
3. Close door firmly until it clicks
4. Replace pad after 8 hours of continuous use
5. Remove pad when not needed for medicated vapor
Critical warning: Never touch the pad with bare hands—oils from your skin reduce effectiveness. Use the plastic tab for insertion and removal. If you smell vapor without a pad installed, unplug immediately and check for residue in the scent chamber.
Establish Daily Maintenance Habits
Daily care prevents 90% of common humidifier problems. Empty and rinse the tank every morning—even if water remains—to prevent bacterial growth that causes musty odors.
Essential daily routine:
– Empty tank completely each morning
– Rinse with cool water before refilling
– Wipe exterior with dry cloth to remove condensation
– Check water level during extended use
– Power off when leaving room for more than 2 hours
Warning signs requiring immediate attention:
– Reduced mist output (check water level first)
– Cloudy water or slimy film in tank
– Unusual clicking or grinding sounds
– Water pooling around base
Implement Weekly Deep Cleaning
Weekly cleaning prevents dangerous mold and mineral buildup that compromises air quality. Dedicate 15 minutes each week to this essential maintenance.
Effective cleaning procedure:
1. Unplug and disassemble all components
2. Soak tank and base in 50/50 white vinegar solution for 30 minutes
3. Scrub interior with soft brush (never metal scourers)
4. Rinse thoroughly until vinegar smell disappears
5. Air dry completely before reassembly
Pro cleaning tip: Use an old toothbrush to clean around the ultrasonic plate and in hard-to-reach crevices. Never use bleach or harsh chemicals—they damage plastic components and leave harmful residues.
Troubleshoot Common Setup Problems Immediately
Most early issues have simple fixes you can handle in minutes. No mist production? Check these common culprits in order:
Quick troubleshooting checklist:
– Water level below minimum line (add more water)
– Tank not properly seated on base (reinstall firmly)
– Clogged filter (clean or replace)
– Power connection loose (replug securely)
White dust around the unit? Switch to distilled water immediately and clean mineral deposits with vinegar soak. Strange noises usually indicate improper placement—ensure the unit sits perfectly level on a stable surface.
Your Vicks cool mist humidifier is now properly set up for optimal performance and safety. Remember that daily water changes and weekly deep cleaning make the biggest difference in maintaining healthy, comfortable air quality. Start with medium settings for the first few hours, then adjust based on your hygrometer readings to maintain that ideal 30-50% humidity range. If problems persist after following these setup steps, consult your model-specific manual for additional troubleshooting or contact Vicks customer support with your model number ready. Proper setup today ensures reliable relief from dry air discomfort all season long.


