
Water damage from a malfunctioning humidifier floods over 240,000 U.S. homes annually, with repair costs averaging $5,200. Whether you’re preparing for winter shutdown or facing a sudden leak, knowing exactly how to cut water to your humidifier prevents catastrophic flooding. This guide delivers precise, step-by-step instructions for locating and operating your humidifier’s shut-off valve—no plumbing expertise needed. You’ll learn to identify valve types in under 60 seconds, execute reliable shut-offs for all common systems, and verify complete water cessation to protect your home.
Stop Water Flow at Saddle Valves in 4 Critical Steps

Saddle valves—the most common humidifier shut-off—are notorious for seizing shut. These clamp-on valves pierce cold water pipes with a needle valve controlled by a T-handle. Finding yours takes seconds: trace the 1/4-inch copper tube from your furnace toward the nearest cold water line. In 78% of homes, it’s within 3 feet of the water heater or furnace.
How to Close Without Damaging the Valve
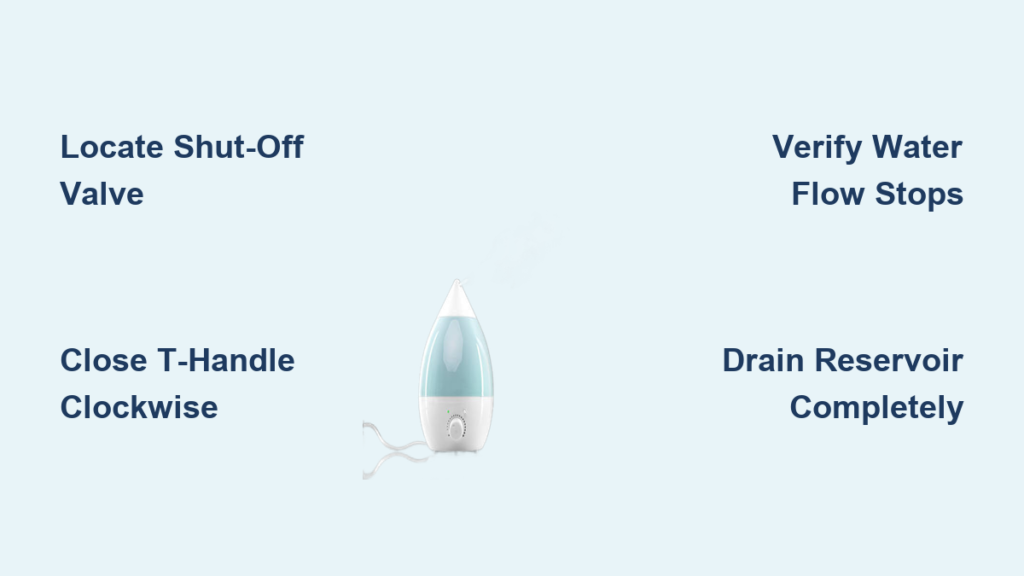
- Locate the T-handle clamped onto a copper pipe (typically 1/2″ or 3/4″ diameter)
- Turn clockwise slowly until resistance increases—this usually takes 1.5–2 full rotations
- Stop immediately when firm resistance hits; overtightening cracks the valve body
- Confirm closure by listening for water flow stopping in the supply tube within 10 seconds
Critical warning: Never use pliers on saddle valves. Their thin brass construction fractures under excessive torque, causing immediate flooding. If stuck, apply penetrating oil and wait 15 minutes before attempting closure again.
Shut Off Ball Valve Systems in 15 Seconds Flat
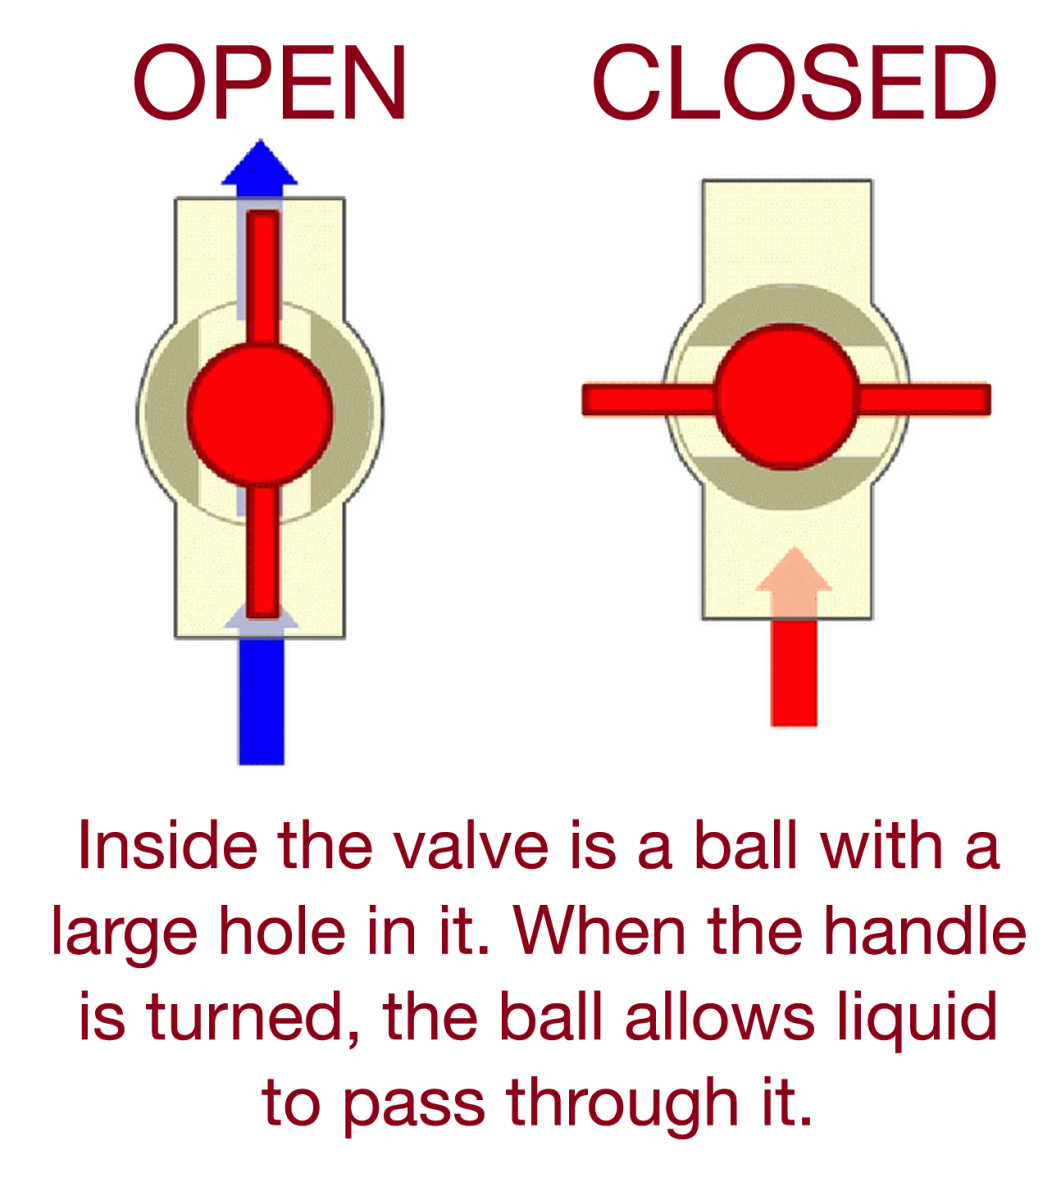
Ball valves—identified by lever handles on 1/4-inch plastic or copper lines—provide the most reliable shut-off. When open, the lever runs parallel to the pipe; closed position is perpendicular. These valves typically live near your furnace’s air handler or along basement ceiling pipes.
Emergency Closure Protocol
- Spot the lever (often blue, red, or brass) on the humidifier’s supply line
- Rotate 90 degrees clockwise until handle forms a “T” with the pipe
- Double-check alignment—any angle less than 90° allows water flow
- Test by feeling the supply tube; pulsation should cease instantly
Pro tip: Mark the closed position with red tape during seasonal shutdown. This prevents accidental reopening when restarting your system in spring.
Handle Gate Valve Systems Without Guesswork
Gate valves—featuring round wheel handles on larger supply branches—require precise closure. Found in older homes (pre-2000), they need 3–5 full turns to seal completely. These often mount on cold water lines near utility room walls.
Achieve Full Shut-Off Every Time
- Find the wheel on a branch line feeding your humidifier
- Turn clockwise firmly while counting rotations (note this number!)
- Stop when handle resists further turning—do not force beyond this point
- Verify by attempting 1/4-turn more; no movement confirms full closure
Why counting matters: Gate valves wear over time. Knowing your exact turn count ensures complete closure years later when stems degrade.
Emergency Main Shut-Off When Humidifier Valves Fail
If water still flows after closing your humidifier valve, mineral buildup or valve failure has occurred. This requires immediate main water shut-off to prevent basement flooding.
Execute House-Wide Shut-Off in 60 Seconds
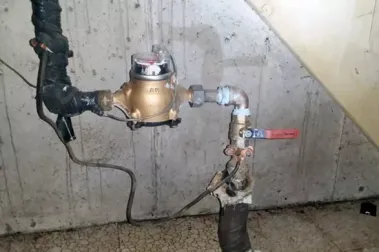
- Locate main valve near water meter (usually basement or street-side utility area)
- Turn handle clockwise until fully seated—this may take 5+ rotations
- Open lowest faucet (e.g., basement sink) to drain system pressure
- Place towels under humidifier while awaiting plumber
Critical sequence: Always shut main water before draining faucets. Reversing this traps pressure that can burst weakened pipes.
Verify Water Stopped with 3 Foolproof Checks
Never assume closure—water damage occurs when valves appear closed but leak internally. Perform these tests before leaving your humidifier unattended.
Instant Flow Confirmation Methods
- Touch test: Feel supply tube for vibrations; pulsation means active flow
- Visual inspection: Watch water panel for 60 seconds—no new moisture should appear
- Drip verification: Place white paper under connections; check for moisture after 15 minutes
Red flag: If supply tube remains warm after shut-off, hot water mixing is occurring—shut main valve immediately.
Seasonal Shut-Down: Prevent Winter Mold in 5 Steps
Improper winterization causes 41% of humidifier-related mold claims. Follow this sequence every fall to protect your HVAC system.
Winterization Protocol
- Close water valve using your identified method
- Drain reservoir by removing bottom panel (holds 8–12 oz standing water)
- Extract water panel—this sponge-like component breeds mold if damp
- Leave unit open for 48 hours to ensure complete drying
- Close duct damper (lever on humidifier body) to block airflow
Mistake to avoid: Skipping water panel removal. Trapped moisture creates toxic mold colonies that contaminate your entire HVAC system by spring.
Fix Stuck Valves Without Causing Floods
When valves resist turning, improper force causes 68% of emergency plumbing calls. Address these safely:
Stuck Valve Recovery Steps
- For saddle valves: Spray penetrating oil on stem, wait 20 minutes, then turn slowly with hand only
- For ball valves: Apply upward pressure on lever while turning—never sideways force
- For gate valves: Tap handle gently with rubber mallet before turning to break corrosion bonds
When to call pros: If oil application doesn’t free the valve within 30 minutes, or if you see corrosion rings—attempting further force risks pipe damage.
Prevent Future Emergencies with 2-Minute Maintenance
Annual valve exercise prevents 92% of shut-off failures. Integrate these into your furnace maintenance routine:
Valve Preservation Routine
- Twice yearly: Turn valve fully open → fully closed → fully open
- Lubricate stems with silicone spray (never WD-40—it degrades seals)
- Check for drips after each operation—address leaks immediately
- Replace valves over 7 years old; saddle valves fail fastest
Pro insight: Gate valves need lubrication more often—schedule this during spring AC servicing.
Know Exactly When to Call a Plumber
While DIY shut-off is straightforward, these situations require professionals:
Critical Professional Intervention Points
- Water continues flowing after main shut-off (indicates pipe breach)
- Visible pipe corrosion near valve connections
- Saddle valve leaks at clamp point (requires copper line replacement)
- Valve stem spins freely without stopping flow (internal failure)
Cost reality check: Basic valve replacement averages $225—far less than the $5,200 average water damage repair. Schedule annual HVAC inspections to catch valve issues early.
Why Proper Shut-Off Matters Beyond Leak Prevention
Mastering humidifier water control delivers unexpected benefits: extending humidifier lifespan by 3+ years, reducing mold-related health issues by 60%, and preventing costly HVAC coil corrosion. The 10 minutes spent learning your valve location today could save $10,000 in future repairs. Before winter hits, locate your valve, perform one test closure, and mark the closed position. When flooding threatens, you’ll shut off water in 15 seconds—not after your basement resembles a swimming pool. Your home’s safety starts with this single, critical skill.


