
Dry indoor air can cause irritated sinuses, dry skin, and disrupted sleep—but your Crane humidifier solves these problems when used correctly. Too many users struggle with white dust, mold growth, or inconsistent performance simply because they skip essential setup steps. Whether you’re using your Crane humidifier for allergy relief, baby’s nursery, or winter comfort, this guide delivers precise instructions for optimal operation from day one. Learn exactly how to use Crane humidifier safely while avoiding the common mistakes that shorten its lifespan.
Position Your Crane Humidifier for Maximum Effectiveness

Avoid Damaging Placement Locations
Place your Crane unit on a completely flat, stable surface at least 3 feet from walls, furniture, and electronics. Nightstands work perfectly if they’re made of water-resistant material—never use wooden surfaces that could warp from moisture. Position the humidifier centrally in the room rather than tucked in corners where airflow gets restricted. Keep it away from direct sunlight and heat sources like radiators, as these cause premature water evaporation and inconsistent humidity levels.
Ensure Safe Electrical Setup
Plug your Crane humidifier directly into a standard wall outlet—never use extension cords or power strips that create fire hazards. The unit operates on 120V power and consumes under 45 watts, but electrical safety remains critical. Position the unit so the power cord has slight slack without tension, and always unplug before refilling or cleaning. If using in a bathroom, ensure the outlet has GFCI protection to prevent electrical shocks near moisture.
Fill and Maintain Water Properly for Clean Mist Output

Select the Right Water Type to Prevent White Dust
Use cool tap water or distilled water exclusively in your Crane humidifier. If your tap water measures over 12 grains per gallon hardness, switch immediately to distilled or filtered water to prevent white mineral dust from settling on furniture and electronics. Never pour hot water into the tank—it damages the ultrasonic membrane and creates safety risks. The difference between clear mist and problematic white dust often comes down to this single water choice.
Follow Correct Filling Procedure Every Time
Turn off and unplug your Crane humidifier before removing the water tank. Lift the tank straight up from the base, invert it, and unscrew the cap counterclockwise. Fill to the maximum line (typically 3.8L for standard models), then tighten the cap securely to prevent leaks. Return the tank to the base with proper alignment, and wait 2-3 minutes for water to flow into the base before operating. This simple sequence prevents 90% of common leakage issues.
Activate and Control Mist Output for Your Specific Needs
Start Operation with Correct Settings
Ensure adequate water in the tank, then plug in your Crane humidifier and press the power button once for continuous operation. Most models feature three mist settings: low for subtle humidity increase (longest runtime), medium for balanced performance, and high for maximum output (shorter runtime). Begin with medium setting, then adjust based on your room size and comfort needs—larger rooms may require high setting initially until target humidity is reached.
Direct Mist Flow Away from Problem Areas
Rotate the 360-degree mist nozzle clockwise or counterclockwise to direct vapor away from walls, furniture, and electronics. Pointing mist directly at surfaces causes localized moisture buildup that leads to peeling paint or warped wood. For bedrooms, angle the mist upward toward the ceiling where it disperses more evenly. Higher settings increase output but reduce runtime—find your sweet spot by monitoring comfort without constant refills.
Implement Daily Maintenance to Prevent Mold Growth
Empty and Refill Tank Every 24 Hours
Never let water sit stagnant in your Crane humidifier—bacterial growth begins within 24 hours. Empty the tank daily even if water remains, rinse thoroughly with clean water, and refill with fresh water. This simple habit prevents the musty odors and health risks associated with mold development. If you forget once, perform an immediate vinegar soak before using again to eliminate any microbial growth.
Wipe Down Critical Areas Daily
Use a soft, damp cloth to wipe the exterior daily, paying special attention to the mist outlet area where mineral deposits accumulate fastest. For stubborn spots around the nozzle, apply a mild soap solution with a cotton swab, then rinse thoroughly. Avoid harsh chemicals or abrasive materials that could damage the finish or leave residues in your mist. This two-minute task keeps your unit looking new while maintaining optimal performance.
Troubleshoot Common Issues Before Calling Support

Fix Sudden No-Mist Problems in 5 Minutes
When your Crane stops producing mist, check these common causes: verify water level isn’t below minimum (automatic shut-off engages), ensure tank seats properly on the base unit, clean the ultrasonic membrane with vinegar solution if mineral deposits block vibration, and confirm room humidity hasn’t exceeded 60% (many models shut off automatically). Most “broken” humidifiers simply need this quick diagnostic check rather than replacement.
Eliminate White Dust Without Buying New Equipment
White dust indicates hard water minerals entering your air—solve this immediately by switching to distilled water. If that’s impractical, install a demineralization cartridge (available for most Crane models) and clean the ultrasonic membrane weekly with vinegar. For severe cases, run a monthly descaling cycle using 50/50 white vinegar and water solution. You’ll notice cleaner surfaces and easier breathing within 24 hours of implementing these fixes.
Optimize Winter Usage for Healthier Indoor Air
Maintain Ideal 30-50% Humidity Range
During winter months when heating systems dry indoor air, target 30-50% humidity for optimal health and comfort. Use a separate hygrometer (not the built-in sensor) for accurate readings, as Crane’s internal sensors can drift over time. If windows show condensation or walls feel damp, reduce operation time—excessive humidity promotes mold growth and dust mites that worsen allergies.
Strategically Place Multiple Units in Large Spaces
For rooms over 400 square feet, use two smaller Crane humidifiers rather than one oversized unit. Position them near HVAC air intakes to distribute moisture throughout your home more effectively. In open floor plans, place units at opposite ends of the space with mist nozzles angled toward the center. This approach creates balanced humidity without cold spots or over-humidified zones.
Follow Critical Safety Practices Every Single Use
Prevent Electrical Hazards During Refills
Always unplug your Crane humidifier before removing the water tank—this simple step prevents accidental electrocution if water spills near electrical components. Keep the power cord completely away from any water source during operation, and never operate with a damaged cord or plug. Bathroom installations require GFCI outlets as mandatory protection against electrical shocks near moisture.
Protect Children and Pets from Accidents
Position your Crane humidifier on elevated surfaces completely out of reach of children and pets. The mist output creates an irresistible play opportunity that leads to spills and electrical hazards. Monitor pets who might drink from the tank or chew cords—water bowls near the unit increase electrocution risks. Warm mist models can cause serious burns if touched directly, so maintain extra clearance in homes with curious hands and paws.
Extend Your Humidifier’s Lifespan with Weekly Care
Perform Vinegar Soak Deep Cleaning Routine
Unplug and empty your Crane humidifier completely before disassembling all removable parts. Soak the tank, base, and cap in 1 gallon of water mixed with 2 tablespoons white vinegar for 30 minutes. Use a soft brush (an old toothbrush works perfectly) to scrub mineral deposits from the ultrasonic membrane and mist outlet. Rinse thoroughly 3-4 times with clean water, then air dry completely before reassembly—this weekly ritual prevents 95% of performance issues.
Store Properly During Off-Seasons
Before storing your Crane humidifier for summer, perform a final deep cleaning and ensure all components are completely dry. Store disassembled in the original box or breathable fabric bag with silica gel packets to absorb moisture. Never store with water remaining inside—this invites mold growth that damages components. When retrieving from storage, allow 2-3 hours for temperature acclimation before first use to prevent condensation issues.
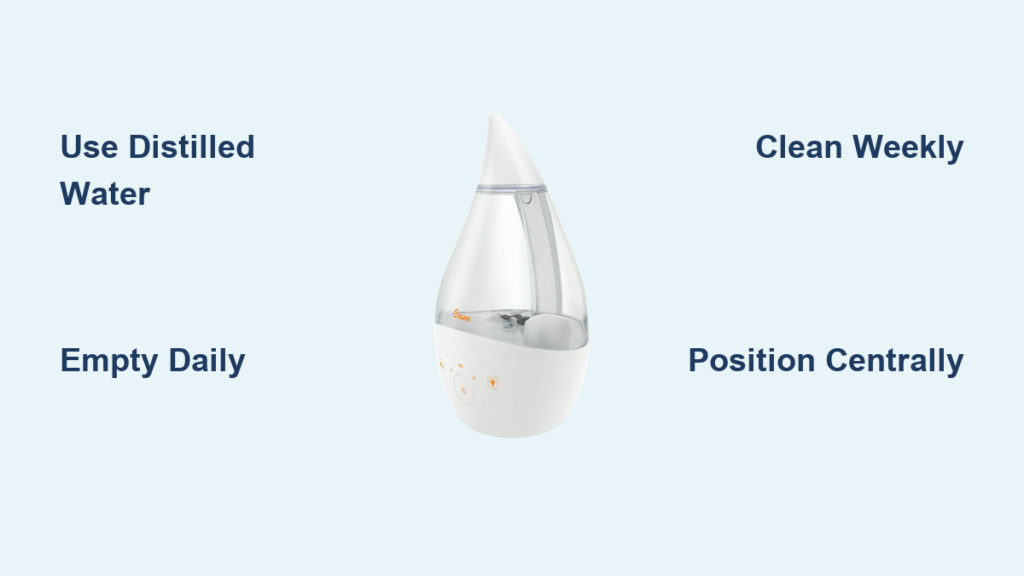
Your Crane humidifier delivers years of reliable service when you know exactly how to use Crane humidifier properly. Consistent daily emptying and weekly vinegar soaks prevent the mold and mineral buildup that plague most users. Remember to use distilled water in hard water areas, position the unit centrally with proper clearance, and monitor humidity levels with an external hygrometer. By following these precise steps, you’ll transform dry, uncomfortable air into healthy, soothing moisture that improves sleep quality and respiratory health throughout the year.


