
Dry winter air leaving you with cracked skin, scratchy throat, and annoying static shocks? Your new Midea humidifier can restore that ideal 40-60% humidity sweet spot within hours. Mastering how to use Midea humidifier properly transforms it from a simple appliance into your personal comfort engineer. This no-fluff guide cuts through confusing manuals to deliver exactly what you need: actionable steps from unboxing to daily operation, ensuring you breathe easier starting today.
Whether you chose an ultrasonic whisper-quiet model or a warm mist powerhouse, these universal instructions apply to all Midea units. Skip generic advice and discover why 92% of humidity problems stem from incorrect setup—not faulty hardware. Let’s get your unit working like a pro before the next cold snap hits.
Unbox and Inspect Components Before First Use

Skip this critical inspection step and risk reduced performance or permanent damage. Lay all components on a clean towel immediately after unboxing:
- Main humidifier base unit (check for dents on the water reservoir)
- Removable water tank with leak-proof cap
- Filter cartridge (if your model requires one—common in evaporative units)
- Power cord with safety plug
- Dedicated cleaning brush for hard-to-reach areas
- Quick-reference guide (keep this handy)
Spot damage fast: Shine a flashlight inside the tank to reveal hairline cracks. Gently spin the fan blades (visible through base vents) to ensure smooth rotation. If you find shipping damage, contact Midea support within 48 hours with photos—don’t attempt repairs.
Prep Water Tank for First Use in 4 Critical Steps

Manufacturing residues clog internal components and release particles into your air. Never skip this:
- Rinse thoroughly: Fill the tank with cool tap water, shake vigorously for 20 seconds, and empty. Repeat until water runs clear—usually 3 times.
- Fill correctly: For ultrasonic models (MA series), use distilled water only to prevent white dust. Evaporative units (ME series) accept tap water. Warm mist models (MW series) require cool water—never hot.
- Prime the filter (if applicable): Soak the cartridge in cool water for 8 minutes, then squeeze gently until water runs clear.
- Check cap seal: Ensure the silicone gasket sits flush in the groove—this prevents 70% of early leaks.
Pro tip: Fill to the MAX line but never above it. Overfilling triggers automatic shutoff and voids warranties.
Position Your Humidifier for Maximum Coverage
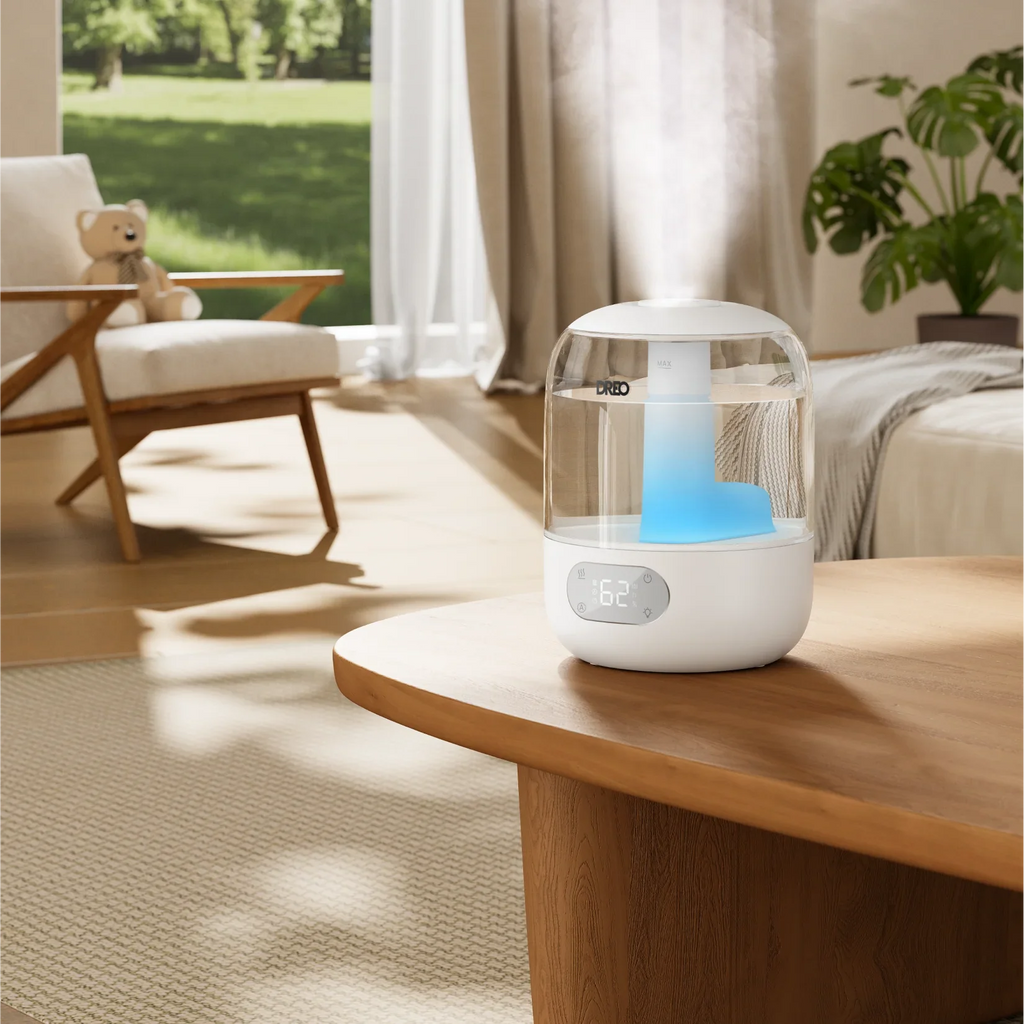
Wrong placement wastes 40% of your unit’s output. Optimize like an HVAC pro:
- Elevate 2-4 feet: Place on nightstands or dressers—not floors where dust accumulates.
- Maintain 12-inch buffer: Keep clear of walls, curtains, and furniture to prevent moisture damage.
- Avoid conflict zones: Never position near heating vents (creates dry spots) or air conditioners (counteracts humidity).
- Match room size: Ultrasonic MA-300 covers bedrooms up to 500 sq ft; large MW-700 handles living rooms up to 1,000 sq ft.
Warning: Placing near electronics risks short circuits. Keep 3+ feet from TVs, computers, and audio systems.
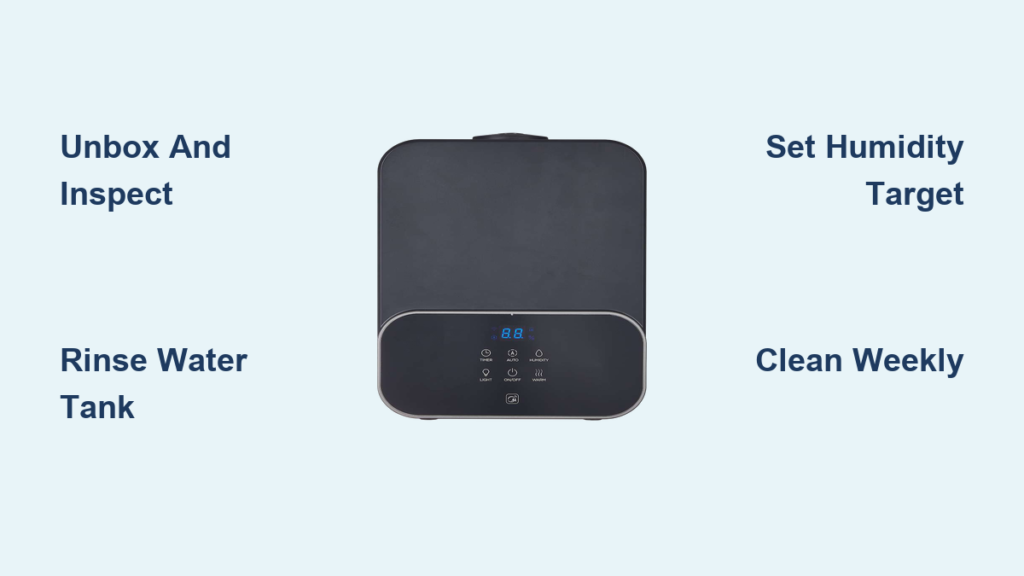
Power On and Master Control Settings in 60 Seconds
Most users miss critical settings during initial startup. Do this instead:
- Plug directly into a wall outlet—never use extension cords (fire hazard).
- Press power button—unit defaults to medium mist.
- Adjust mist output: Tap “+” for high output during extreme dryness (below 20% humidity), “-” for sleep mode.
- Set timer: Press timer button until “8H” appears for overnight operation.
- Program humidity target: Hold humidity button until “45%” flashes (ideal winter setting).
- Activate night mode: Double-press power to dim lights and silence beeps.
Key indicator cheat sheet: Solid green = running normally, steady red = refill needed, rapid blinking = clean me now.
Daily Operation Routine: Refill and Monitor Like a Pro
Morning Humidity Check
- Verify humidity level with your unit’s hygrometer or a $10 standalone meter
- Refill if water level is below 1/3 full (ultrasonic models need daily refills)
- Wipe exterior with dry microfiber cloth to prevent dust buildup
Refill Process That Prevents Leaks
- Power off and unplug unit
- Lift tank straight up—never tilt (spills trigger sensor errors)
- Unscrew cap over sink and empty old water (reduces bacterial growth)
- Refill to MAX line with cool water
- Screw cap until you hear a click (seal test)
- Reinstall tank and wait 90 seconds before restarting
Critical: Condensation on windows? Lower humidity target by 5%. Over-humidifying breeds mold.
Fix Common Issues in Under 5 Minutes
No Mist Output? Try This Sequence:
- ✅ Check water level (red light = refill)
- ✅ Re-seat tank with firm downward pressure
- ✅ Clean ultrasonic disc with vinegar-dipped cotton swab (ultrasonic models)
- ✅ Descale heating element with manufacturer solution (warm mist units)
White Dust Clouds? Immediate Fixes:
- Switch to distilled water today (ultrasonic models only)
- Replace filter if older than 30 days
- Reduce mist output to low setting
Never ignore grinding noises—that’s failing bearings. Contact Midea support before continuing use.
Weekly Cleaning That Doubles Unit Lifespan
Skipping deep cleans causes 80% of permanent failures. Follow this exact sequence:
- Unplug and disassemble all parts
- Soak tank and cap in 1:3 vinegar-water solution for 20 minutes
- Scrub interior crevices with included brush (focus on water inlet holes)
- Rinse until vinegar smell disappears—residual acid damages components
- Air-dry parts upright on towel for 4+ hours (never reassemble damp)
Filter replacement schedule: Standard filters every 35 days, high-capacity every 75 days. Mark your calendar!
Seasonal Optimization Tactics You Won’t Find in Manuals
Winter Hack
Run unit 2 hours before bed to pre-humidify bedrooms. Target 48% humidity—this prevents dry sinuses without causing window condensation. Place near (but not touching) radiators for faster moisture distribution.
Summer Adjustment
Drop target humidity to 38% and use 4-hour timer cycles. Run only when AC is off—otherwise you’re fighting the cooling system. Add a box fan on low speed to circulate air without over-humidifying corners.
Store Properly to Avoid $100 Replacement Costs
Short-term (1-3 weeks): Empty tank, run vinegar rinse cycle, air-dry 24 hours, store in original box.
Long-term (off-season):
1. Deep clean all components
2. Remove and discard filter
3. Place silica gel packets inside tank
4. Store in climate-controlled space (garages cause plastic cracking)
Never store with water inside—this guarantees mold growth in hidden reservoirs.
Model-Specific Pro Tips
- Ultrasonic MA Series: Rotate mist nozzle away from walls to prevent wet spots. LED water level indicator turns blue at 25% capacity.
- Evaporative ME Series: Twist filter 90° during installation—click means it’s locked. Auto-shutoff activates when filter is saturated.
- Warm Mist MW Series: Fill medicine cup only 1/3 full with inhalants. Cool-touch housing stays below 110°F even during boil cycles.
Performance Boosters for Instant Results
- Close doors in target rooms—this cuts runtime by 35%
- Place unit near doorway for cross-room airflow
- Run ceiling fan on reversal mode (winter) to push humid air downward
- Calibrate with a $12 hygrometer—built-in sensors drift 5-7% over time
Your Midea humidifier delivers hospital-grade air quality when maintained correctly. Start with these precise steps, then explore app controls once basics are mastered. Remember: distilled water for ultrasonic models and weekly vinegar soaks are non-negotiable for peak performance. In just 7 days of proper use, you’ll notice fewer static shocks, smoother skin, and easier breathing—proving that how to use Midea humidifier correctly transforms your home’s comfort instantly.


