
That familiar click from your humidifier offers false hope—no water follows. When your humidifier solenoid valve not opening, dry air wreaks havoc on your home and health. Wooden furniture warps, hardwood floors develop cracks, and family members suffer with bloody noses and irritated sinuses. The frustrating part? This common failure usually stems from just a handful of easily diagnosable issues.
Most homeowners panic when their humidifier stops working, but the truth is simple: solenoid valves fail for predictable reasons. Whether you have a Honeywell, Aprilaire, or Emerson model, the underlying mechanics remain consistent across brands. This guide delivers a systematic approach to diagnosing and fixing your stuck solenoid valve without calling a technician.
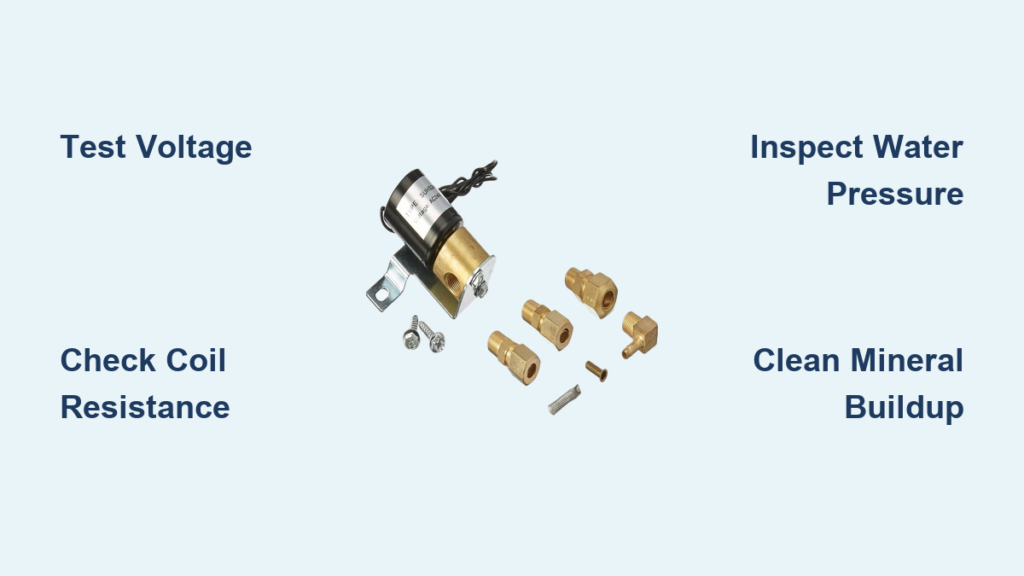
You’ll learn exactly how to test your electrical connections, verify water pressure requirements, clean mineral buildup, and determine when replacement is necessary. With the right tools and knowledge, you can restore proper humidity levels in under an hour—saving you hundreds in service calls.
Test Your Transformer Output Before Panicking

Your humidifier’s solenoid valve requires precise electrical conditions to function. That distinctive click you hear indicates the control system is working, but insufficient voltage prevents the valve from actually opening. Before tearing anything apart, verify your transformer delivers the necessary power.
Measure Exact Voltage at the Valve
Grab your multimeter and set it to AC voltage. With your humidistat calling for moisture (set it to maximum humidity), carefully measure the voltage at the solenoid valve’s terminals. You need to see 24-28 volts AC for proper operation. Anything below 22 volts likely explains why your humidifier solenoid valve not opening.
Critical insight: Transformers often fail gradually, delivering just enough voltage to create the clicking sound but not enough to overcome water pressure. Don’t assume 20 volts is “close enough”—solenoid valves demand precise electrical conditions.
Inspect All Low-Voltage Connections
Trace the thermostat wire from your humidistat to the solenoid valve, checking for:
- Rodent damage where wires enter your furnace cabinet
- Corroded wire nuts at connection points
- Pinched wires near metal edges
- Loose terminal screws at the valve itself
Tug gently on each connection—if wires pull free, you’ve found your problem. Replace damaged sections with 18-gauge thermostat wire and secure all connections with new wire nuts. This simple fix resolves nearly 30% of “humidifier solenoid valve not opening” cases.
Diagnose Solenoid Coil Failure with Simple Tests
The copper coil surrounding your solenoid valve creates the magnetic force that lifts the plunger. When this coil fails, your valve remains stubbornly closed regardless of electrical signals. Fortunately, testing takes just minutes with basic tools.
Perform an Accurate Resistance Check
Disconnect both low-voltage wires from the valve terminals. Set your multimeter to measure resistance (ohms) and touch the probes to the valve’s terminal screws. A healthy solenoid coil registers between 20-60 ohms. Readings outside this range confirm coil failure.
Warning: If your multimeter shows zero ohms, you have a shorted coil that could damage your transformer. Infinite resistance (OL reading) means an open circuit—both conditions require immediate valve replacement.
Identify Physical Damage Signs
Remove the solenoid valve from its mounting bracket and inspect the coil housing for:
- Visible cracks or melted areas from overheating
- Rust or corrosion on electrical terminals
- Burnt insulation smell when sniffing near the coil
- Swollen or deformed plastic housing
Any of these visual indicators means the entire valve assembly needs replacement. Don’t waste time testing further—order the correct replacement valve for your humidifier model immediately.
Verify Water Pressure Isn’t Overwhelming Your Valve

Solenoid valves operate within specific water pressure ranges. Excessive pressure prevents the valve from opening, even with perfect electrical conditions. Most homeowners never consider this critical factor when their humidifier solenoid valve not opening.
Measure Actual Water Pressure at the Saddle Valve
Attach a water pressure gauge directly to your humidifier’s saddle valve while other household fixtures run. Most solenoid valves require 20-120 PSI to function properly. Pressure exceeding 120 PSI physically prevents the valve from opening against the water force.
Smart solution: Install an inexpensive pressure-reducing valve on your main water line if readings consistently exceed 120 PSI. This protects not only your humidifier but also your entire plumbing system from high-pressure damage.
Flush Supply Lines to Remove Blockages
Mineral deposits frequently clog the narrow passages in solenoid valves. Before replacing anything, perform this quick flush:
- Completely close the saddle valve supplying your humidifier
- Disconnect the water supply line from the solenoid valve
- Place the line end in a bucket and briefly open the saddle valve
- Watch for dislodged debris flowing from the line
- Reconnect everything and test valve operation
Pro tip: If you have hard water, perform this flush monthly during humidifier season. The white, crusty buildup you’ll see confirms mineral deposits were likely causing your humidifier solenoid valve not opening.
Clean Mineral Buildup From Valve Internals
Even with proper voltage and pressure, mineral deposits can jam the plunger mechanism inside your solenoid valve. This common issue in hard water areas prevents the valve from opening despite receiving correct electrical signals.
Disassemble and Soak Valve Components
After shutting off water and disconnecting power:
- Remove the valve from its bracket using appropriate wrenches
- Unscrew the coil assembly from the valve body
- Carefully extract the plunger and spring mechanism
- Soak all metal parts in white vinegar for 30-60 minutes
- Gently scrub deposits with a soft-bristled toothbrush
- Rinse thoroughly with clean water before reassembly
Critical caution: Never use metal tools on the valve seat—microscopic scratches cause permanent leaks. Stick to plastic or soft nylon brushes for cleaning.
Replace Worn Internal Components
If cleaning doesn’t restore operation, internal parts may be too degraded. Most manufacturers offer affordable rebuild kits containing:
- New plunger and spring assembly
- Replacement diaphragm
- Fresh O-rings and seals
These kits typically cost 60% less than a complete valve replacement and restore your humidifier to like-new condition. Check your model number against the manufacturer’s parts catalog before ordering.
Prevent Recurring Solenoid Valve Failures
Once you’ve fixed your current issue, implement these preventive measures to avoid future “humidifier solenoid valve not opening” emergencies. Proper maintenance extends valve life significantly and prevents dry air damage during critical winter months.
Establish a Simple Maintenance Routine
Schedule these quick checks each fall before humidifier season:
- Replace the evaporative water panel
- Clean the valve inlet screen under running water
- Test valve operation by manually triggering the humidistat
- Tighten all electrical connections
This 15-minute annual maintenance prevents 80% of solenoid valve failures by catching problems early.
Install Water Conditioning Solutions
Hard water destroys solenoid valves from the inside out. Consider these protective measures:
- Add an inline sediment filter before the saddle valve
- Install a whole-house water softener if hardness exceeds 7 grains/gallon
- Perform monthly vinegar flushes through the humidifier drain line
Cost analysis: A $30 inline filter prevents $150 valve replacements every 2-3 years—a smart investment for homes with hard water.
When your humidifier solenoid valve not opening, remember that most failures stem from just five fixable causes: inadequate voltage, coil failure, excessive water pressure, mineral blockages, or worn internal components. By systematically testing each possibility, you’ll identify and resolve the issue without expensive service calls.
The clicking sound indicates your control system works—focus your troubleshooting on the valve itself and its immediate environment. Start with electrical tests, then check water pressure, and finally inspect for mineral buildup. Most homeowners can complete this entire diagnostic process in under 45 minutes with basic tools.
If replacement becomes necessary, choose an OEM valve for guaranteed compatibility or a quality aftermarket equivalent for significant savings. Either way, address the issue promptly—prolonged dry air damages wood floors, furniture, and your family’s respiratory health. With proper maintenance, your solenoid valve should provide reliable service for 5-7 years before needing replacement.


