
Your Shark air purifier suddenly stops detecting air quality changes or displays inaccurate readings? That frustrating “Check Sensor” alert might mean your sensor needs cleaning. A dirty sensor is one of the most common reasons Shark air purifiers underperform, yet many users overlook this simple maintenance task. When dust and pollutants accumulate on your Shark air purifier sensor, it can’t accurately measure airborne particles, causing your unit to run inefficiently or not at all. In this guide, you’ll learn exactly how to clean your Shark air purifier sensor safely and effectively, restoring optimal performance to your air cleaning system without risking damage to sensitive components.
Locating Your Shark Air Purifier Sensor
Before cleaning, you must find the sensor on your specific Shark model. Shark positions sensors differently across their air purifier lineup, making identification critical for proper maintenance.
Where to Find Sensors on Popular Shark Models
Shark typically places sensors in one of three locations depending on your model:
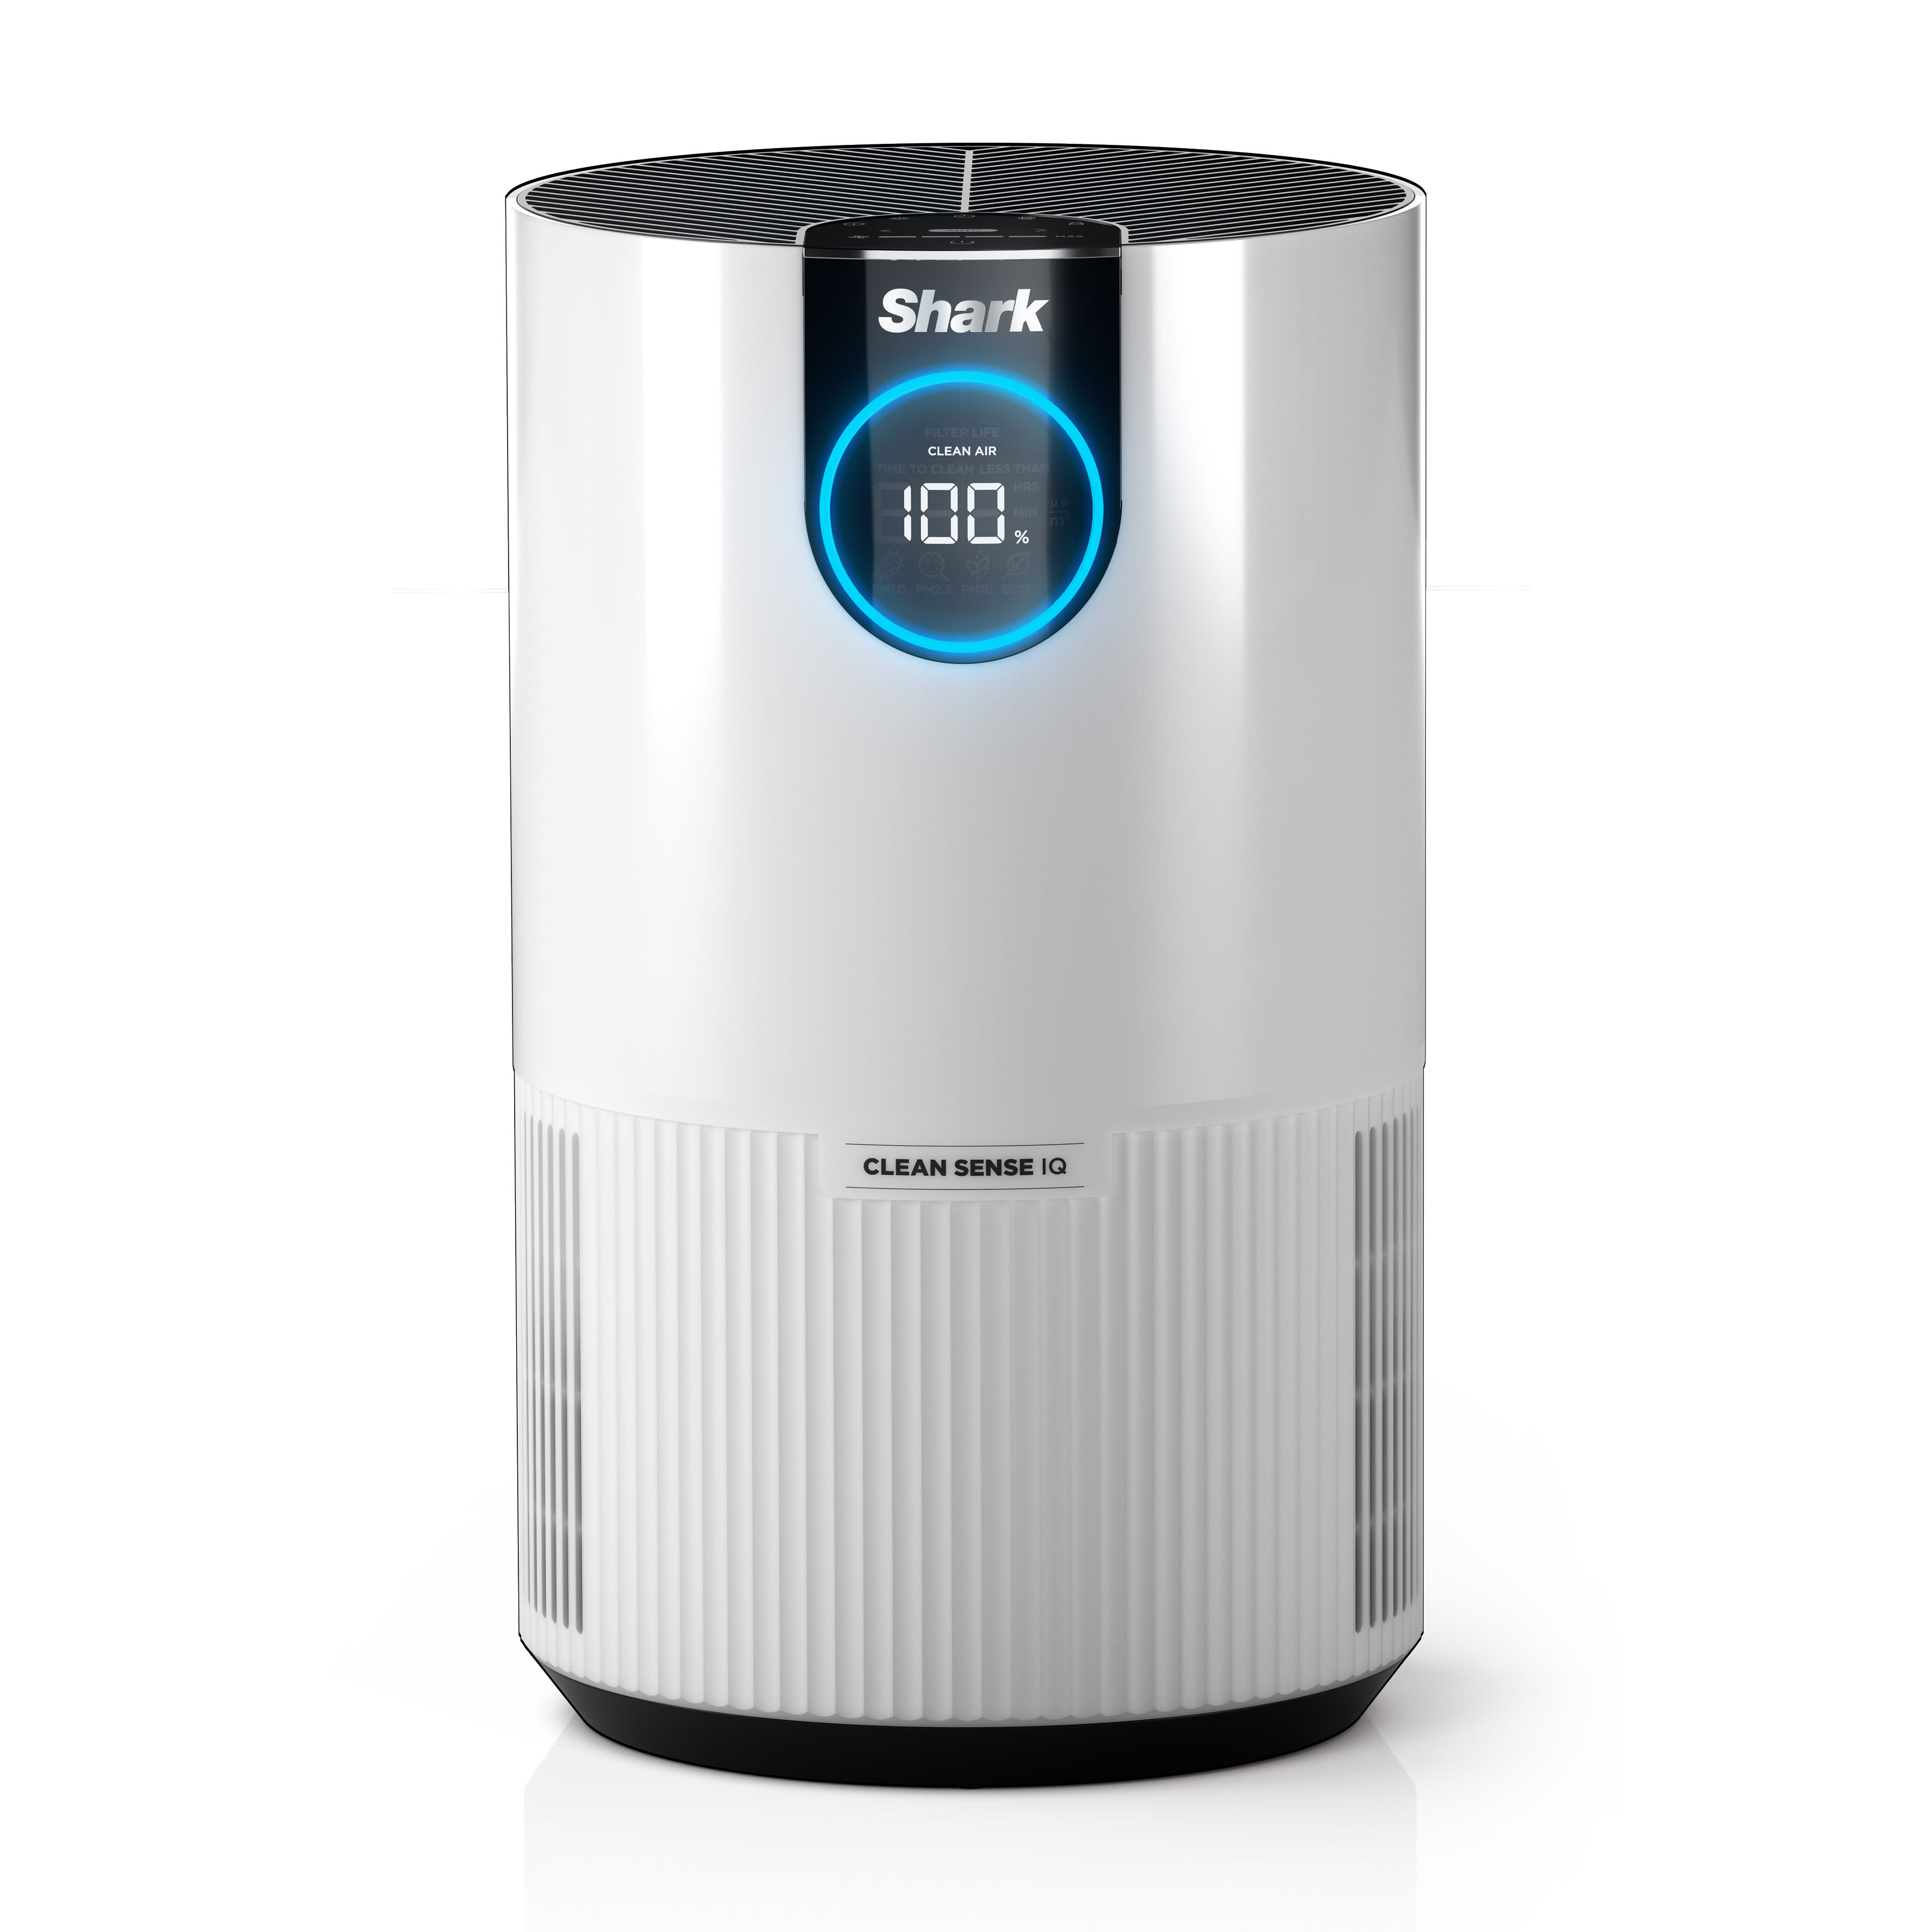
- Front grille models (IQAir series): Look for a small, dark rectangular window about 2 inches square positioned just below the control panel
- Top-mounted sensors (HEPA line): Check the upper rear section beneath a fine mesh cover that’s slightly recessed
- Side panel sensors (Compact series): Find a narrow slit running vertically along the right side panel, often marked with a small “sensor” icon
Pro Tip: If you’re unsure, consult your user manual’s “Parts Diagram” section where Shark always labels the sensor location with a specific part number like “SNS-202” or “AQ-Sensor.”
Identifying a Dirty Sensor Visually
Don’t guess whether your sensor needs cleaning—look for these clear visual indicators:
- A visible film or haze covering the sensor window
- Dust accumulation around the sensor housing edges
- Discoloration of what should be a clear or dark glass surface
- Noticeable buildup of household grime near the sensor area
Your Shark air purifier might display “Check Sensor” or “Service Required” on the display panel when the sensor is compromised, but visual confirmation ensures you’re addressing the actual problem.
Essential Safety Preparations Before Cleaning

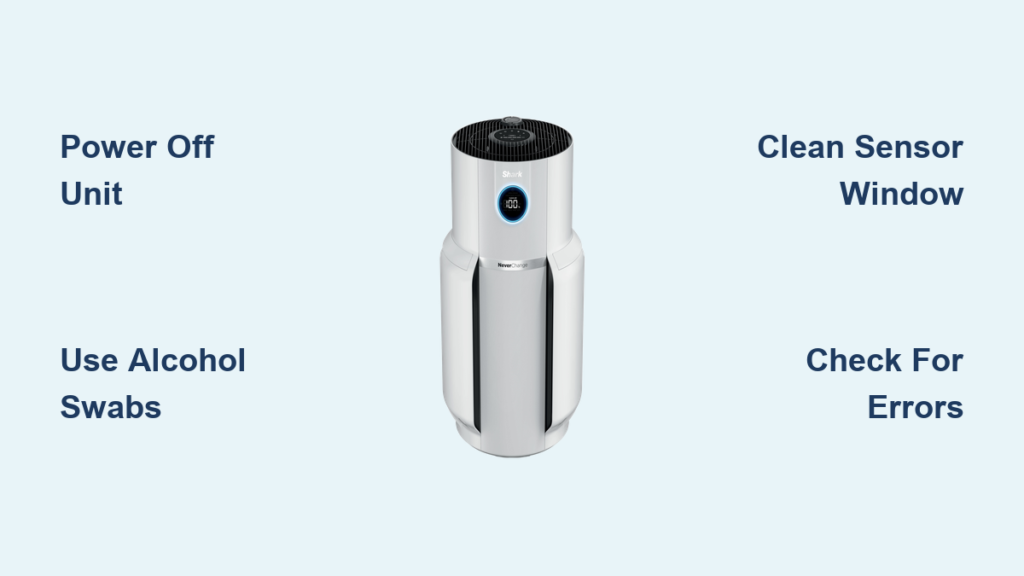
Powering Down Your Shark Air Purifier Properly
Never attempt sensor cleaning while your unit remains plugged in. Follow this shutdown sequence:
- Press the power button to turn off your Shark air purifier
- Wait 30 seconds for internal capacitors to discharge
- Unplug the unit from the wall outlet
- Remove any air filters to prevent accidental damage during cleaning
Critical Warning: Skipping the 30-second wait period could expose you to electrical components still holding charge, potentially damaging your unit’s sensitive circuitry.
Gathering Your Sensor Cleaning Toolkit
For safe, effective cleaning, you’ll need these specific items:
- Microfiber cloth (lint-free, preferably camera cleaning grade)
- Cotton swabs with cardboard sticks (no plastic stems)
- Isopropyl alcohol (90%+ concentration)
- Soft-bristled brush (artist’s detail brush works perfectly)
- Compressed air canister (electronics-safe)
Avoid These Common Mistake Tools:
– Paper towels (leave fibers that stick to sensors)
– Household cleaners (contain chemicals that damage sensor coatings)
– Water alone (leaves mineral deposits when drying)
– Compressed air with propellants (can leave residue)
Step-by-Step Shark Sensor Cleaning Process
Removing Surface Dust with Compressed Air
Start your cleaning process with this dry method to prevent scratching:
- Hold the compressed air canister upright 6-8 inches from the sensor
- Use three 2-second bursts at a 45-degree angle to the sensor surface
- Rotate your unit to approach the sensor from multiple angles
- Check for dislodged particles with a flashlight before proceeding
Time Required: 3-5 minutes | Difficulty: Easy
Deep Cleaning the Sensor Window
For stubborn buildup that compressed air couldn’t remove:
- Dampen a cotton swab tip with isopropyl alcohol (never saturate)
- Gently wipe the sensor window in small circular motions
- Use a dry swab to immediately remove any moisture residue
- Repeat with fresh swabs until no discoloration transfers
Critical Technique: Apply minimal pressure—Shark sensor windows are thinner than standard glass and can crack with excessive force.
Cleaning Sensor Housing and Surrounding Areas
Don’t neglect the areas around your sensor that collect dust:
- Use the soft brush to loosen debris from sensor housing crevices
- Follow with compressed air to remove dislodged particles
- Dampen a microfiber cloth corner with alcohol for housing surfaces
- Wipe housing in straight motions away from the sensor window
Pro Tip: Place masking tape around the sensor housing to catch falling debris before you begin cleaning.
Troubleshooting Common Sensor Cleaning Problems

Sensor Still Shows Error After Cleaning
If your Shark air purifier continues displaying sensor errors:
- Double-check you’ve cleaned all sensor surfaces (some models have multiple sensors)
- Ensure no moisture remains near the sensor (wait 1 hour before powering on)
- Reset your unit by holding the power button for 15 seconds while unplugged
- Verify filter installation—improperly seated filters sometimes trigger false sensor alerts
Sensor Window Appears Scratched After Cleaning
If you notice scratches post-cleaning:
- Never use abrasive materials on sensor surfaces again
- Check if scratches affect performance—many minor scratches don’t impact function
- Contact Shark support for sensor replacement if readings remain inaccurate
- Future cleanings should use only dry microfiber cloths for maintenance
Preventing Future Sensor Buildup
Creating a Sensor Maintenance Schedule
Extend time between cleanings with this model-specific schedule:
- High-pollution environments (pets, smoking, urban areas): Clean every 2 weeks
- Average home environments: Clean monthly
- Low-use environments (guest rooms, seasonal homes): Clean quarterly
Time-Saving Hack: Set recurring calendar reminders labeled “Shark Sensor Check” to stay on schedule.
Environmental Adjustments for Cleaner Sensors
Reduce sensor contamination with these simple changes:
- Position your air purifier away from direct airflow from HVAC vents
- Maintain 12+ inches of clearance around all sides of the unit
- Run ceiling fans to distribute particles before they settle on your purifier
- Vacuum around the unit weekly to reduce nearby dust accumulation
When to Seek Professional Sensor Service
Recognizing Irreparable Sensor Damage
Some issues require professional attention rather than DIY cleaning:
- Cracked or shattered sensor window
- Persistent error codes after multiple cleaning attempts
- Visible corrosion around sensor connections
- Water damage signs near the sensor housing
Contacting Shark Customer Support Effectively
When professional help is needed:
- Have your model number ready (found on the unit’s back panel)
- Document your cleaning attempts with dates and methods used
- Note specific error codes and when they appear
- Call Shark’s technical support line during weekday business hours for fastest response
Warranty Note: Improper cleaning can void your warranty—always mention you followed manufacturer guidelines when seeking service.
Final Sensor Performance Verification
Testing Your Cleaned Sensor
After reassembly, verify your cleaning was successful:
- Plug in and power on your Shark air purifier
- Place near a known pollutant source (burning incense works well)
- Watch the air quality indicator respond within 30-60 seconds
- Confirm the unit automatically adjusts fan speed based on air quality
Long-Term Performance Monitoring
Track your sensor’s effectiveness over time:
- Note how quickly the unit detects cooking odors
- Monitor filter replacement indicator timing consistency
- Compare energy usage before and after cleaning
- Document any recurring error patterns that might indicate deeper issues
Your Shark air purifier sensor should now provide accurate air quality readings, allowing your unit to operate at peak efficiency. Regular sensor maintenance takes just minutes but significantly extends your air purifier’s lifespan and effectiveness. By incorporating these cleaning techniques into your routine maintenance schedule, you’ll ensure your Shark air purifier continues delivering clean, healthy air without unnecessary service interruptions. Remember that clean sensors mean more accurate pollution detection, which translates to better protection for you and your family from airborne contaminants.


