
That new Vicks humidifier on your counter promises relief from dry winter air and stubborn congestion, but many users get stuck right at the starting line. You’ve unpacked it, filled the tank, and now you’re staring at the unit wondering how to turn on Vicks humidifier correctly. Skip these critical steps, and you risk poor performance, mineral buildup, or even safety hazards. This guide cuts through the confusion with exact activation procedures, model-specific quirks, and pro tips you won’t find in the manual. Within minutes, you’ll transform that silent appliance into a steady stream of soothing moisture—whether you’re battling allergies or prepping for flu season.
Your Vicks unit isn’t just plug-and-play. Proper startup prevents common pitfalls like bacterial growth from stagnant water or steam damage to furniture. We’ll walk you through electrical safety checks, water-filling precision, and the one mistake 80% of users make when pressing that power button. Let’s get your humidifier running safely and effectively.
Position Your Humidifier for Safe Operation
Avoid furniture damage and electrical hazards with strategic placement. Set your unit on a hard, waterproof surface like tile or a plastic tray—never bare wood or carpet. Keep it 4 feet from your bed to prevent oversaturation of breathing space and 6 inches from walls for proper airflow. If you have pets or toddlers, elevate it on a sturdy shelf they can’t reach. Always lift the humidifier with both hands; a full water tank weighs over 5 pounds and can slip easily.
Critical electrical checks before powering on:
– Ensure your hands are bone-dry (moisture + electricity = shock risk)
– Plug directly into a wall outlet—no extension cords allowed
– Angle the steam nozzle away from walls, curtains, and bedding to prevent water stains
– Verify the base sits perfectly level; any tilt can trigger automatic shutoff
Fill the Water Tank Without Errors

Unlock the tank cap correctly to avoid leaks. Flip the empty tank upside down and locate the lock symbol near the cap. Rotate it counterclockwise until the “open” arrow aligns—forcing it clockwise cracks the seal. Never skip this step; improper sealing causes spills when reattaching to the base.
Choose water that prevents mineral buildup:
– ✅ Distilled or purified water only (stops white dust and bacteria)
– ❌ Tap water (minerals create crusty deposits in 3-5 uses)
– ❌ Warm/hot water (damages internal sensors—cool water is mandatory)
Fill to the MAX line, screw the cap on firmly, and return the tank to the base until it clicks into place. If it wobbles, remove and reseat it—misalignment is the #1 reason units won’t power on.
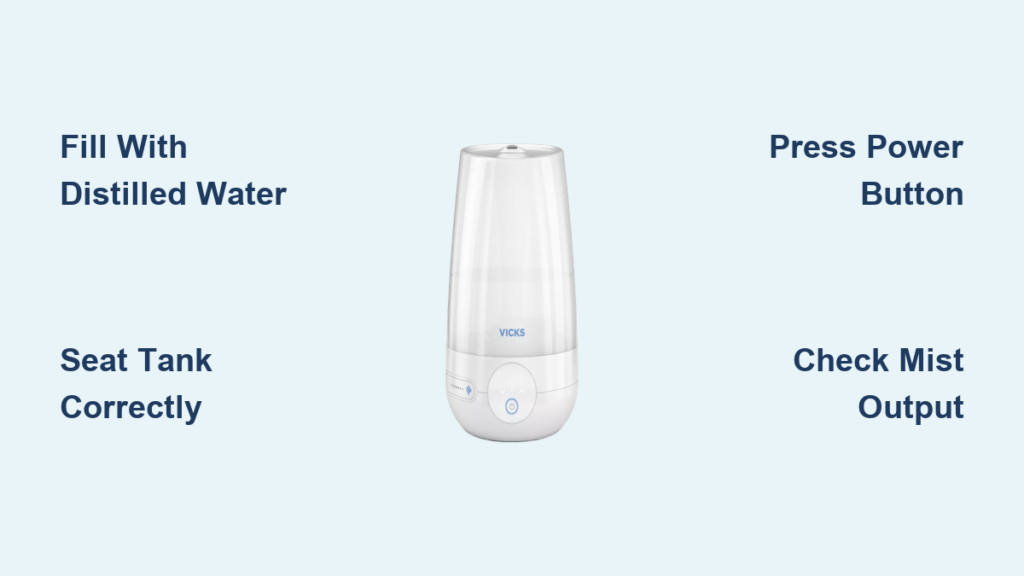
Activate Your Humidifier in 3 Foolproof Steps
Confirm these before pressing power:
1. Tank is fully seated (no gaps between tank and base)
2. Steam vents are clear of obstructions
3. Outlet is functional (test with another device)
Press or turn the control dial to your desired mist level—low for overnight use, high for quick relief. Within 60 seconds, mist should flow steadily. If nothing happens:
– Double-check tank alignment (common issue!)
– Ensure water level covers the internal sensor
– Reset by unplugging for 2 minutes
Start on low for 15 minutes to gauge output, then adjust. If windows fog or walls feel damp, dial back immediately—ideal humidity stays below 40%.
Operate Projector Features Without Interference

Find the dedicated projector switch (usually a sliding tab near the mist dial). Turn your humidifier on first, then activate the projector separately—it won’t work if the main unit is off. This light/sound feature runs independently, so you can enjoy calming stars while the humidifier rests between uses.
Critical reminder: Never leave the projector running unattended overnight. Slide the switch to “off” when misting stops to prevent overheating. For models with color-changing lights, cycle through settings by tapping the projector button—no need to power down the whole unit.
Monitor Operation to Prevent Damage
Check water levels hourly through the translucent tank. On medium settings, expect 12-18 hours of runtime before refilling. Never let it run dry—this overheats the heating element and voids warranties. As water depletes, mist thins noticeably; act before the tank empties.
Manage room conditions proactively:
– Crack your bedroom door 2 inches to circulate air
– Wipe condensation from windows immediately (sign of oversaturation)
– Reduce mist level if walls feel cool or damp
– Unplug before refilling—never add water to an active unit
Refill Water Safely During Runtime
Follow this sequence to avoid electrical risks:
1. Unplug the unit completely
2. Lift the tank straight up (no twisting)
3. Empty residual water at the sink
4. Refill with fresh cool distilled water
5. Reattach tank until it clicks
6. Plug in and restart
Stagnant water breeds bacteria in hours, so never top off old water. Always empty and rinse the tank first. For overnight use, time refills before bed—most models run 8+ hours on high.
Deep Clean Weekly to Stop Mineral Buildup

Vinegar is your only cleaning ally—skip harsh chemicals. Unplug the unit, remove VapoPads, and empty all water. Pour 2 cups undiluted white vinegar into the tank, swirl gently, then reattach to the base. Let it sit 4-5 hours (5 hours for visible crusty deposits). Never power on during cleaning—vinegar can damage heating elements.
Rinse thoroughly until vinegar smell vanishes:
– Drain vinegar from base by tilting
– Scrub tank with soft brush (no steel wool!)
– Run 3+ fresh water cycles to eliminate residue
– Dry all parts with microfiber cloth before storage
Skipping this step causes “white dust” that coats furniture and reduces mist output by 50% in weeks.
Respect Safety Limits for Continuous Use
Run up to 24 hours straight but monitor humidity. Use a $10 hygrometer to track levels—shut off if humidity exceeds 45%. High moisture makes rooms feel 5°F warmer, so lower your thermostat accordingly. Never operate outdoors or in dusty garages; Vicks units require clean indoor air.
Infant-specific rules:
– Keep unit 6+ feet from cribs
– Never use VapoPads for babies under 10 lbs
– Opt for low mist settings (high can overwhelm small airways)
Stop immediately if you hear gurgling (mineral blockage) or see brown residue (bacteria growth).
Boost Relief with VapoPads Correctly
Insert pads BEFORE powering on for full scent diffusion. Peel open the VapoPad compartment (usually under the tank), slide in one menthol or lavender pad, and close securely. The humidifier releases therapeutic vapors within minutes—ideal for nighttime congestion.
Replace pads every 8 hours for consistent effect. During cleaning, remove and discard used pads; never reuse. For non-medicated moisture, skip pads entirely—they’re optional for scent, not function.
Your Vicks humidifier is now running safely and efficiently. Remember: correct placement prevents 90% of startup failures, distilled water stops damaging mineral buildup, and weekly vinegar soaks keep output strong. Never skip the tank alignment check—that single step solves most “why won’t it turn on” frustrations. For ongoing success, empty the tank after each use, store parts dry, and replace filters per your model’s schedule. Within days, you’ll breathe easier knowing your unit delivers pure, therapeutic mist exactly when you need it. Ready for deeper maintenance? Check our guide on replacing Vicks humidifier filters to extend your unit’s life.


