A smoke detector is only as good as its ability to alert you in time, yet many homes rely on aging alarms past their prime. If your First Alert smoke detector is nearing 10 years old, it’s time to replace it, even if it still beeps during testing. Over time, sensors degrade due to dust, humidity, and normal wear, reducing their reliability when you need them most. Replacing your smoke alarm isn’t just about swapping units, it’s about ensuring your home stays protected with up-to-date technology and dependable detection.
Whether you’re dealing with a battery-powered model, a sealed 10-year unit, or a hardwired system with interconnectivity, this guide walks you through every step of replacing your First Alert smoke detector safely and correctly. You’ll learn how to identify your alarm type, choose the right replacement, follow model-specific installation steps, and avoid common mistakes that compromise safety. No guesswork, no jargon, just clear, actionable instructions to keep your family safe.
Know When to Replace Your First Alert Smoke Detector
Check the 10-Year Expiration Date
All First Alert smoke detectors should be replaced every 10 years from the date of manufacture, regardless of test performance. Even if the test button works, internal sensors lose sensitivity over time. To find the manufacture date, remove the unit from its mounting bracket and look for a label on the back. If the date is within 10 years of today, or older, replace it immediately.
Replace All Alarms at the Same Time
If your home has multiple First Alert alarms of the same age, replace them all together. This approach ensures consistent protection and resets the replacement clock across your entire home. Writing the installation date inside each new unit helps you stay on schedule for future replacements.
Watch for These Warning Signs
Frequent false alarms, chirping that won’t stop after battery replacement, a faded or damaged casing, or failing test results all indicate it’s time to upgrade. Don’t wait for the alarm to fail completely before taking action.
Identify Your Current Alarm Type
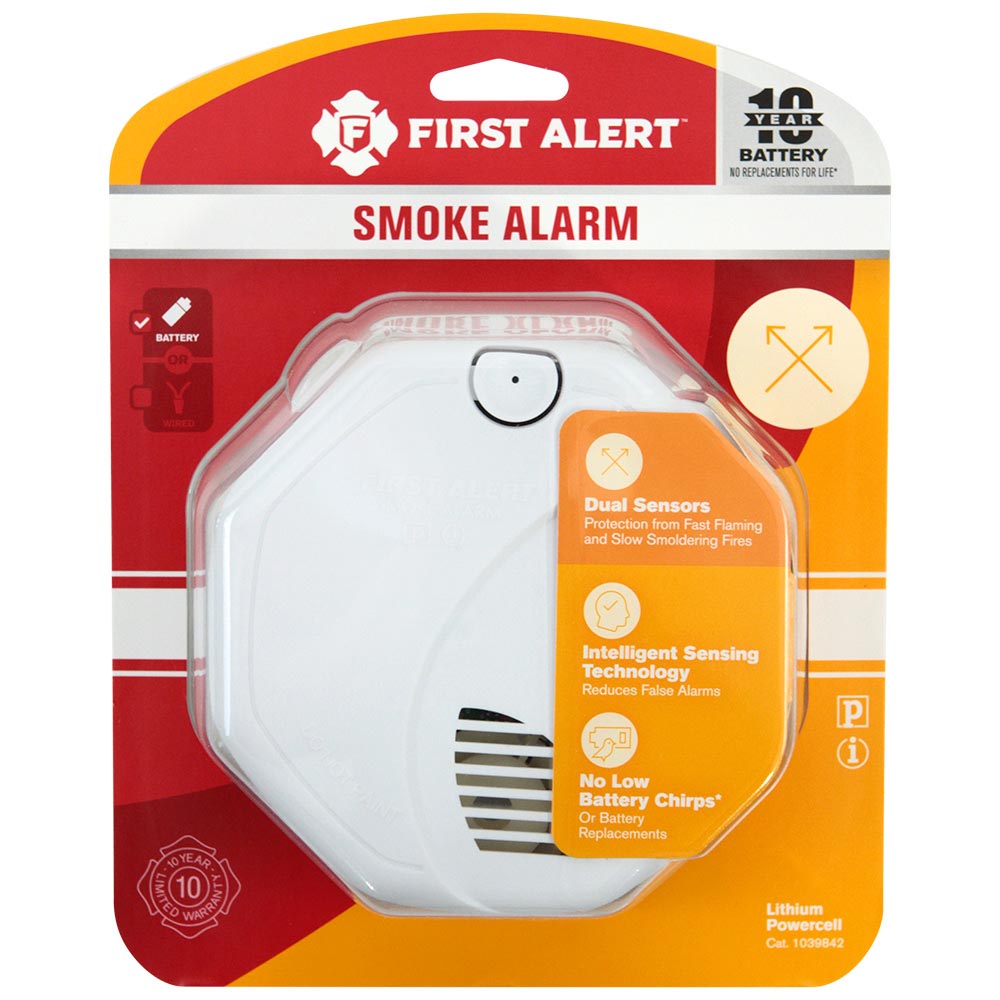
Battery-Powered With Replaceable Battery
These units twist off the mounting bracket and use standard 9V or AA batteries. There are no wires on the back, making them common in apartments and older homes. They require no electrical work to replace.
Sealed 10-Year Battery Models
Labeled “10-year sealed battery” on the front or back, these units have no battery compartment. The battery is built in and lasts the entire life of the unit. When the alarm reaches end-of-life, you must replace the entire unit.
Hardwired With Battery Backup
Connected to household wiring via a plug-in harness, these units often interconnect so all alarms sound together. They include a backup battery for power outages. Always turn off power at the breaker before working on these models.
Choose the Right Replacement Unit
Match Power Type Exactly
Replace like with like to ensure proper fit and function. A battery-operated unit should replace a battery-operated unit, and a hardwired unit should replace a hardwired unit. If your alarms are interconnected, confirm the new model is compatible with the existing network.
Check Bracket and Harness Compatibility
Some models use universal brackets, while others require specific mounting hardware. If the screw pattern doesn’t match, install the new bracket included with your replacement. For hardwired systems, verify the new alarm works with your existing wiring harness or use a harness adapter if one is included.
Replace Battery-Operated Detectors Step by Step
Remove the Old Unit Safely
Twist the alarm counterclockwise to unhook it from the mounting bracket. Support the unit as you remove it to avoid dropping it.
Install the New Mounting Bracket if Needed
If the new alarm’s bracket doesn’t align with the existing screws, remove the old bracket and install the new one using the provided screws. Make sure it’s secure before attaching the detector.
Insert the Battery or Activate the Sealed Unit
For replaceable-battery models, install a fresh 9V or AA battery. For sealed models, pull the activation tab to start the 10-year countdown.
Attach and Test the New Alarm
Align the new alarm with the bracket and twist clockwise until it clicks. Press the test button. You should hear a loud alarm within seconds. If not, recheck battery placement and seating.
Replace Hardwired Smoke Alarms Safely
Turn Off Power at the Breaker
Go to your electrical panel and switch off the circuit that powers the smoke alarm. Verify power is off by trying to test the unit. If it chirps, power may still be live.
Disconnect the Wiring Harness
Twist the old alarm off the bracket, then unplug the wiring harness from the back. Do not cut the wires unless you’re replacing damaged ones.
Connect the New Alarm to the Harness
Plug the harness into the new alarm’s connector. Some models include an adapter, so use it if required. Match wire colors carefully: black to black, white to white, and red to red for the interconnect wire.
Install the Backup Battery
Insert the backup battery (usually 9V) into the new unit before mounting. This ensures the alarm functions during power outages.
Mount the Alarm and Restore Power
Attach the alarm to the bracket by twisting it clockwise. Return to the breaker panel and restore power. Press the test button immediately. The alarm should sound loudly. If it doesn’t, double-check all connections and the battery.
Test Interconnected Systems After Replacement
Confirm System-Wide Response
After replacing any unit in an interconnected system, test full functionality. Press the test button on the new alarm and confirm all other alarms in the home sound simultaneously. Repeat from a different alarm to verify bidirectional communication.
Troubleshoot Silent Units
If some alarms don’t respond, check power to hardwired units, verify the interconnect wire is connected, ensure wireless sync is complete if applicable, and replace any outdated or incompatible units. Interconnect failure defeats the purpose of a networked system.
Follow Mounting Best Practices

Install in Optimal Locations
Mount detectors on the ceiling, at least 10 feet from cooking appliances. Place them in hallways outside bedrooms, on every level of the home including basements, and high on walls (4 to 12 inches from ceiling) if ceiling mounting isn’t possible. Avoid corners, vents, windows, and bathrooms where airflow or steam reduces effectiveness.
Secure the Mounting Bracket Firmly
Use the included screws to attach the bracket to a ceiling electrical box or stud. A loose bracket can cause poor contact or accidental detachment over time.
Avoid Common Installation Mistakes
Skipping the Power Shut-Off
Never work on hardwired alarms without turning off the breaker first. This prevents electric shock and accidental short circuits.
Ignoring Chirping After Replacement
A chirping sound after replacement may come from a different alarm in the home, a low backup battery, improper seating on the bracket, or an end-of-life signal from another unit. Test each alarm individually to locate the source.
Using the Wrong Battery Type
Always use the battery specified in the manual, typically a fresh alkaline 9V. Avoid rechargeable or expired batteries, which can cause power issues or false alerts.
Failing to Test After Setup
An untested alarm is an unreliable alarm. Always press the test button after installation, battery change, or reset.
Maintain Your New Detector for a Decade of Protection

Test Monthly
Press the test button once a month to confirm operation. Pair this habit with bill payments or calendar reminders so you never forget.
Clean Every 6 Months
Vacuum the exterior vents with a soft brush attachment to remove dust and cobwebs. For stubborn debris, gently wipe with a dry cloth. Never use cleaners or sprays inside the unit.
Replace Backup Batteries Annually
Even in hardwired units, replace the backup battery every 6 to 12 months or when chirping begins. A dead backup battery leaves you unprotected during outages.
Track Replacement Dates
Write the installation date inside the alarm with a marker. Keep a home safety log to track all units and future replacement deadlines.
Dispose of Old Alarms Responsibly
Recycle Through E-Waste Programs
Smoke alarms contain electronic components and small amounts of radioactive material in ionization models. Do not throw them in regular trash, burn them, or dismantle them.
Check Local Disposal Rules
Contact your local waste authority for e-waste disposal options. Many communities offer drop-off locations or hazardous waste collection days. You can also visit www.firstalert.com/support for current manufacturer disposal guidance.
Troubleshoot Post-Installation Issues
Alarm Won’t Sound During Test
Check battery installation, confirm the unit is fully seated on the bracket, verify power is restored at the breaker for hardwired models, and ensure the wiring harness is securely connected. If problems persist, contact First Alert support.
False Alarms After Replacement
Common causes include installation too close to the kitchen or bathroom, dust or insects inside the chamber, high humidity or steam exposure, and new construction debris. Relocate or clean the unit as needed.
Persistent Chirping
Even with a new unit, chirping may continue. Check other alarms in the home, replace the backup battery in hardwired units, confirm no unit is past its 10-year lifespan, and reset the alarm by holding the test button for 10 seconds.
Resetting the Detector
To reset after a battery change or error, press and hold the test button for 10 seconds and wait for a single beep or flash indicating reset. Some models require only a 5-second press, so refer to your manual for model-specific instructions.
Get Support When You Need It
Contact First Alert Directly
If you encounter issues, reach out to First Alert support by phone at 1-800-332-3482 (Monday through Friday, 8 AM to 8 PM EST), by email at support@firstalert.com, or through their website at www.firstalert.com/support. Have your model number ready, found on the back of the unit.
Access Manuals and Installation Videos
The First Alert website offers installation videos, PDF manuals by model, troubleshooting guides, and warranty information. Use these resources to verify compatibility and confirm setup steps for your specific unit.
Frequently Asked Questions About Replacing a First Alert Smoke Detector
How do I know if my First Alert smoke alarm is expired?
Remove the alarm from the bracket and check the manufacture date on the back. If it’s close to 10 years old, replacement is recommended even if it still passes a test.
Can I replace a hardwired smoke alarm myself?
If you’re replacing an existing hardwired alarm with the same power setup and a working wiring harness, many homeowners can do it safely by turning off the breaker first. If wiring is missing, damaged, or you’re unsure, use a qualified electrician.
Why is my alarm still chirping after I replaced it?
Chirping can come from a different alarm in the home, a low backup battery in a hardwired unit, a unit not fully seated on the bracket, or an end-of-life signal. Confirm which alarm is chirping and test each unit individually.
Should I replace all smoke alarms at the same time?
If your alarms are the same age, replacing them together is a smart approach. This maintains consistent protection and makes tracking the replacement schedule much easier.
What battery type should I use in my First Alert detector?
Most replaceable-battery models use a standard 9V or AA battery, depending on the model. Always use a fresh alkaline battery and avoid rechargeable or expired options.
How do I reset my First Alert smoke detector?
Press and hold the test button for 10 seconds, then wait for a steady beep to confirm the reset. Some models require only a 5-second press, so check your manual for model-specific instructions.
Key Takeaways for a Safe and Successful Replacement
Replacing a First Alert smoke detector is a quick, life-saving task that takes less than 15 minutes when you follow the right steps. Start by checking the manufacture date on the back of your current unit. If it’s approaching 10 years old, replacement is essential regardless of test results. Identify your alarm type, battery-powered, sealed 10-year, or hardwired with backup, and choose a compatible replacement that matches your system’s power and interconnect requirements.
For hardwired units, always turn off the breaker before starting any work. After installation, test the alarm immediately and verify that all interconnected units respond together. Maintain your new detector with monthly tests, semiannual cleanings, and annual battery replacements to ensure a full decade of reliable protection. Your next step: Check the manufacture date on your smoke detector today and schedule a replacement if it’s within a year of expiring.