A chirping sound in the middle of the night or a low battery alert on your phone is your ADT smoke detector telling you it needs attention. Ignoring it puts your home and family at risk, because a dead detector means zero fire protection. The good news is that swapping the battery in your ADT smoke detector is fast, affordable, and something you can handle yourself in about 10 minutes.
In this guide, you will learn exactly which batteries your specific model needs, how to avoid false alarms during the swap, and what to do if the warning light stays on even after replacement. Whether you own the SSS5R0, SiXSMOKEVA, or SiXCOMBOA, you will walk away with confidence.
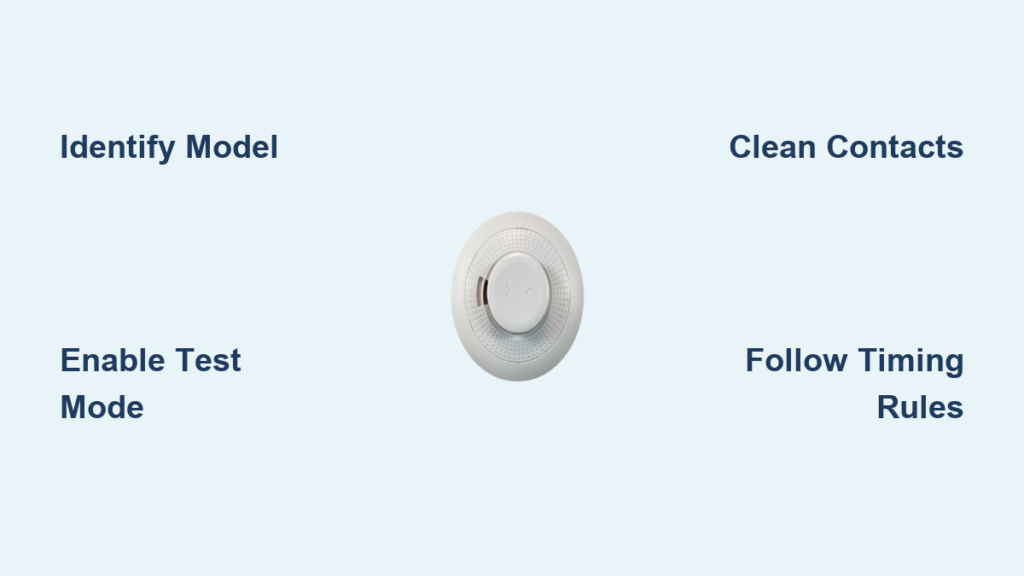
Identify Your ADT Detector Model

Locate the Model Number
Before you buy anything, flip your detector over and check the label on the back. The model number tells you how many batteries you need and the exact steps to follow.
Three Common ADT Models
- SSS5R0: Needs 3 CR123A batteries
- SiXSMOKEVA: Needs 2 CR123A batteries
- SiXCOMBOA or SiXCOMBOVA: Needs 4 CR123A batteries
All three use 3V CR123A lithium batteries, which are widely available at hardware stores and online retailers.
Why the Right Model Matters
Each model has unique timing rules during installation. Using the wrong battery count or missing a timing step can leave your detector stuck in a low battery state, even with brand new batteries.
Know When to Replace the Battery
Common Warning Signs
Your ADT system gives you several hints when the battery is running low:
- A low battery alert in the ADT Plus app
- A system issue notification on your control panel
- Intermittent beeping from the detector itself
For the SSS5R0 model, these digital alerts are your only indicators, since the unit has no visible test light for battery status.
Typical Battery Lifespan
CR123A batteries usually last 3 to 5 years depending on room temperature and how often the detector self-tests. Replace them proactively once your detector hits this range, even without an alert.
Prepare Your System Before Opening the Detector
Disarm Your ADT System
Always start by disarming your security system on the touchscreen or control panel. Enter your user code and select “Disarm.” This step prevents accidental alarms and keeps your home in a safe maintenance state.
Enable Test Mode to Prevent False Alarms
Test Mode is essential. Without it, removing the detector can send a tamper signal to the ADT monitoring center and trigger a dispatch call.
Two ways to activate Test Mode:
- MyADT.com: Log in, select your system, go to Settings, and activate Test Mode
- ADT Plus App: Open the app, tap System Settings, and enable Test Mode
Wait for the confirmation screen before you touch the detector.
Remove the Detector From the Mounting Plate
Twist Counterclockwise to Release
All ADT detectors use a twist-and-lock design. The exact grip varies slightly by model:
- SSS5R0: Find the side markings on the unit, then twist counterclockwise until it pops free
- SiXSMOKEVA: Grasp the front cover and rotate counterclockwise until it detaches
- SiXCOMBOA or SiXCOMBOVA: Rotate counterclockwise until the unit lifts off the base plate
Pull the detector straight away from the mounting surface once it unlocks. Do not yank, since this can damage the mounting bracket.
Note: A tamper alert or beeping sound is normal during removal. You will clear it later.
Open the Battery Compartment

Access the Batteries on the Back
Flip the unit over so the back faces up.
- SSS5R0: Use your fingertip to pry open the small battery door, then slide out all three batteries
- SiXSMOKEVA and SiXCOMBO models: Slide or lift the battery cover open and remove the old batteries
Set the used batteries aside in a labeled container so you do not mix them up with the new ones.
Clean the Contacts for a Solid Connection

Remove Oxidation With an Alcohol Swab
Dust and oxidation on the metal contacts can block power from reaching your new batteries. For the SSS5R0 model, this step is highly recommended.
- Lightly dampen an alcohol swab
- Wipe each metal contact point inside the battery compartment
- Wipe the positive end of each new battery as well
This quick step dramatically reduces the chance of false low battery warnings.
Install the New CR123A Batteries

Match the Positive (+) Ends to the Plus Signs
Every model requires the same rule: positive ends must face the “+” markers inside the compartment. Reversed batteries will not power the unit.
Install the correct quantity:
- SSS5R0: 3 batteries
- SiXSMOKEVA: 2 batteries
- SiXCOMBOA or SiXCOMBOVA: 4 batteries
Press each battery firmly so it sits flush.
Follow the Timing Rules for Command Models
Command models run a fast power check the moment batteries go in. Installing them too slowly can trigger a low battery warning.
- SiXSMOKEVA: Wait 10 seconds after removing old batteries before inserting new ones
- SiXCOMBOA or SiXCOMBOVA: Wait 10 seconds, then install all four batteries within 15 seconds
Reinstall the Detector Securely
Align and Lock the Unit Back in Place
A loose connection can cause communication errors with your panel.
- SSS5R0: Close the battery door, align the vertical mark on the detector with the tab on the mounting plate, push up, and twist clockwise until it clicks
- SiXSMOKEVA: Press the front cover into the back plate and twist clockwise to lock
- SiXCOMBOA or SiXCOMBOVA: Align the unit with the base, press up, and twist clockwise until the lock symbol appears
You should hear and feel a solid click once the detector is locked.
Clear the Tamper Alert on Your Panel
Enter Your User Code
After reinstallation, your panel may still show a tamper alert or continue beeping. Walk to your ADT control panel or touchscreen and enter your user code. The alert clears automatically and the beeping stops.
This step confirms the detector is communicating properly with the rest of your system.
Exit Test Mode
Restore Full Monitoring
Leaving Test Mode on means your system will not report real emergencies. Disable it as soon as you finish the swap:
- MyADT.com: Log in, go to System Settings, and turn off Test Mode
- ADT Plus App: Open Settings and disable Test Mode
Wait for the confirmation that your system is back to active monitoring.
Verify the Battery Replacement Worked
Look for These Success Signs
Check your ADT Plus app and control panel for the following:
- No low battery alerts
- No tamper messages
- Detector status reads “Normal” or “Ready”
Allow 5 to 10 minutes after reinstallation to confirm the system stays stable.
Troubleshoot Common Problems
Low Battery Warning Persists After Replacement
Try these fixes in order:
- Double-check that positive ends face the “+” signs
- Remove and re-seat each battery firmly
- Clean the contacts again with an alcohol swab
- Confirm you installed all batteries within the required timeframe (15 seconds for SiXCOMBO models)
If the warning still shows, contact ADT support at help.adt.com.
Tamper Alert Will Not Clear
- Make sure the detector is fully locked into the base
- Check that the alignment marks match before twisting
- Confirm Test Mode is turned off
Remove and re-twist the unit if needed until you feel the secure click.
Buy the Right Replacement Batteries
Where to Find CR123A Batteries
- myadt.com: Official source for SiXCOMBOA and SiXCOMBOVA battery packs
- Retailers: Amazon, Walmart, Home Depot, and most hardware stores
- Reliable brands: Energizer, Duracell, and Panasonic
Avoid rechargeable or alkaline batteries. Only use 3V CR123A lithium for proper performance.
Quick Reference: Model Comparison
| Model | Batteries Needed | Special Steps |
|---|---|---|
| SSS5R0 | 3 CR123A | Clean contacts with alcohol swab |
| SiXSMOKEVA | 2 CR123A | Wait 10 seconds before inserting |
| SiXCOMBOA or SiXCOMBOVA | 4 CR123A | Wait 10 seconds; install all within 15 seconds |
Frequently Asked Questions About Changing ADT Smoke Detector Batteries
How do I know which battery my ADT smoke detector needs?
Check the model number on the back of the unit. All ADT smoke detectors use 3V CR123A lithium batteries, but the quantity varies. The SSS5R0 needs 3, the SiXSMOKEVA needs 2, and the SiXCOMBOA or SiXCOMBOVA needs 4.
Why does my ADT smoke detector beep even with new batteries?
A persistent beep usually means one of three things: the batteries are reversed, the contacts are dirty, or the batteries were not installed within the required timeframe. Re-seat the batteries with positive ends facing the “+” markers and clean the contacts with an alcohol swab.
Do I need to enable Test Mode before changing the battery?
Yes. Test Mode prevents the ADT monitoring center from receiving a false alarm or tamper signal during the swap. Activate it through MyADT.com or the ADT Plus app before you touch the detector.
How long do CR123A batteries last in an ADT smoke detector?
Most CR123A batteries last 3 to 5 years in ADT smoke detectors, depending on temperature and how often the unit self-tests. Replace them proactively once they reach this age range.
Can I use rechargeable batteries in my ADT smoke detector?
No. ADT detectors are designed for 3V CR123A lithium batteries only. Rechargeable or alkaline batteries can cause power irregularities and false low battery warnings.
What happens if I skip disarming my system before replacing the battery?
Skipping the disarm step can trigger a tamper alert that reaches the ADT monitoring center. You may receive a dispatch call or incur a service fee depending on your monitoring plan. Always disarm and enable Test Mode first.
Key Takeaways for a Safe Battery Replacement
Changing the battery in your ADT smoke detector comes down to three essentials: identify your model, enable Test Mode before you start, and follow the timing rules for your specific unit. With these in place, the entire process takes under 10 minutes and your home stays protected without interruption.
Keep a spare set of CR123A batteries in your emergency kit so you are ready the next time an alert appears. For additional support, visit help.adt.com or open live chat in the ADT Plus app.